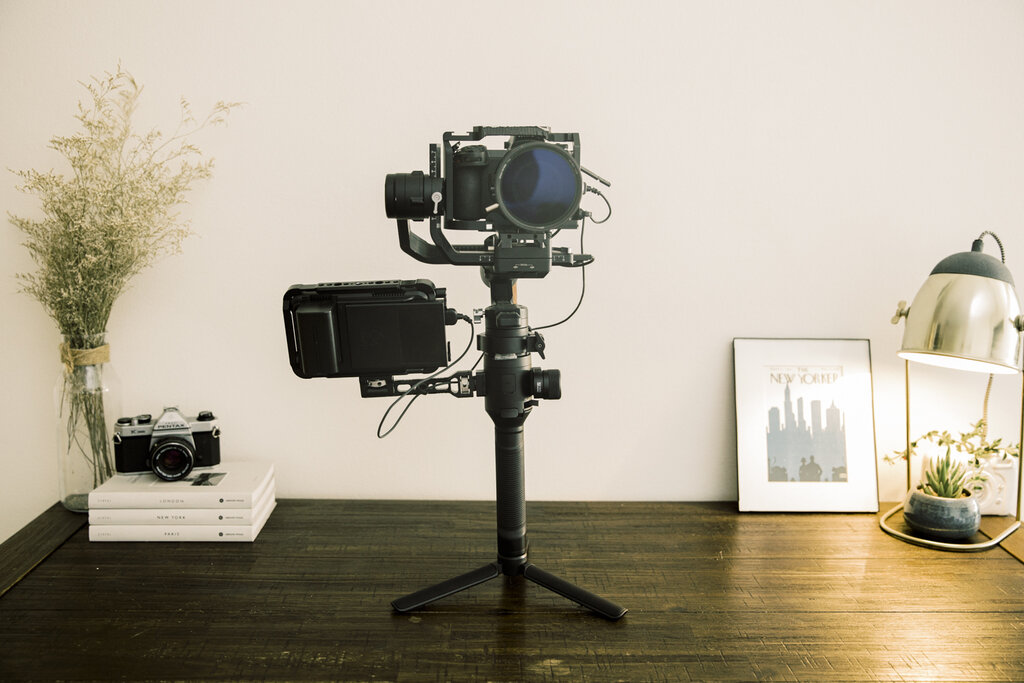
As a wedding videographer you slowly discover the right balance with your videography equipment, from practicality, weight, professional-grade and the essential must haves.
It’s always tempting to keep adding to your videography equipment and in most instances it will only hurt your back pocket when purchasing those pricey pieces of tech for your camera rig. But like everything, more is not always better, and adding more hardware to your camera rig can unnecessarily hinder your craft.
So without further adieu, let us dive in to what I have been using on my wedding films and what has made sense to me, but before we do, I first want to send a huge shout out to Wedding Film School whose ideas on the handheld rig (especially on the shoulder pad* and neck strap, which was my missing piece of the puzzle).
The Cameras
Coming from a photography background and still shooting photography to this day, I love my Nikon’s. Albeit, yes, there are much better manufactures out there that can do a better job, most notably the Sony A7ii or A7iii or the extremely good Canon R6, I will still have a soft spot for Nikon and the love for my Nikon Z6‘s.
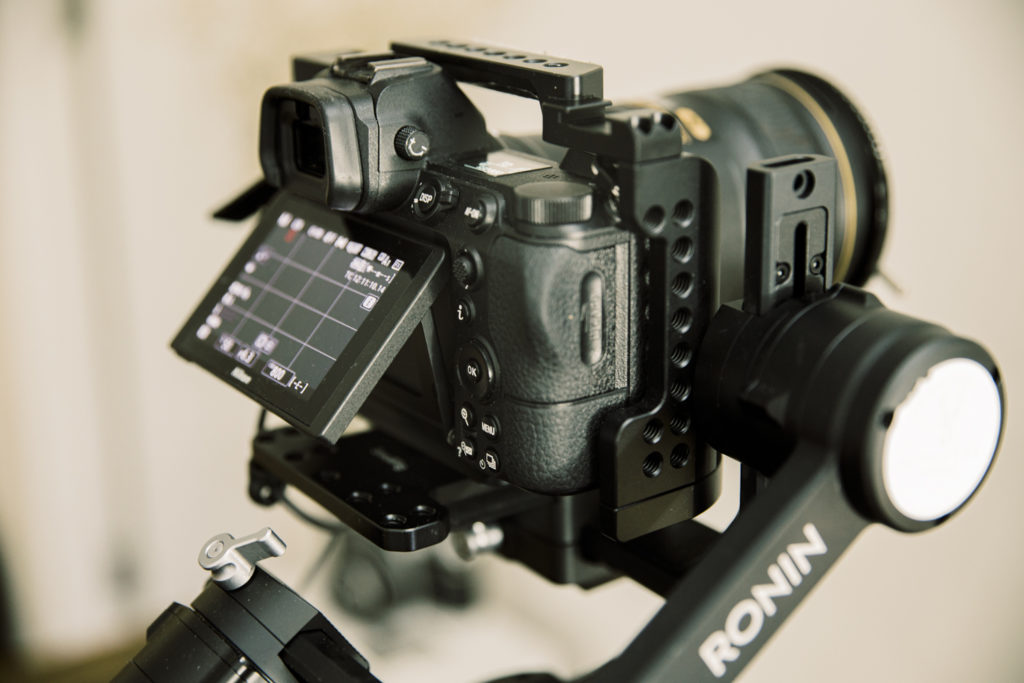
Nikon in my opinion still has the best colour reproduction out there and I won’t sacrifice that over anything. Sure, Nikon’s AF lacks in many aspects over its rivals, but it still comes with eye / face detection albeit a little unpredictable.
Most of my shooting is manual focus which doesn’t affect me, unless I’m using the Gimbal.
The price; As of writing this in 2021 you can pick one up for $2,700 AUST which is so ridiculously cheap considering what it can produce.
Another factor in my decision making at the time was the Nikon Z6’s relationship with the Atomos Ninja V, at $1,000 these monitors aren’t cheap, but what they can achieve is mind boggling!
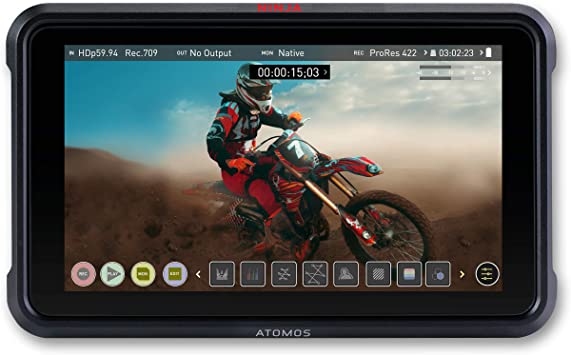
When accompanying the the Atomos Ninja V with the Nikon Z6 (along with a 2.5″ SSD Hard Drive) you convert your camera from an average 8bit to a 10-bit 4k output and access to N-Log which is Nikon’s log profile for the most dynamic range when colour grading your images. There is nothing on the market that competes with the quality for the price.
I use two Nikon Z6’s for both wedding videography and photography, firstly for redundancy and secondly for speed and convenience. Generally i have both setup at the start of the day and don’t change it up too much, which allows for seamless shots.
One upgrade you should invest in is a cage, each camera is different, but like most add ons on this page, you will find an equivalent variant from Amazon.
There is one Amazon product you will see a lot in my list and that is SmallRig. They are home to an endless list of affordable goodies that are of decent quality. when building your rig.
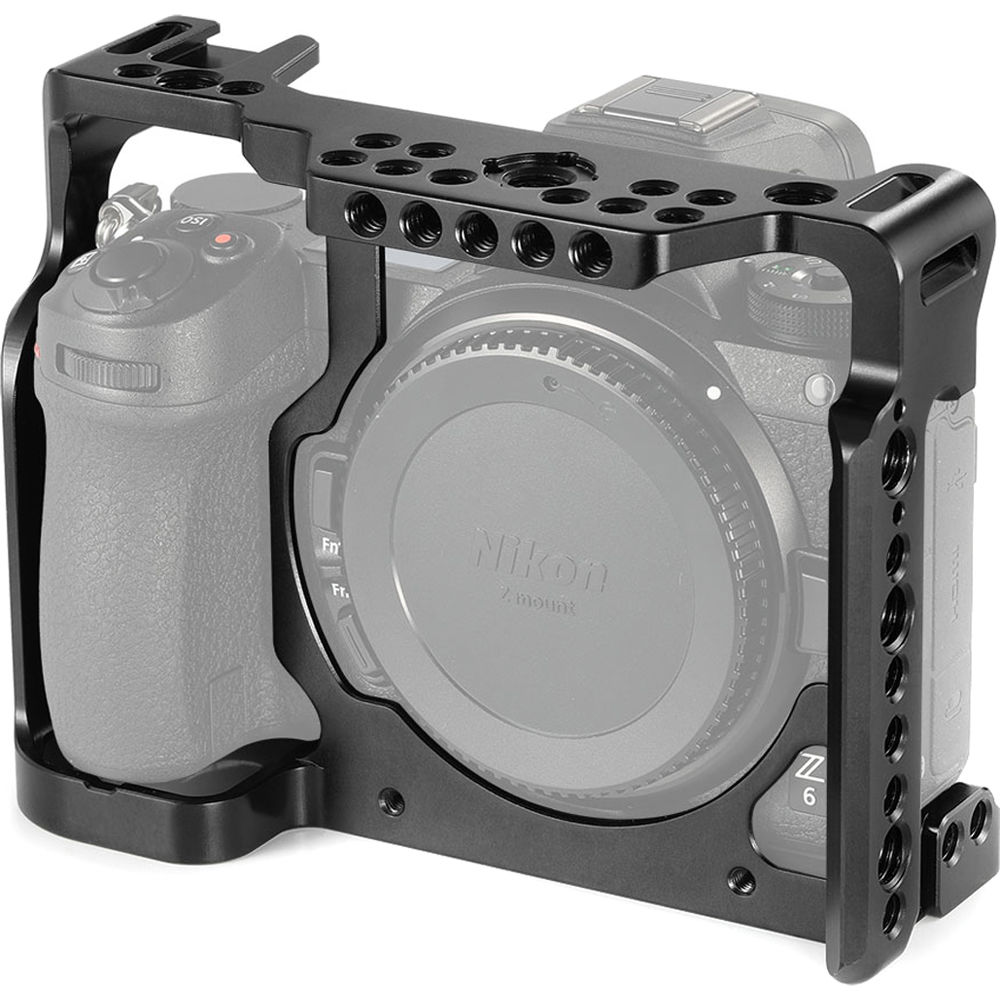
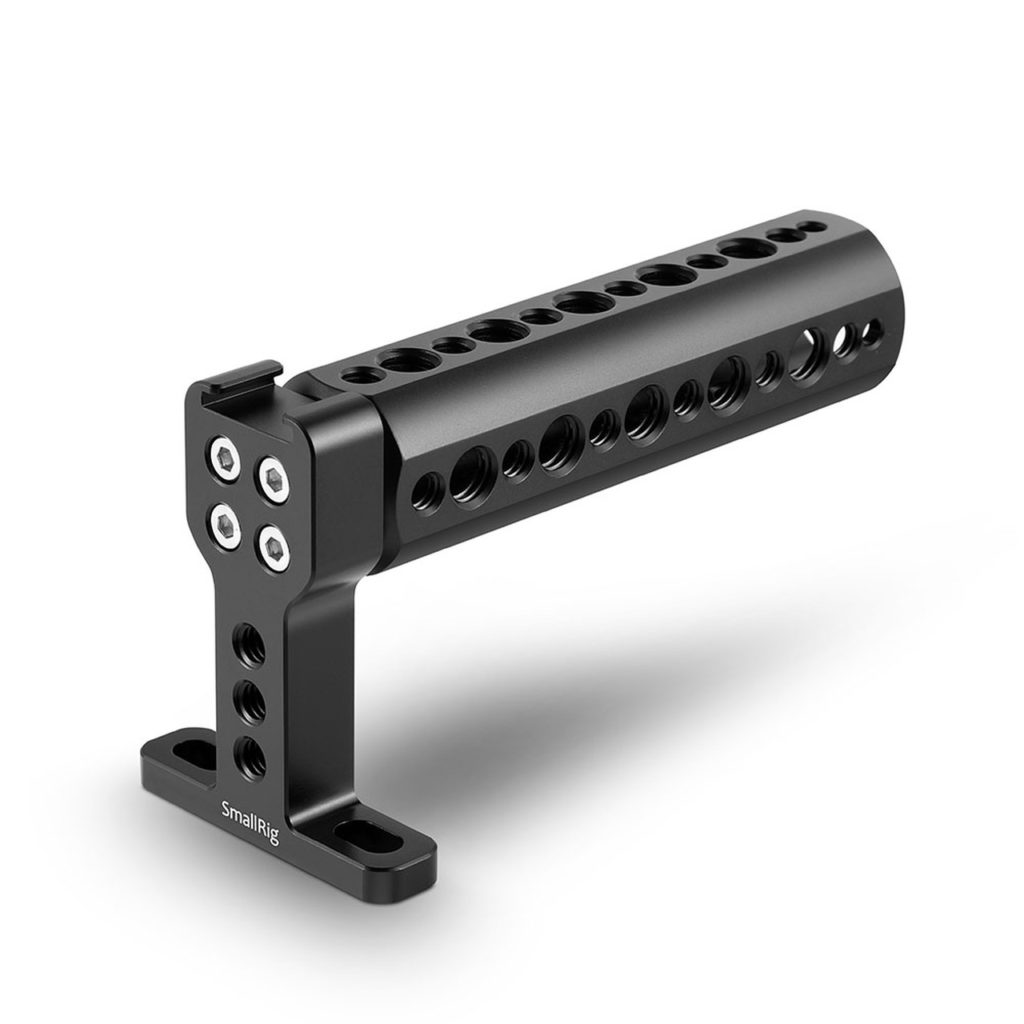
My Nikon Z6’s both run the SmallRig Cage, with my handheld running the handle. The beauty of the cage is that not only are your precious cameras supported with an exoskeleton, but all those screw holes allow for attachments such as lights, cables, microphones and monitors.
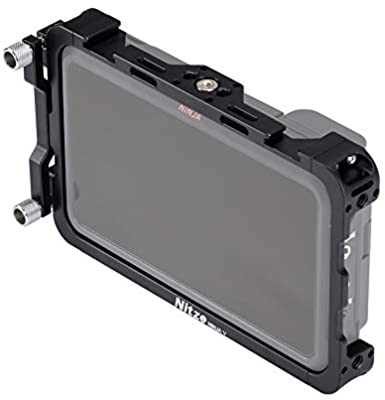
But why stop there, protect your Atomos Ninja too with the Nitze Ninja 5 which not only has a brilliant cable clamp that firmly fixes your HDMI cable and prevents it from shifting or being damaged, this is greatly important as you don’t want your cables being pulled out mid shot!
The Gimbal
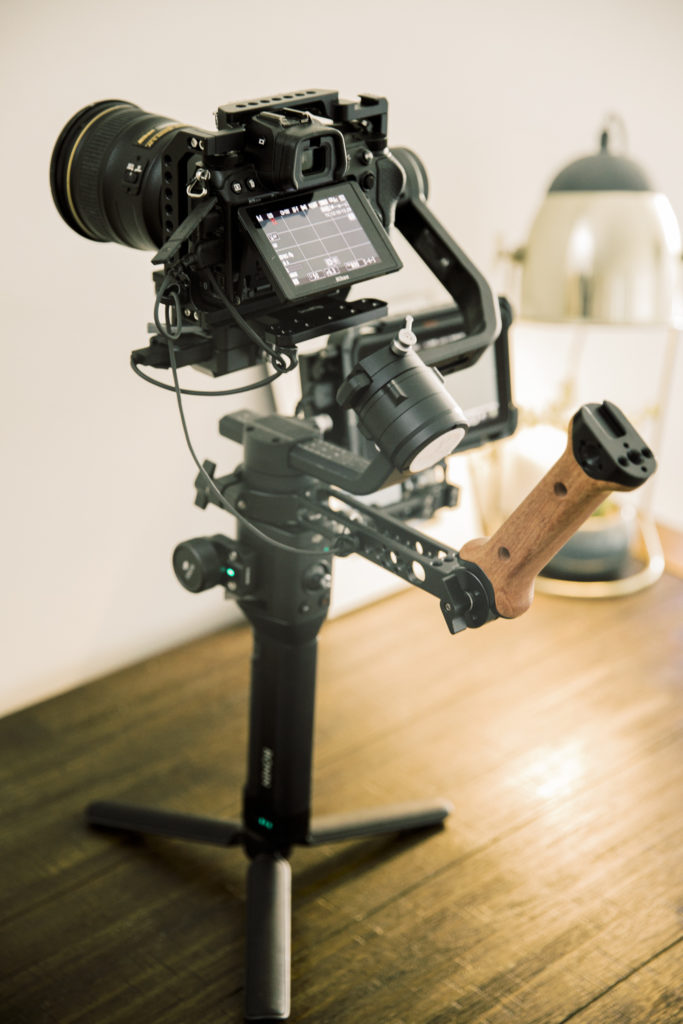
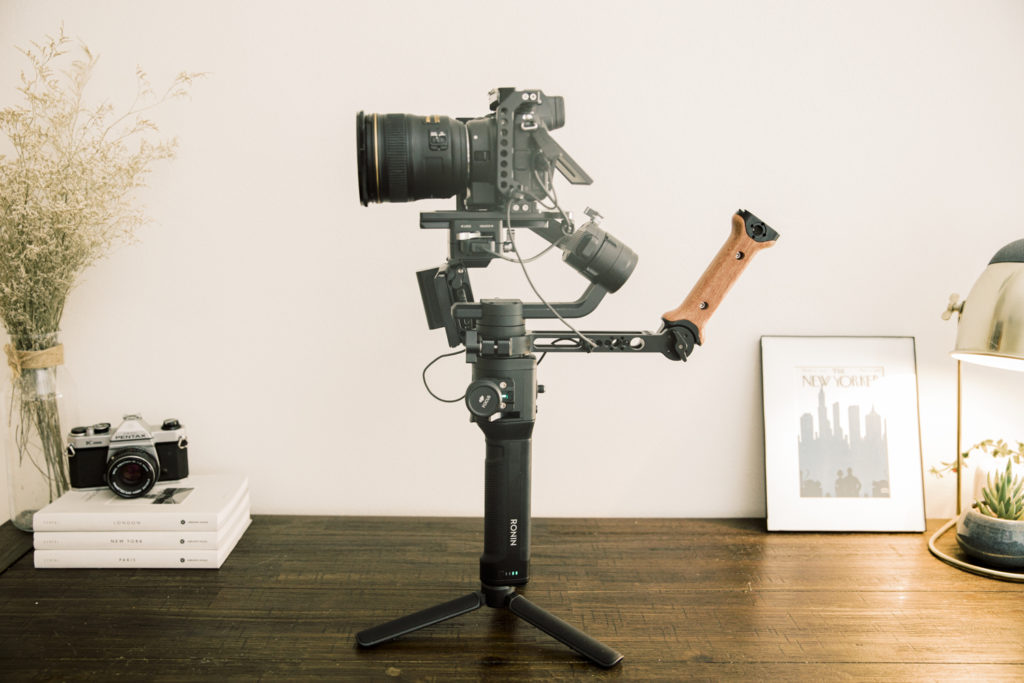
As I lean towards more cinematic wedding films, i’m always in need of stabilisation so it was a no brainer picking up the DJI Ronin S. I used to run around withe the Glidecam HD2000 which was great, yet, it just doesn’t have that cinematic cleanliness that the Ronin or Zhyiyun Crane can offer.
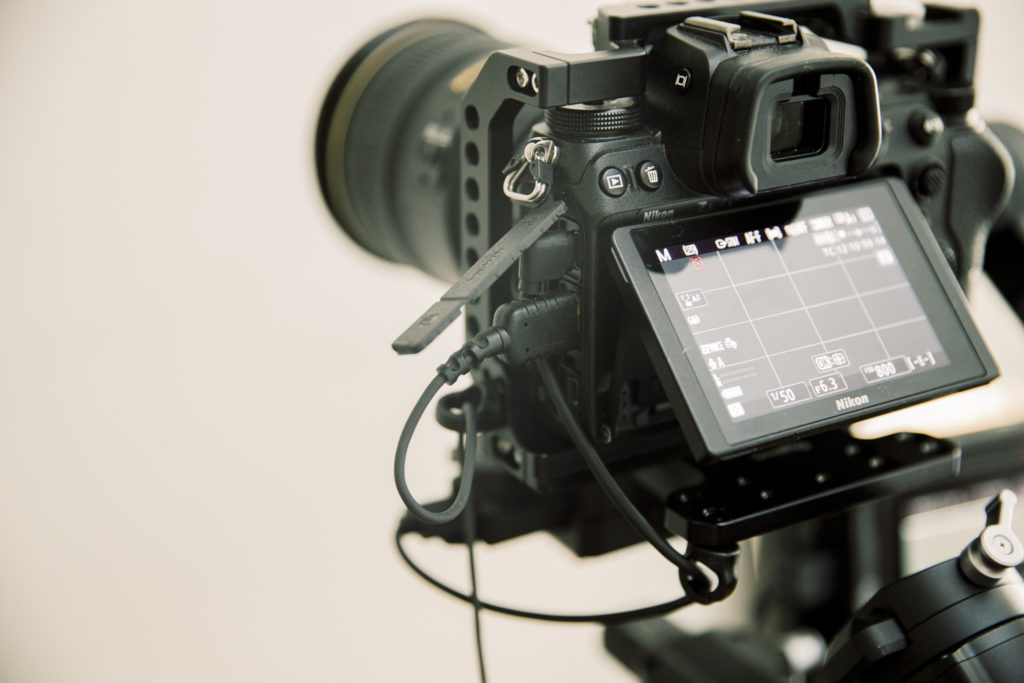
There are many reasons why many film makers rave over this handheld stabilisation kit, which include;
Payload – It can hold 3.6kg, as most film makers are using mirrorless these days that opens up a heap of lenses you can equip.
Weight and movability – It’s compact, able to be stored away in three parts
Battery life – 12 hours of non-stop use!
Software customisation – Want the panning to be quick and responsive or slow for that cinematic gooeyness? There’s 3 custom buttons for that!
Hardware Customisation – DJI let third parties open up their minds for endless configurations.
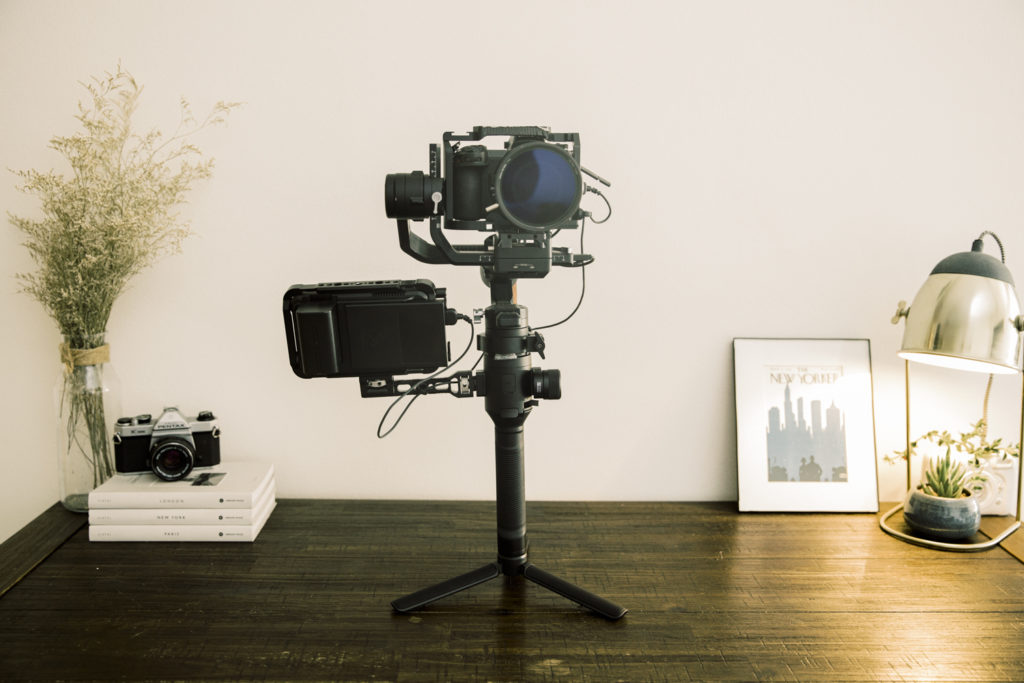
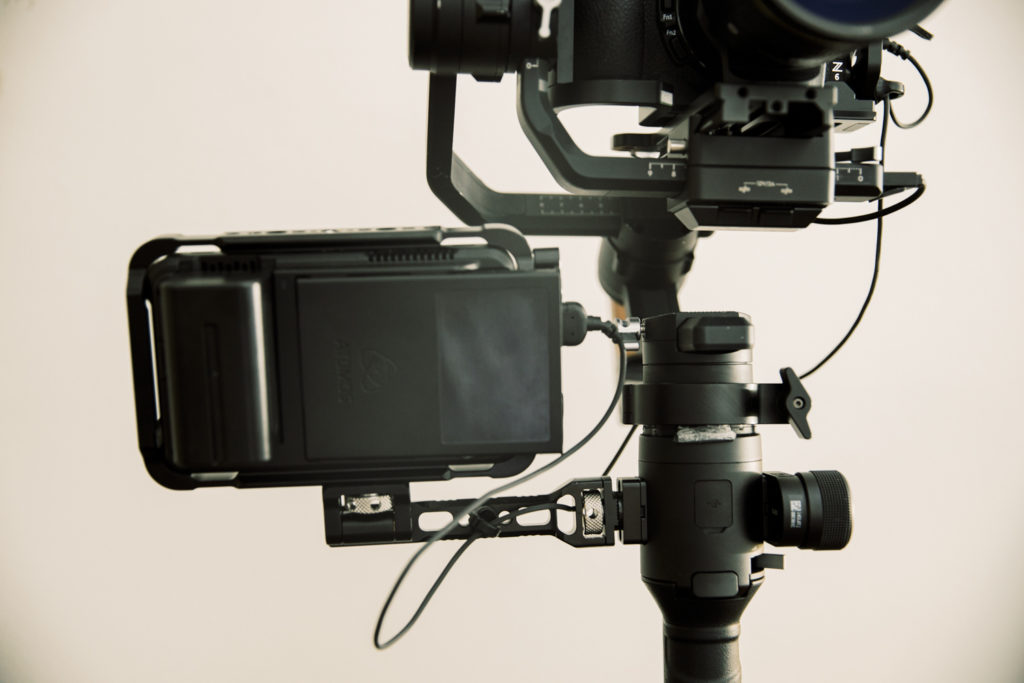
Out of the box the DJI Ronin S is a brilliant piece of kit and will work perfectly in most situations to cater for your needs. In my case however, I like to take a little further.
I’ve fitted out the DJI Ronin S with their official Focus wheel which is a fantastic addition for wireless focus pulling when using a select number of Nikon’s S lenses, most notably for me is the Nikon 50mm 1.8s lens.
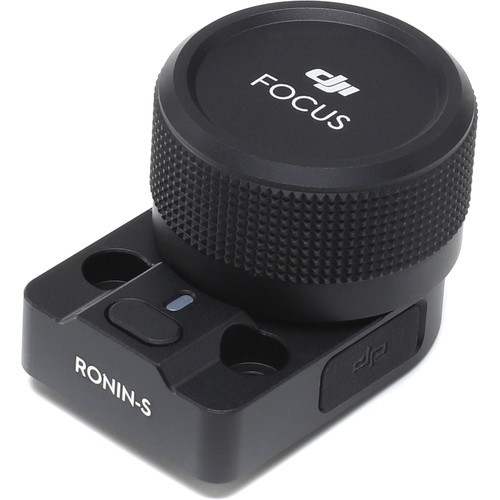
This mounts to contacts and screws in either left or right hand, pending the person. There are minor delays when using wireless, but nothing that makes it uncomfortable to use. The feel and build quality is fantastic and works as expected.
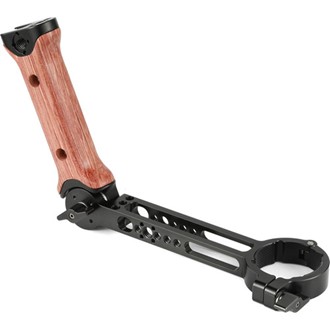
The other notable upgrade i chose is the SmallRig Handle, this is a great edition to help support your rig through out the day. The whole setup can weigh in at about 6kg, and that’s not easy to run around with. The handle is much more ergonomic to hold on to than grasping the Ronin with two hands. It also is designed to fit snug on the DJI Ronin S around the collar using groves to keep it in place.
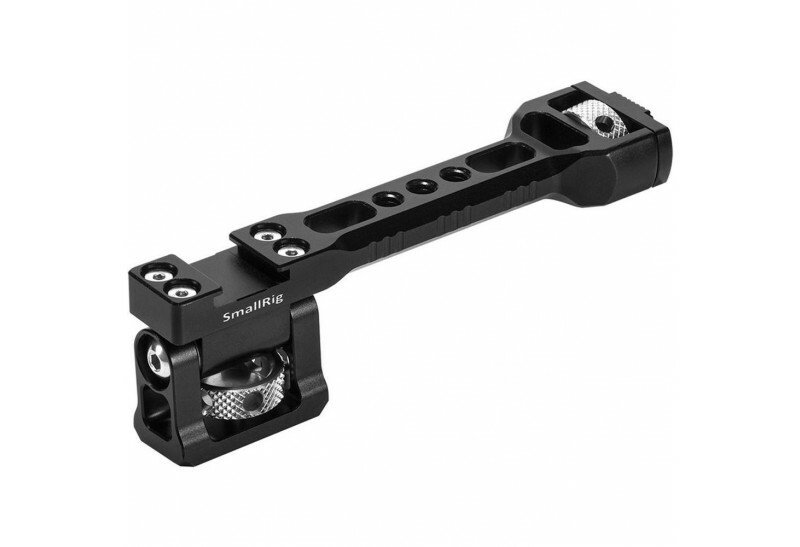
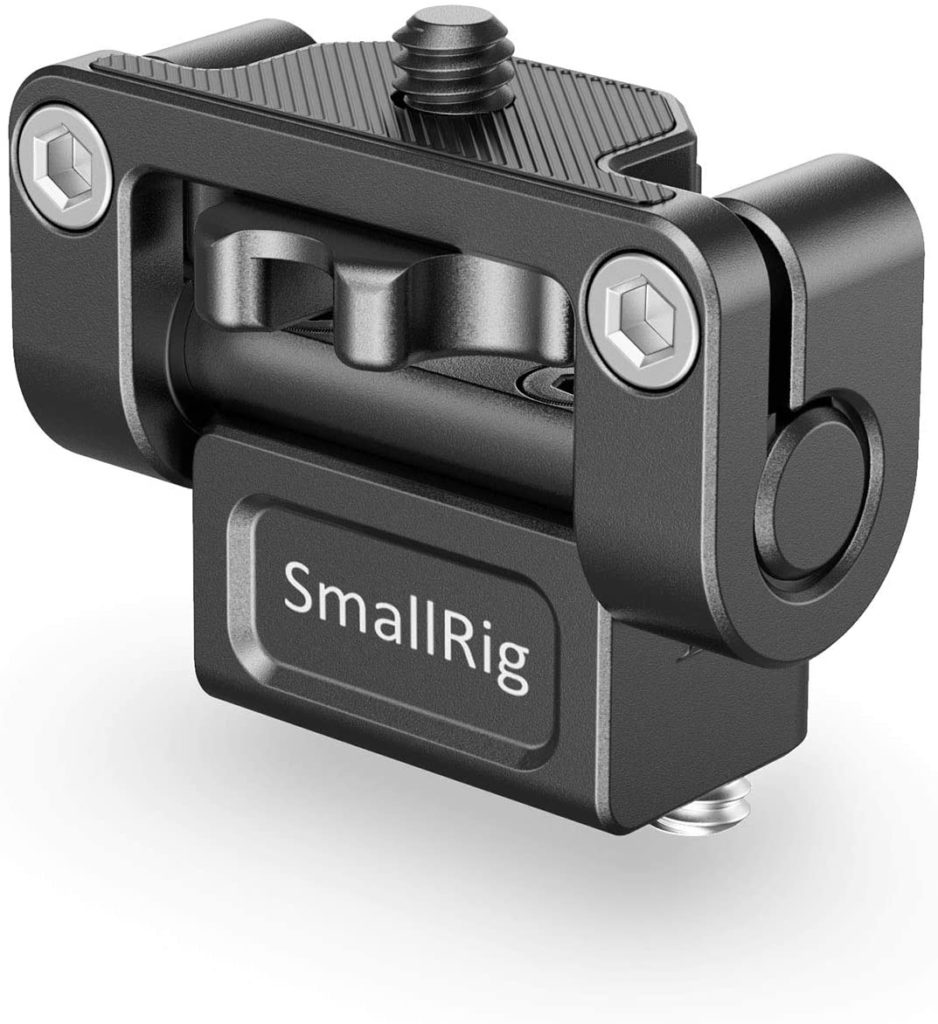
The last on my setup on the DJI Ronins S is the SMALLRIG Adjustable Camera Monitor, which balances the Ninja V perfectly. You will be left with several options when connecting it to the Ronin, so experiment because what works for one person maybe horrible for someone else.
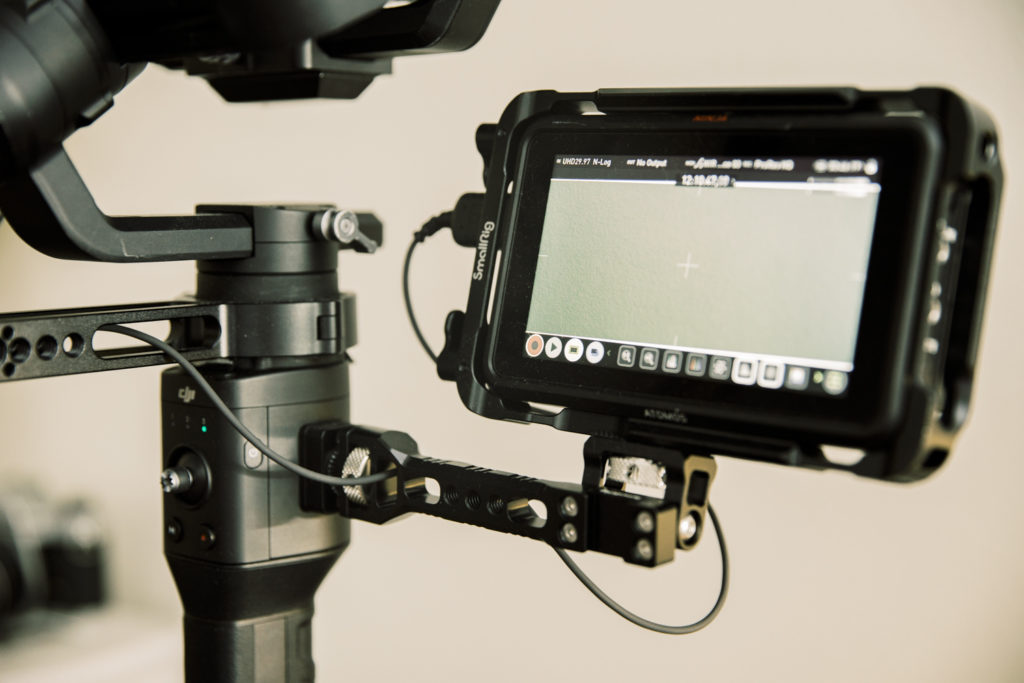
Before we wrap up on the Ronin S it should be mentioned that if you are running an external monitor and wanting to use 10 bit 4k you are going to need new cables. Atomos run these chunky monitor cables that are very constrictive to a stabiliser like the Ronin S. There are plenty of cables on the market, BUT BE WARNED, you don’t want to be shooting and see the yellow kangaroo sign, or worse, nothing at all because you bought a cheap slow cable.
Your HDMI cable will need to be flexible to allow movement, but also allow for 10-bit 4K, my absolute winner in this category is Rubber Monkey’s UltraThin HDMI cable tried and tested and wont let you down, just make sure to buy a couple in case you damage one on the day.
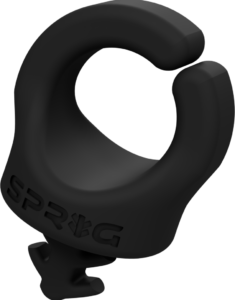
And what best way to tidy up and run your cables through your Ronin S? You could use cable ties or tape, but my money (and its a lot of money for what they are) is a bag of Sprigs. These rubber ties slot perfectly into the 1/4″ threaded holes from your Camera’s Smallrig and Atomos cages.
With all this combined I generally use the DJI Ronins S setup for establishing shots as well as walking shots of the bride and groom. If timing is an issue, I may also use this setup for panning as well as the stabilisation really is that great.
The Handheld Camera Rig
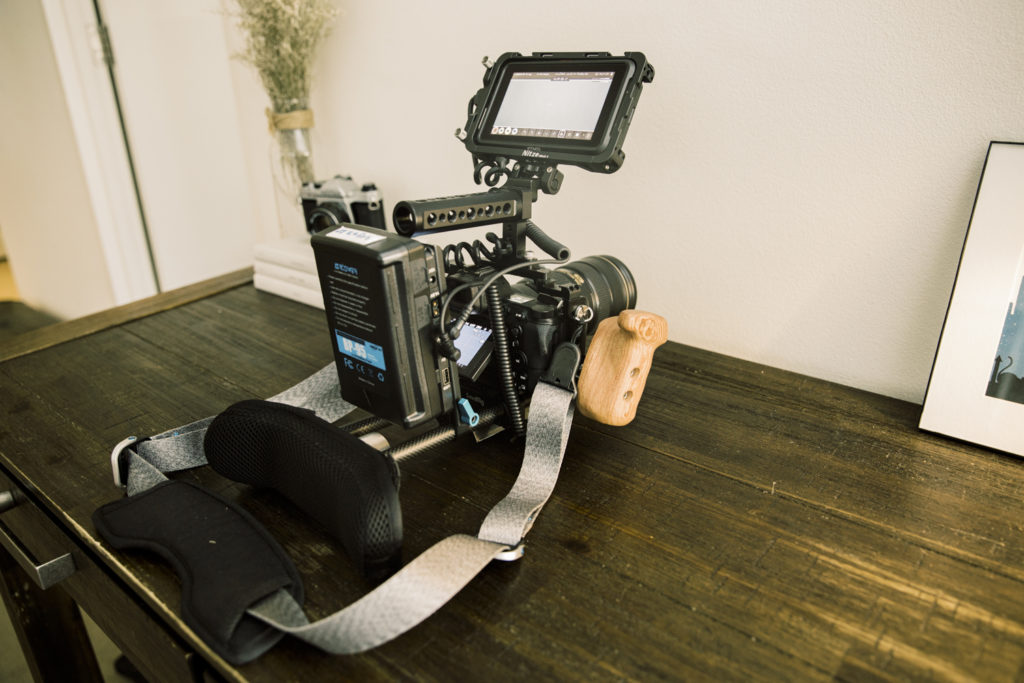
This little beauty is my go to for most shots on the day, not only is it versatile, but it’s intimate, allowing you and your body to move to create the action and romance on the wedding day.
The handheld rig is made up of the following parts which I will explain their uses and why I chose this path.

- Nikon Z6 Camera + SmallRig cage
- Atomos Ninja V + Cage
- NICEYRIG Steady Shoulder Mount
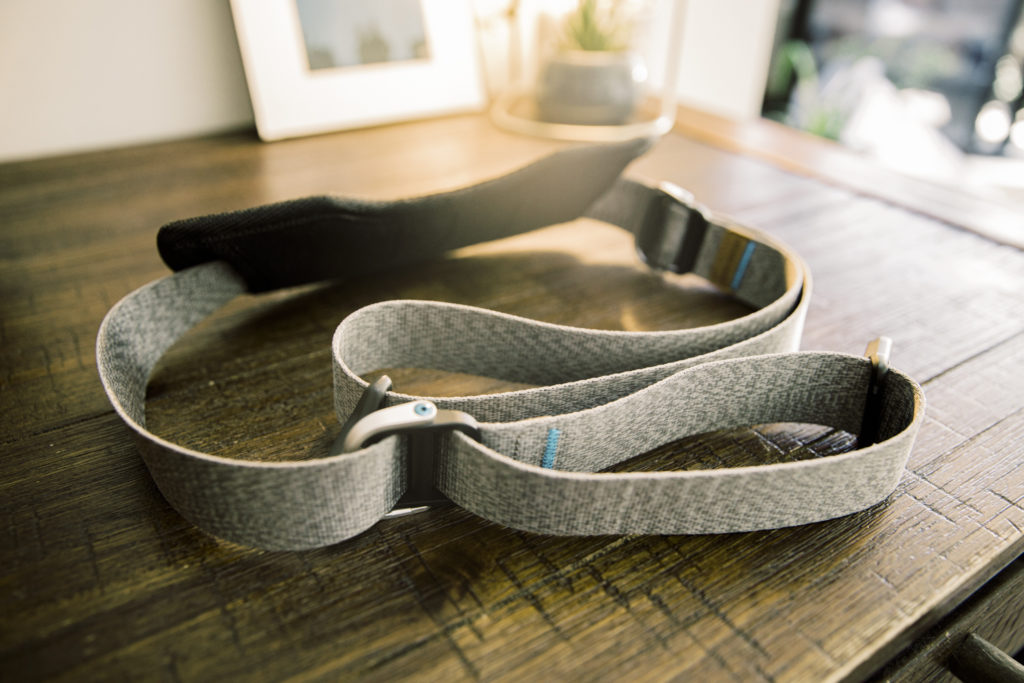
- Peak Design SLL-AS-3 Slide Lite Mirrorless Camera Strap
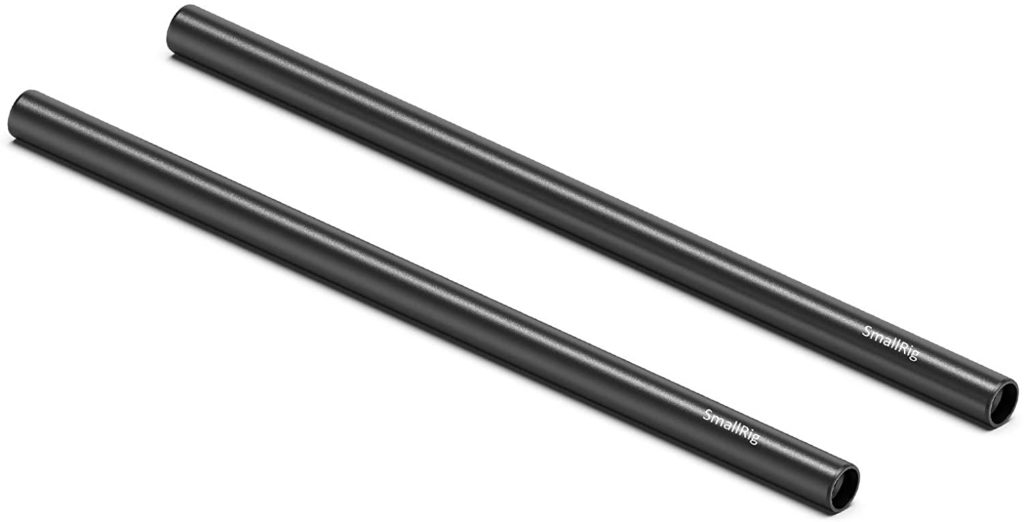
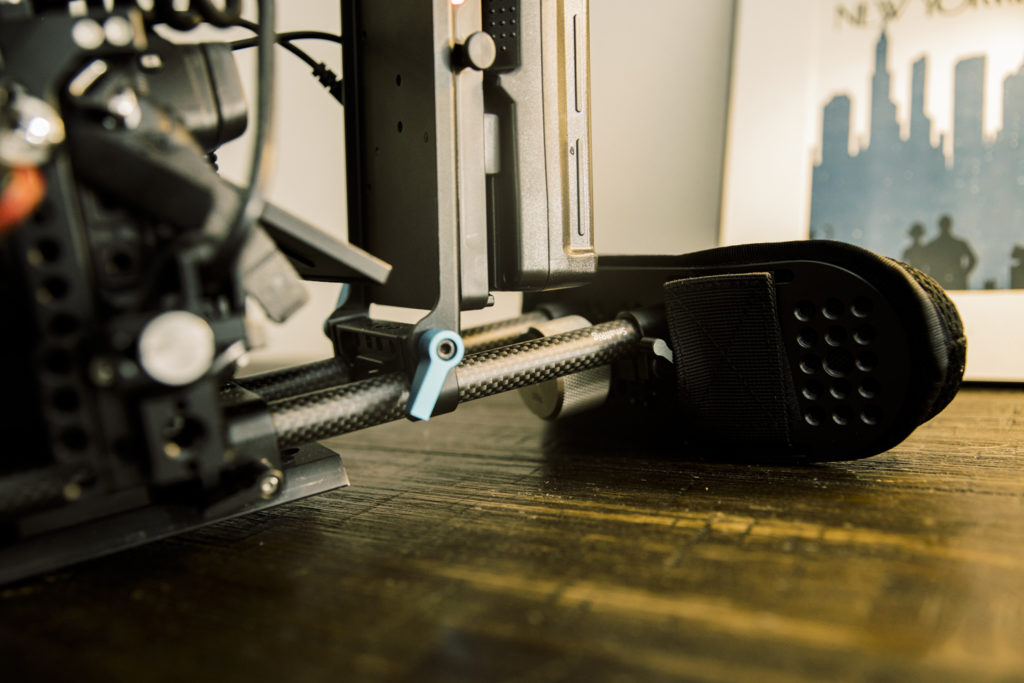
- SMALLRIG Carbon Fiber 30mm Rod Black – 30cm
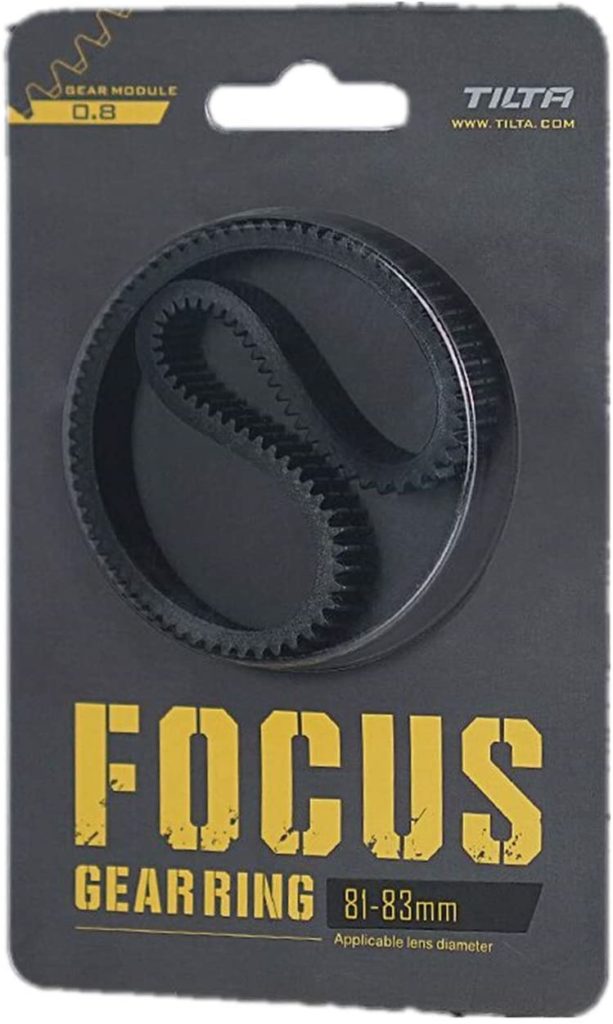
- TILTA TILTAING TA-FGR Seamless Focus Gear Ring
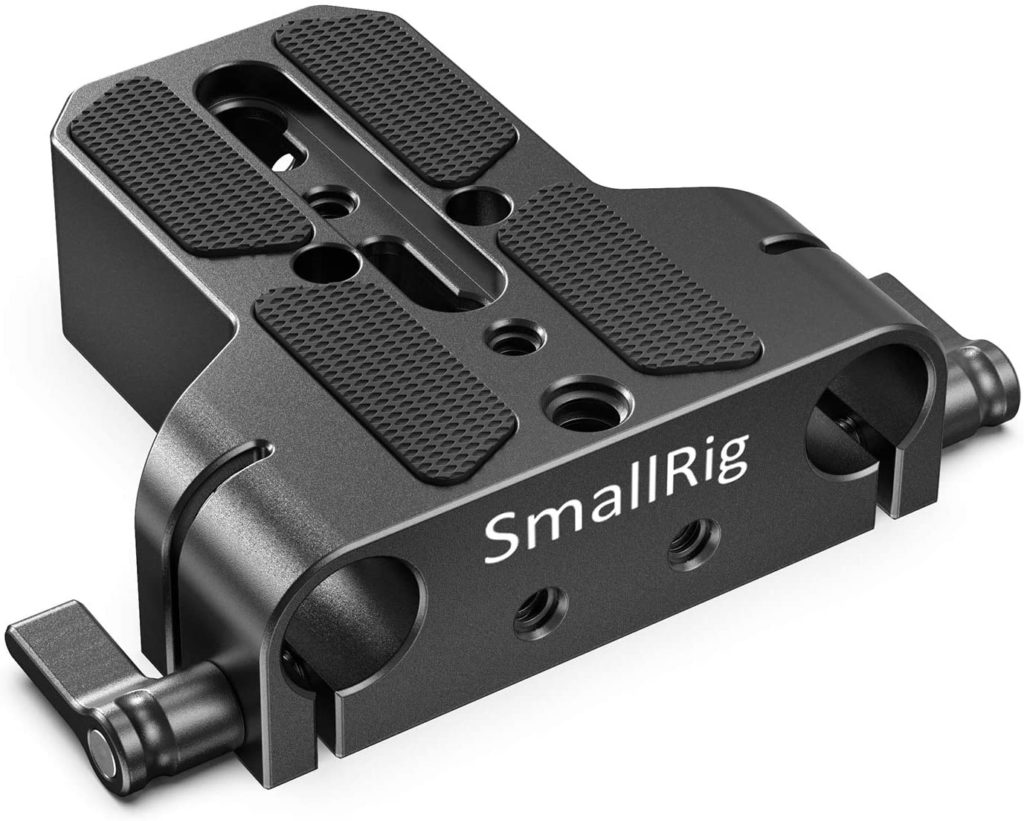
- SMALLRIG Camera Base Plate with Rod Rail Clamp
- SMALLRIG Monitor Holder Mount for Camera Field Monitors
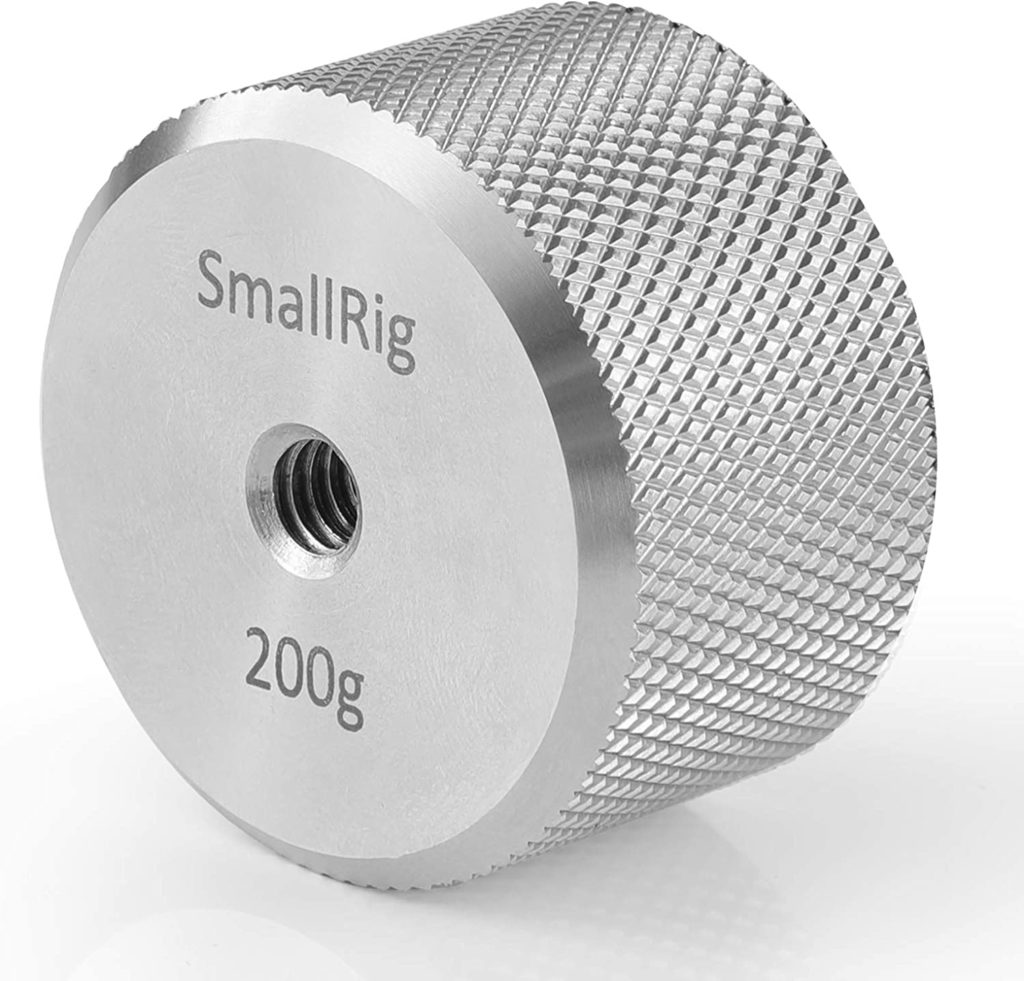
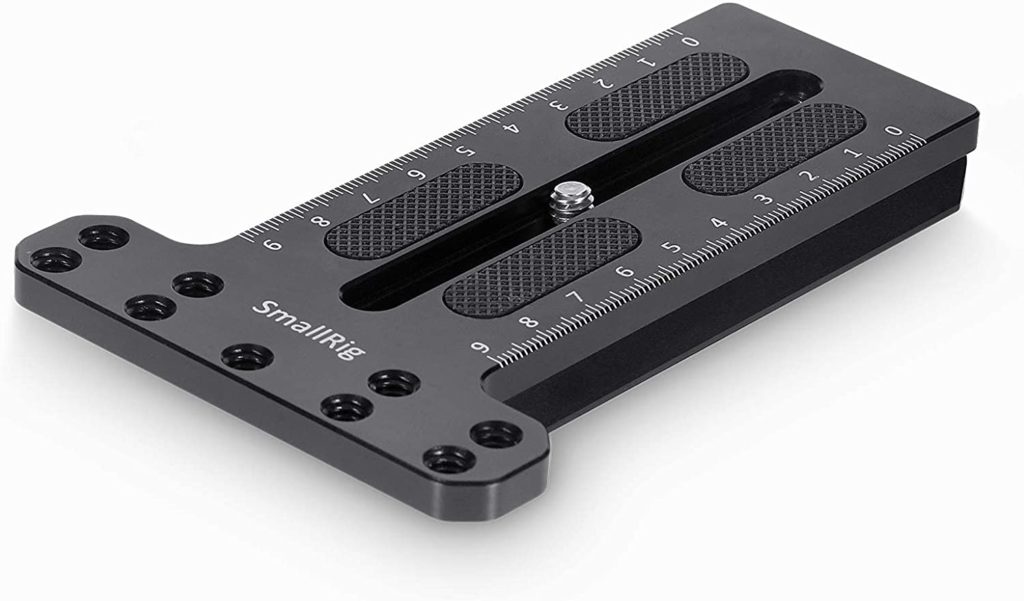
- SmallRig Balance for Ronin S
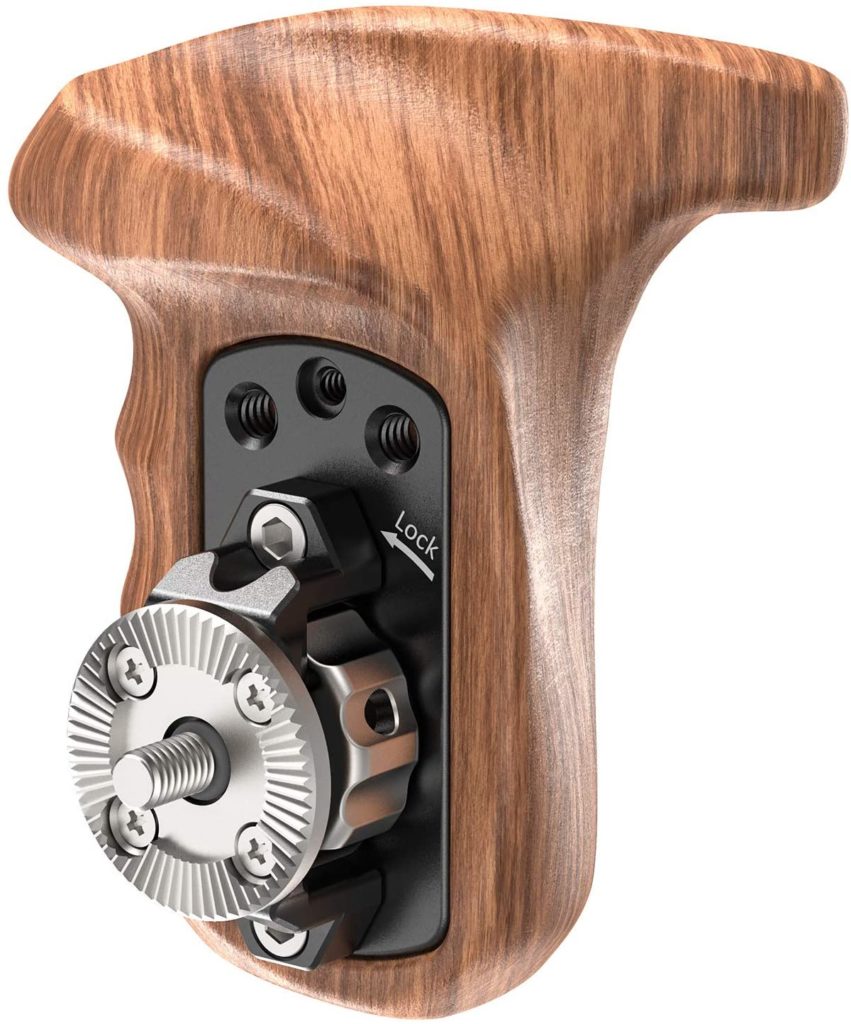
- SMALLRIG Right Side Rosette Wooden Handle
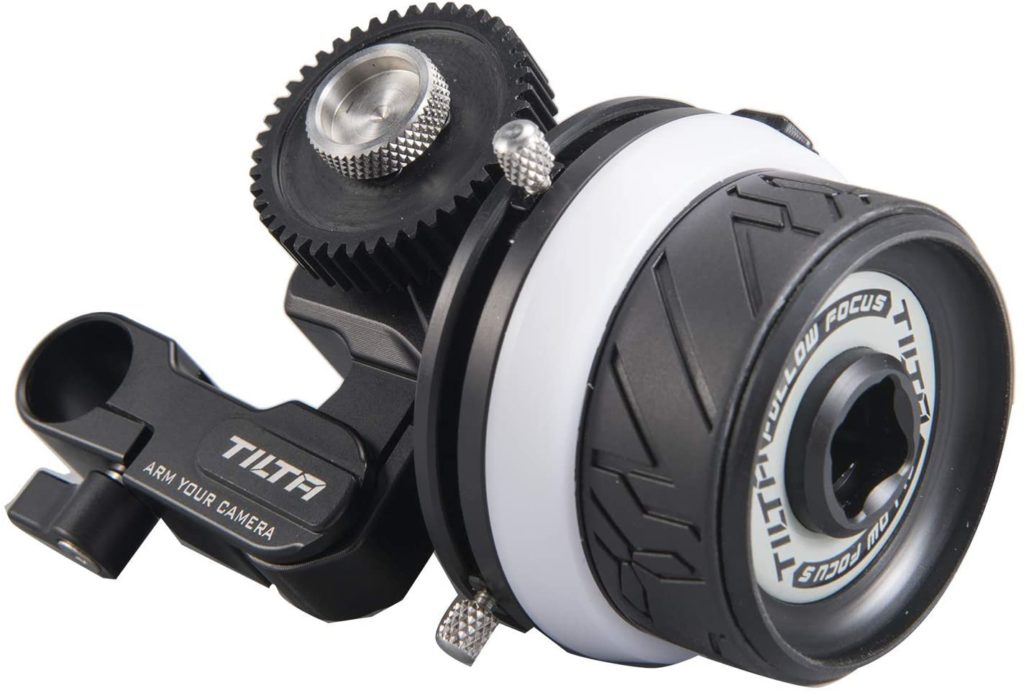
- Tiltaing Mini Follow Focus
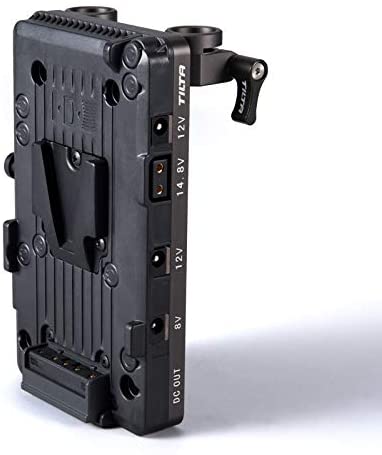
- Tilta TA-BTP-V-G 15mm LWS Rod Adapter V-Mount Battery Plate
- SMALLRIG Quick Release Camera Fixing Screw D-Ring Screws
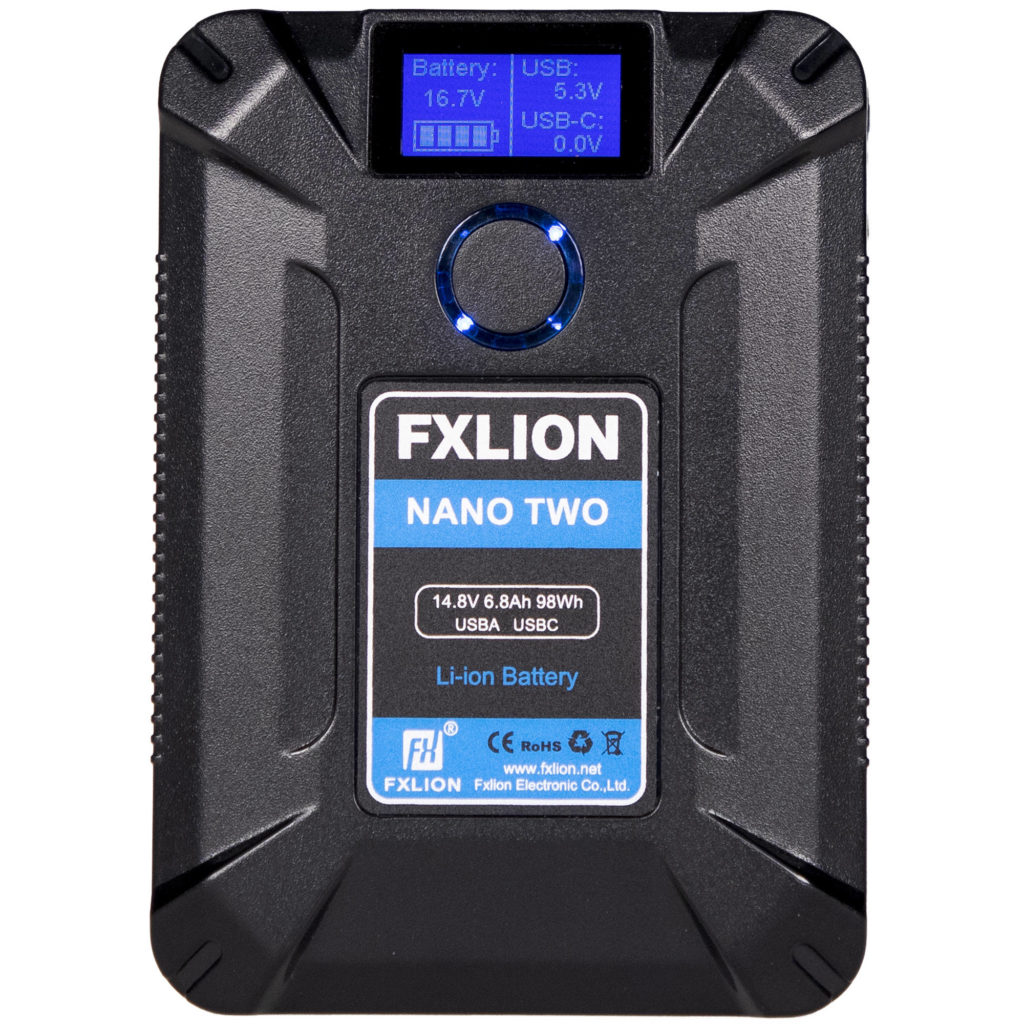
- 98w V-Mount Battery (see local dealers as generally these aren’t shipped interstate)

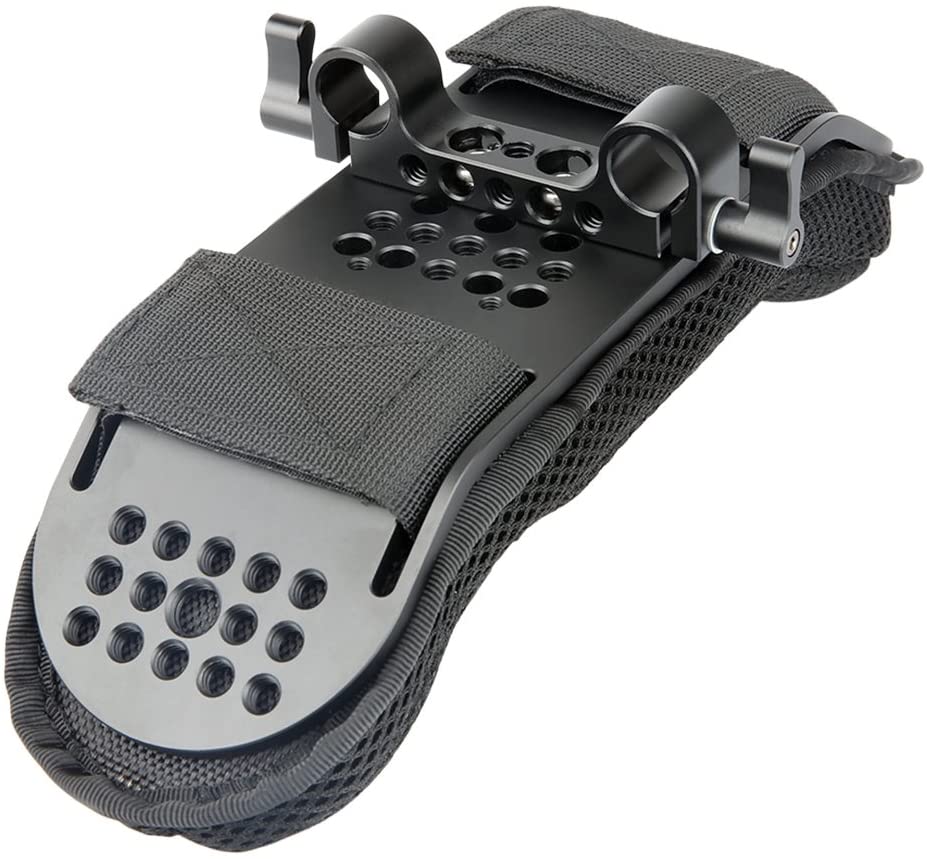
I love using the handheld rig, with the camera strap over the neck for the 3rd point of contact and the shoulder pad mounted sideways against your ribs for added comfort and support.
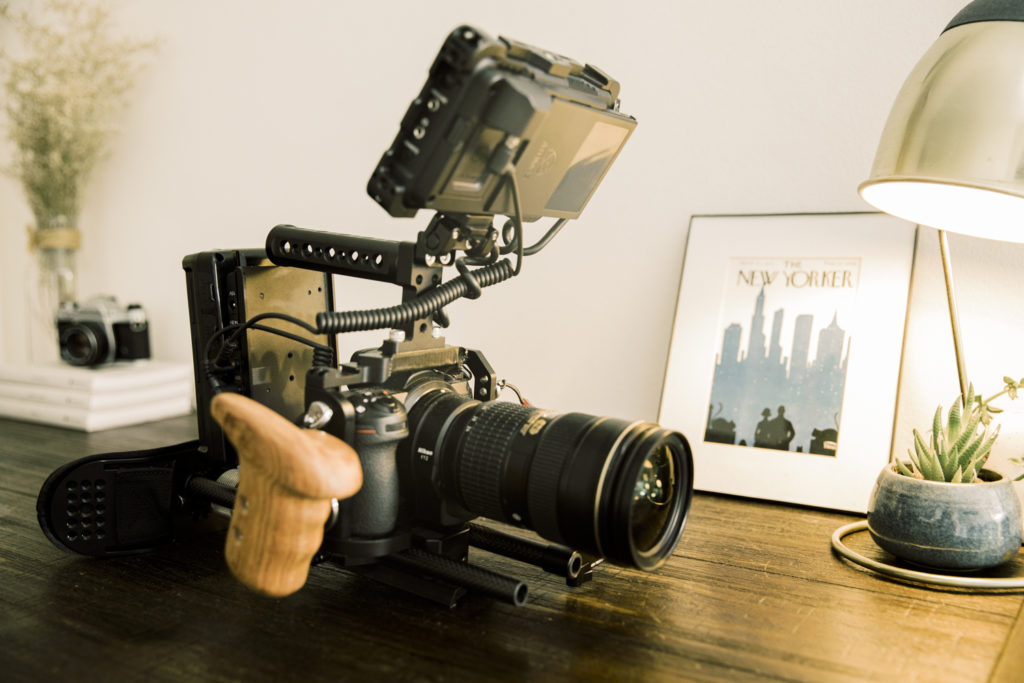
The rig is connected together using carbon fibre rods with the camera base plate, from there you can slide in the V-Mount battery connection. This connection allows you to connect up a V-Mount battery (think camcorder) for long lasting power to your entire rig (no more swapping out batteries).
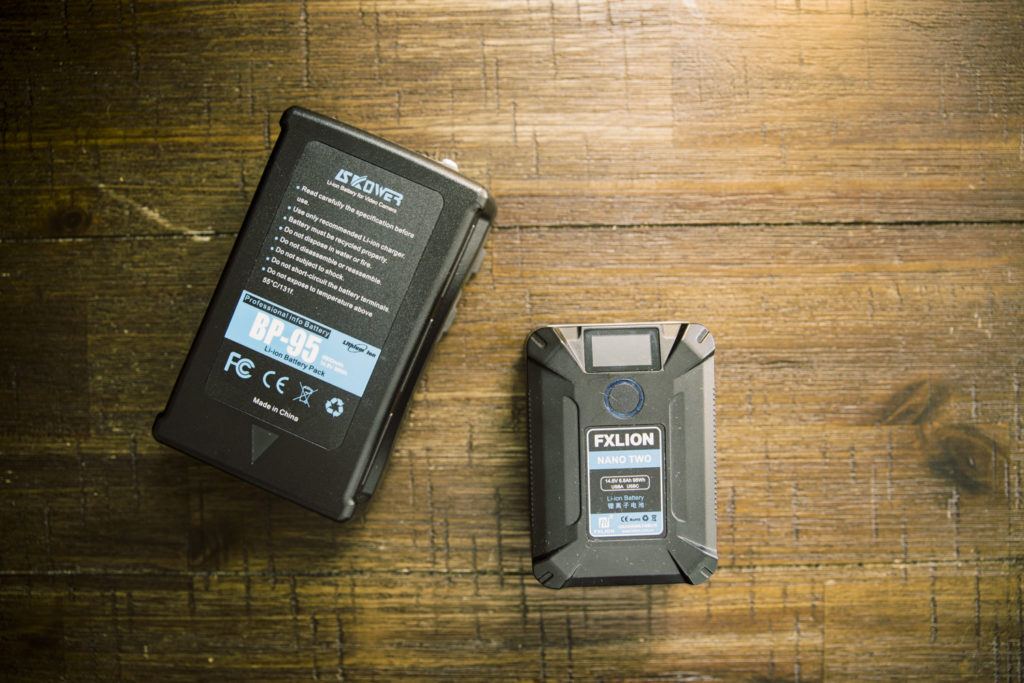
The V-mount battery does all the hard work for long hours, generally I can shoot an entire day on one battery which is connected up to my Camera via a battery replacement connector and also to my Atomos Ninja monitor. Lastly if desired, I can connect up a D-TAP connection to my run and gun light (more about that later).
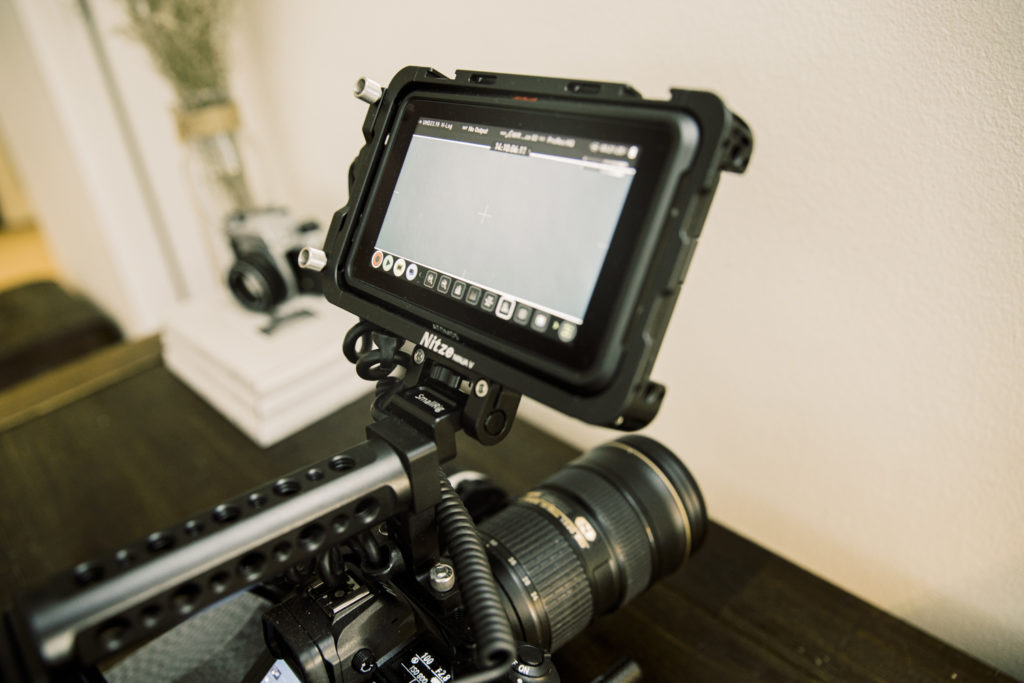
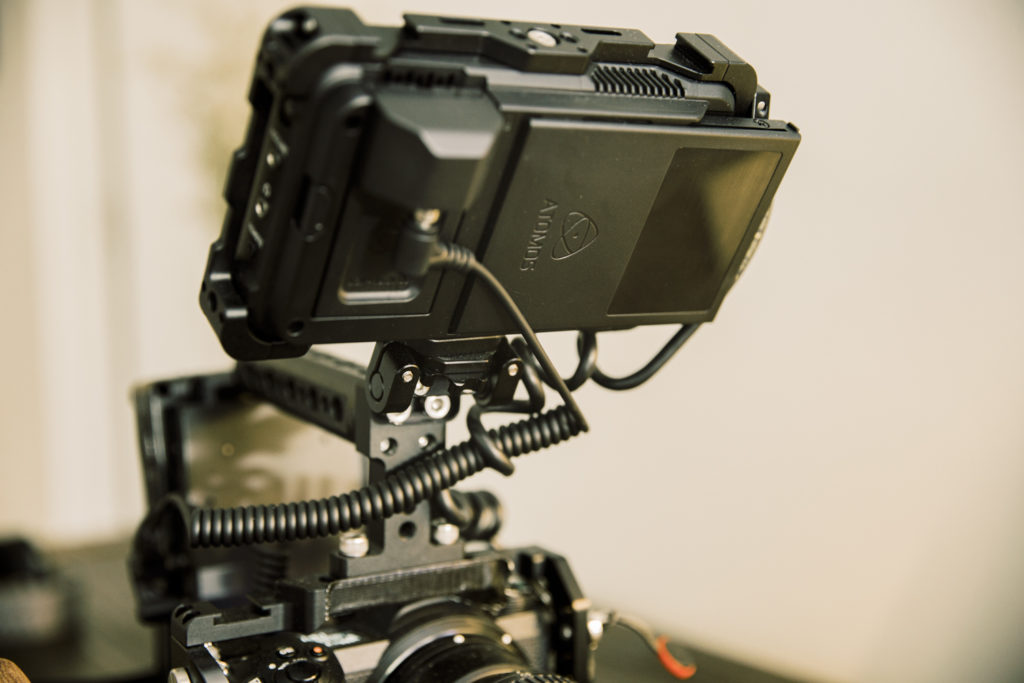
The SmallRig wooden handle makes it perfect to keep steady when shooting and the Tiltiang follow focus (which is built with beautiful gearing) is buttery smooth at pulling focus on the wedding day!
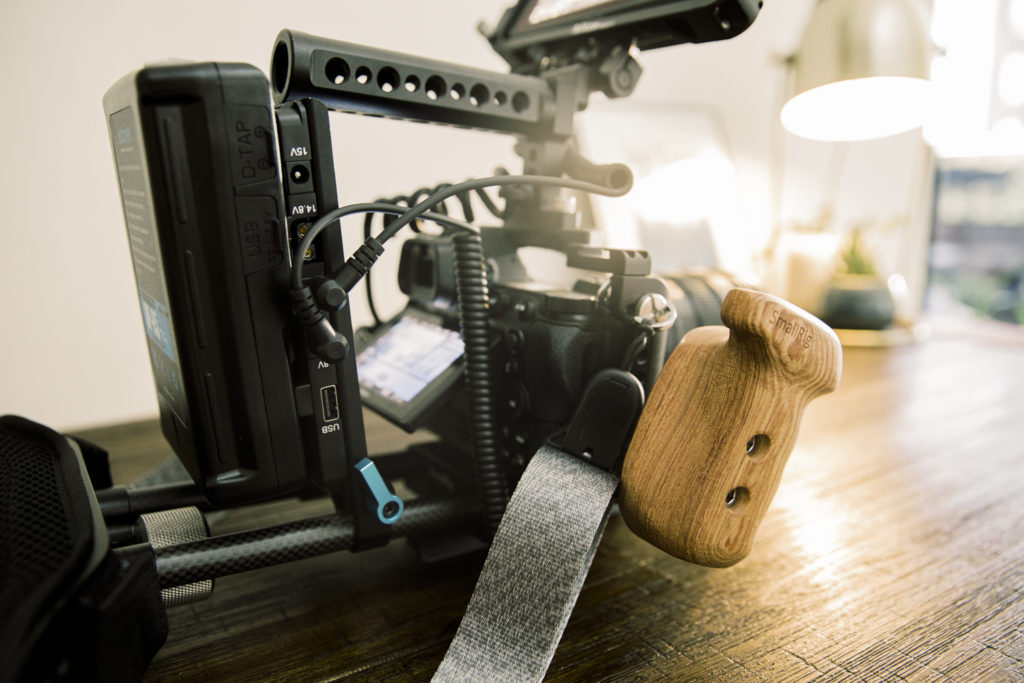
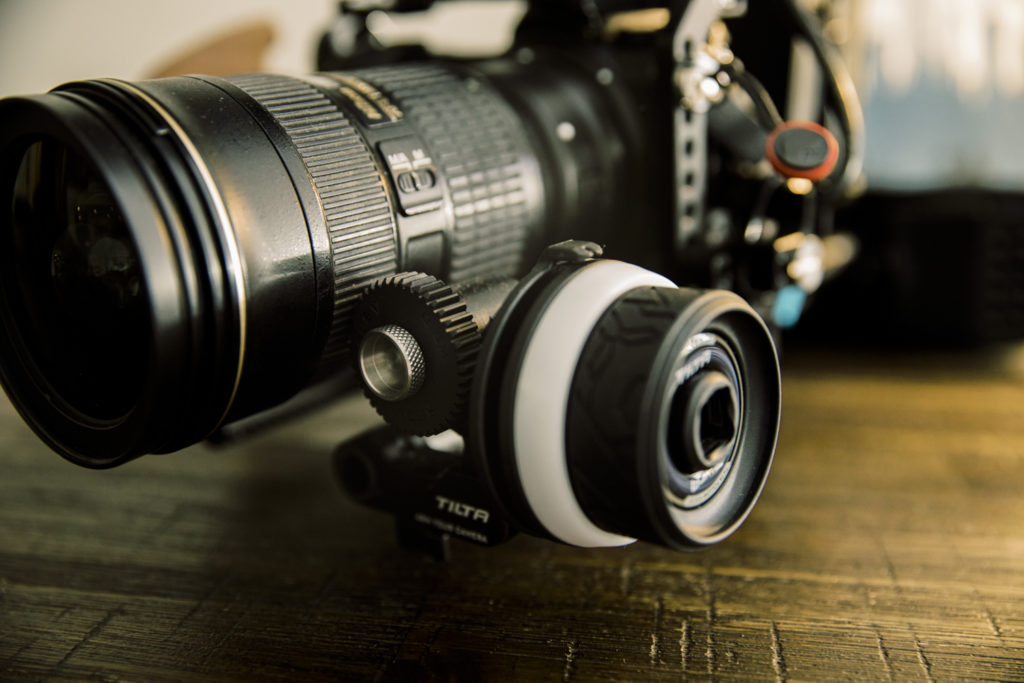
The rig can also be held using the handle, making for some nice low shots when needed, while the baseplate connected under the rig not only is great to site the camera aside when unused but can also slide into a tripod or mono pod for those moments that need extra stabilisation or no movement at all.
Other notable mentions on this rig is the coiled cables and sprigs that keep this from becoming a spaghetti of cables.
The Audio
There is no point having amazing video if you don’t have the audio equipment to back it up. You must come prepared on the day for any situation. Thats why we carry every connection for every situation.
First off the rank is the audio devices, and we can’t stress enough how much you will need to use, because if there is a fail point in the day, it’s probably going to be audio.
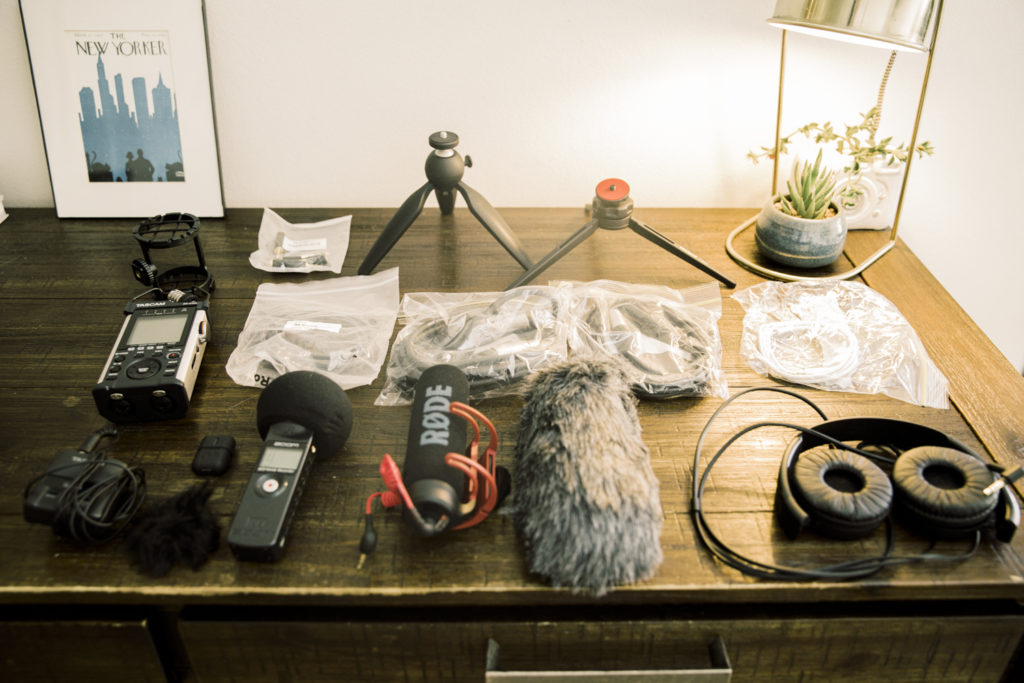
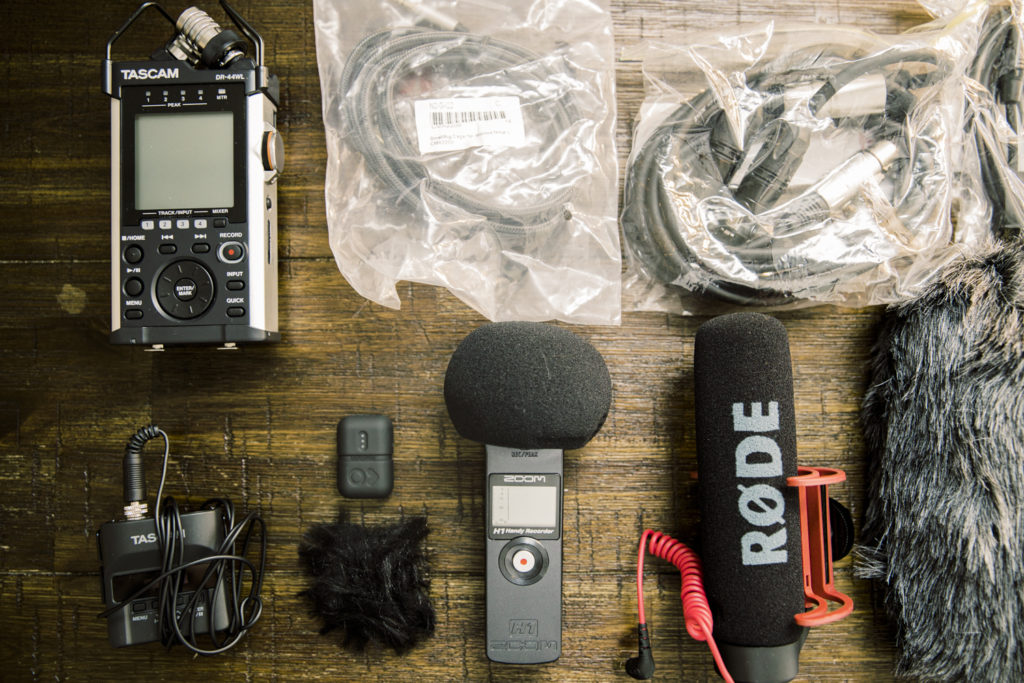
We run with 5 audio devices for the day, some running for redundancy while others are recording different sources, these are;
- Tascam DR-22WL DR-44WL
- RØDE VMGORode VideoMic GO Lightweight Directional On-Camera Shotgun Microphone
- Tascam DR-10L Tascam DR-10L Micro Linear PCM Recorder with Lapel Microphone
- Zoom H1n Digital Handy Recorder
- Instamic
It’s important that on every shoot you not only have backups, but backups of backups. What ever you think can go wrong, will go wrong, partially because some setups are out of your hands.
We recommend getting in contact with the DJ before the wedding to find out what gear they will be running, this will give a smooth transition on the day when you are using their equipment to grab audio from.
A general setup for us will to have the Rode shotgun mic on the camera for backup (it’s much better audio than what your camera will produce).
For the morning letters it will be the Tascam Lapel mic.
For the ceremony it will be the Tascam lapel mic on the groom and the wireless & magnetic Instamic on the microphone, while the Tascam DR-44WL is connected either directly to the speaker via a XLR or 3.5″ connection, if thats not available then a line out from the mixer board.
The Tascam DR-44WL is great because you can record two levels at the same time, saving you if there is a quite and loud person talking.
For the reception I will again use the Instamic on the microphone as backup while the Tascam DR44-WL will be connected to the mixer or speaker.
The Zoom H1 is used as a backup or for laughing tracks at tables during speeches.
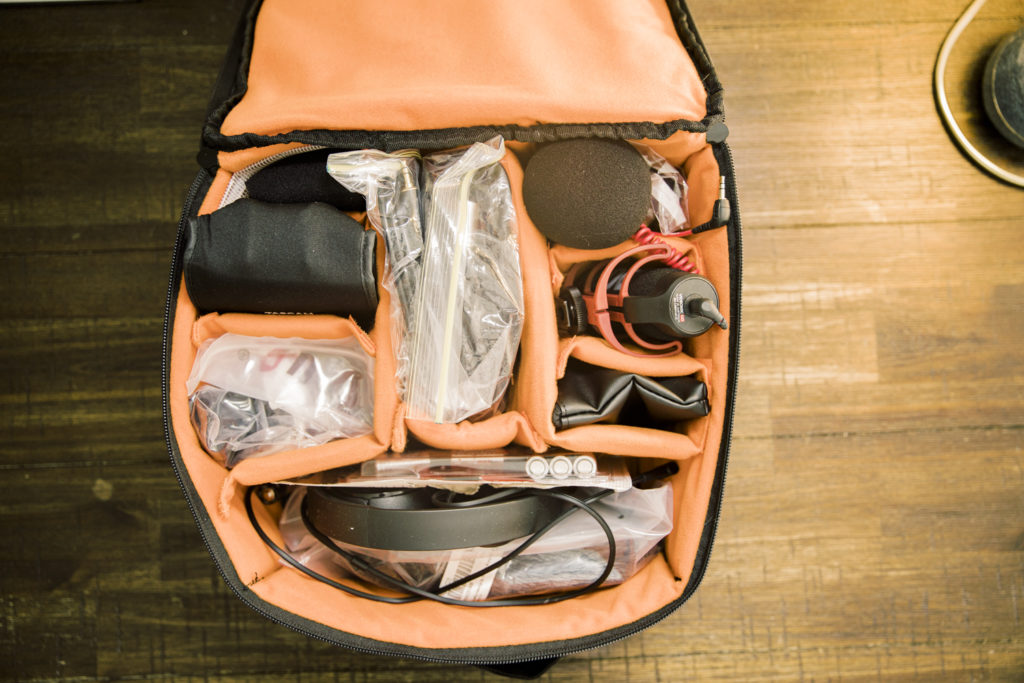
When packing your bag full of audio gear, don’t be shy, have cables that connect to everything that you will encounter. You will need 1/8 inch, 1/4 inch cables and adapters, and also XLR and RCA cables in various lengths.

Make sure you keep your batteries charged
Make sure you always format your memory cards

The Drone
Wherever possible I love to use drone photography. It’s a great way to use for establishing shots of the ceremony, reception or in some cases, with the key shots of the couple.
Generally I use it very sparingly, but by doing so it creates a sense of space and cinematic drama that I just love!
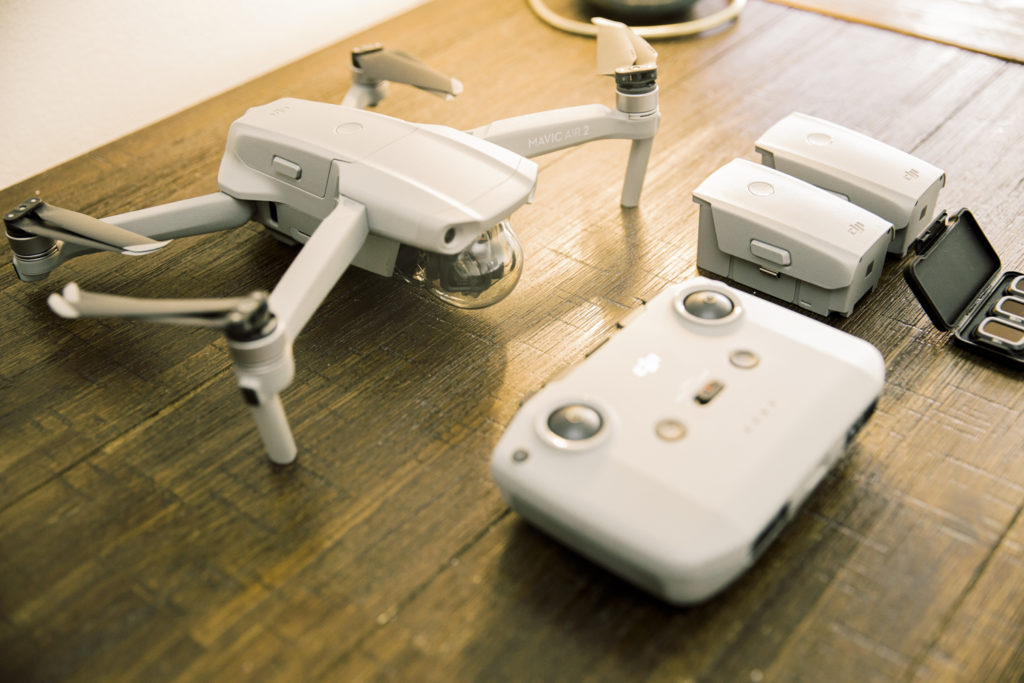
I am using the DJI Mavic Air 2, which is incredibly easy and fast to operate. It’s lightweight design makes it ideal to bring along to a wedding, while it’s 4k 60fps can look silky smooth.
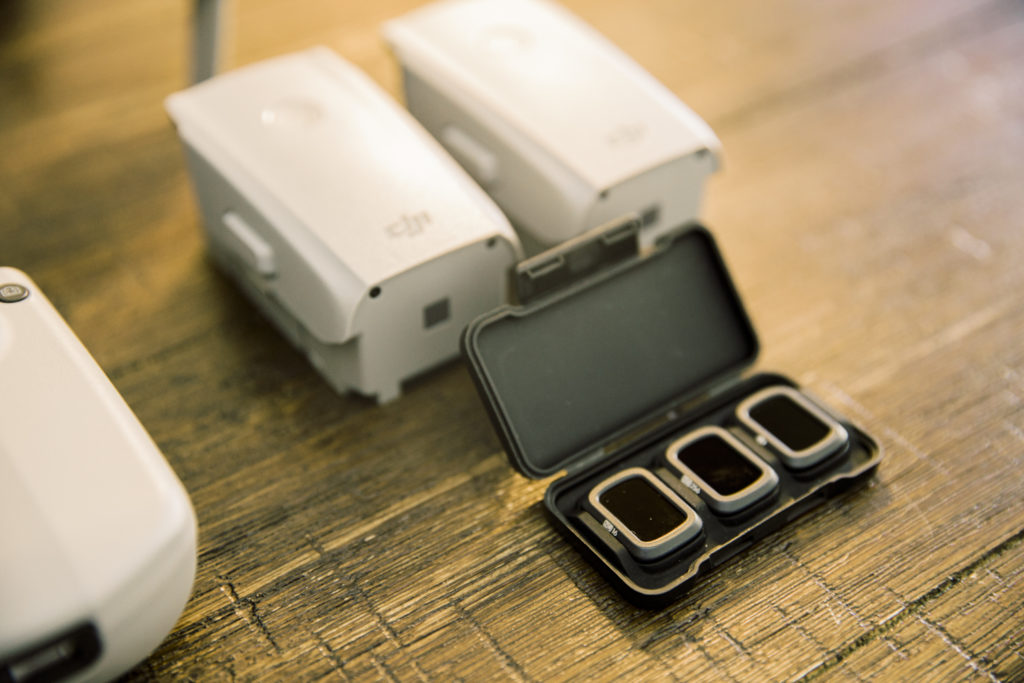
Make sure to take with you ND Filters too, you want to keep to the 180 rule when filming, a topic I will get into in a future date.
The Lenses
I keep it pretty simple with my lenses, unlike photography, its not as easy to swap out lenses throughout the day, especially on the gimbal as that needs to be collaborated every time for the weight.
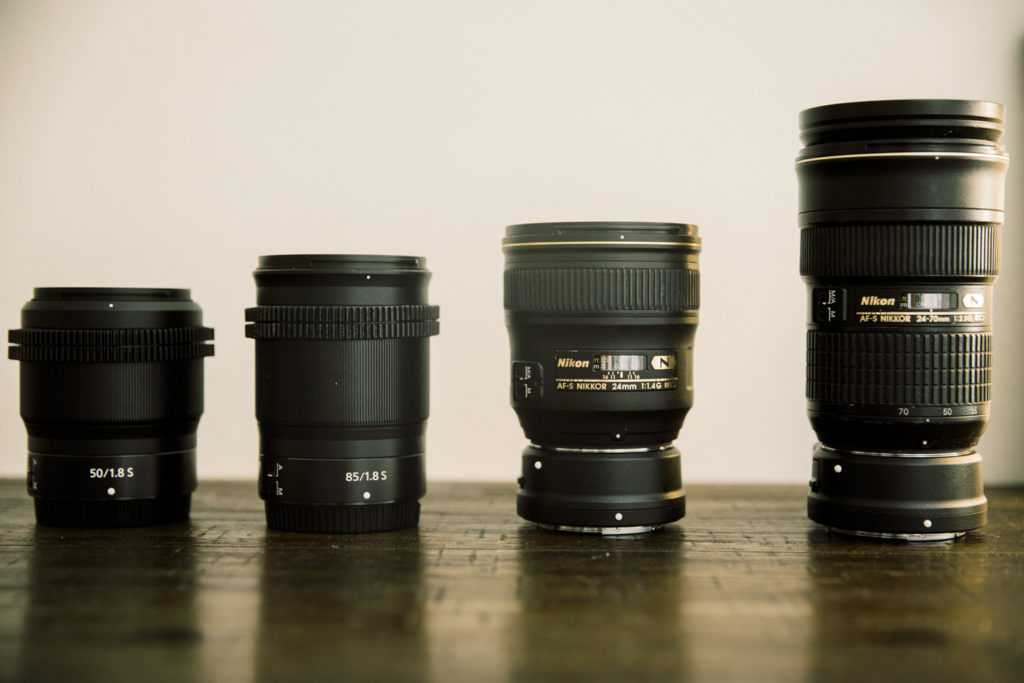
Generally I use the wide Nikon 24mm 1. 4 on the Ronin S for those smooth establishing shots.
While the Nikon 24-70 f2.8 sits on the handheld camera rig. This allows me to quickly go between wide and zoom, especially handy if i’m a solo shooter.
If there is more time, or there is plenty of space available, I may swap out the 24-70 and use the Nikon 50mm 1.8s with the Nikon 85mm 1.8s as they both give 2 more axis of stabilisation and look amazing wide open for that signature cinematic look.
The Lighting
There are so many options when it comes to lighting, however it’s also very important to be prepaired. The DJ or venue may not be as equiped as you need them to be, so its imperative, especially if you are recording speeches, that you have good lighting.
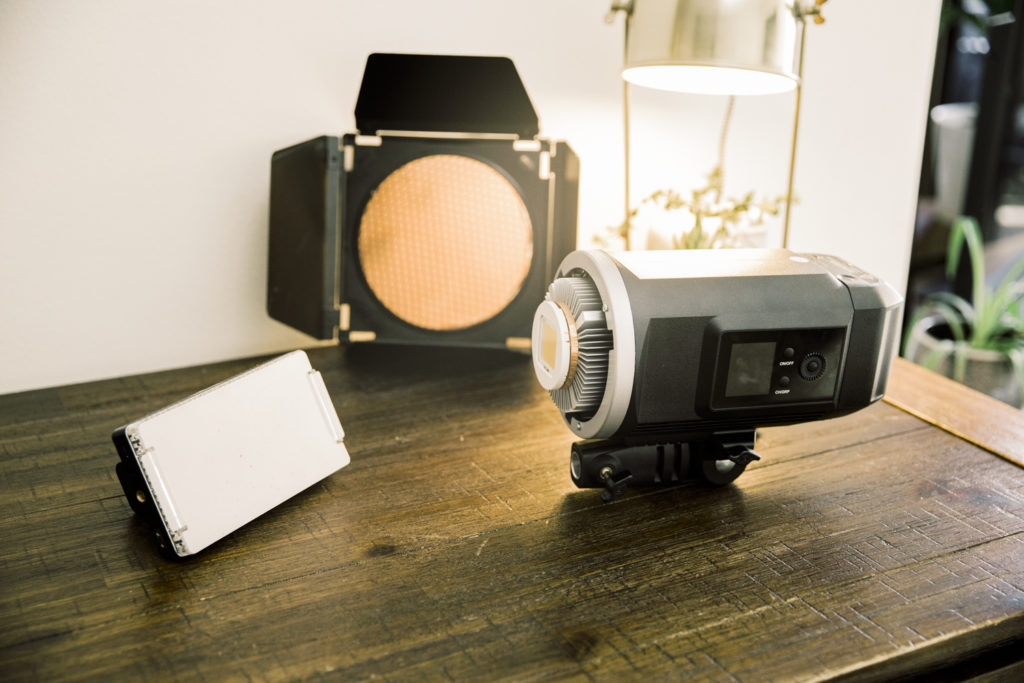
As a mostly solo videographer, I find using the Godox SLB60W is perfect to shine the light on the speeches / cake cutting or dancing. Although it is balanced to white (5600K) you can use the honeycomb barn door adaptor that connects via a bowens mount, allowing you to warm your light to indoor temperatures using gels.
Another great reason to go the SLB60W is for the ‘B‘ in the name, meaning battery. This means no plug ins and long extension cables needed. When time is money, this is so invaluable as you can put your light anywhere, all while triggering it with a remote control in your pocket.
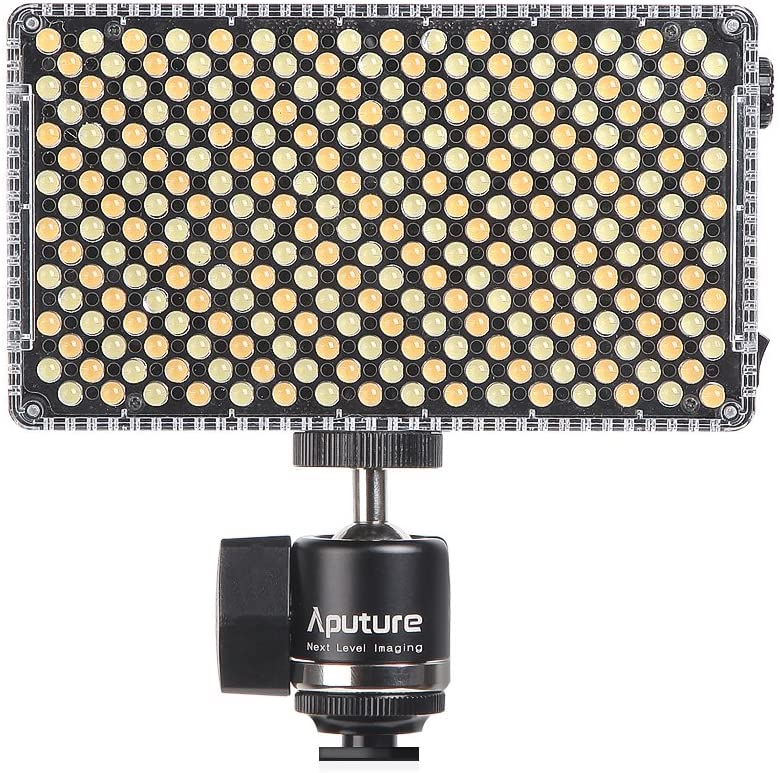
The other light which is equally great as a run and gun light on the camera or on a stand is the wireless Aputure AL-F7. This little guy can change temperatures between 3200-9500K and runs on Sony (or equivalent) 6600mAh batteries, which last forever! Perfect as hair light.
The Filters
You can’t get into wedding videography without filters. To keep your footage looking professional with that natural blur, you are going to need filters. I run all my lenses with the Nisi’s Pro Nano variable ND filters to control the light, especially as I like to shoot wide open allowing my shutter speed to be twice my frame rate.
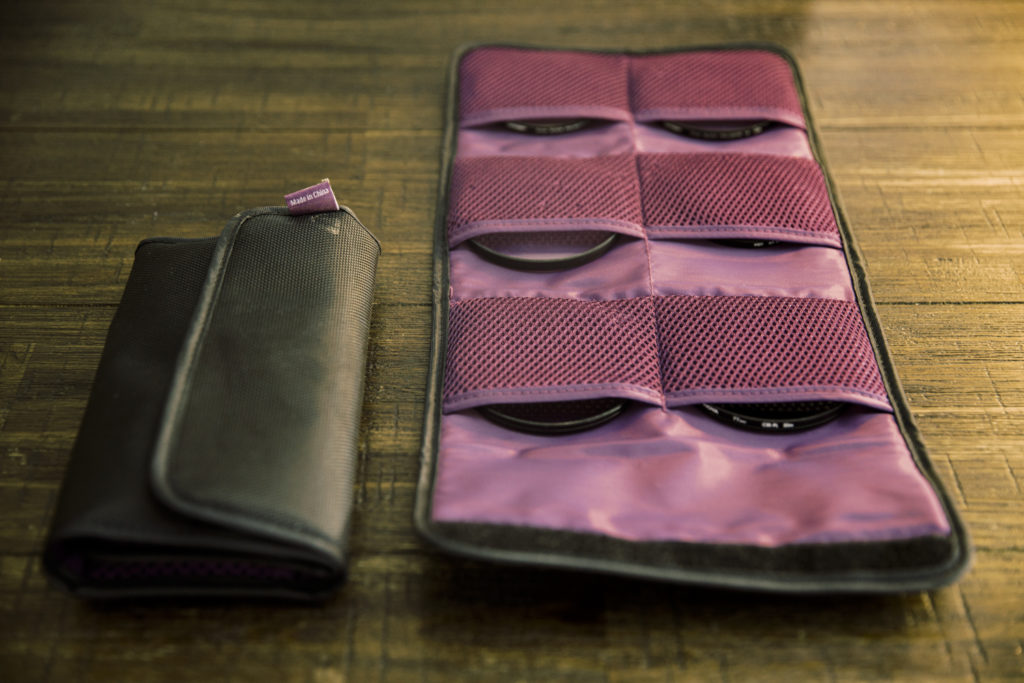
I also love using my Tiffen Black Pro-Mist 1/4 filters. These give amazing blooms to light sources that give it a more cinematic look over the harsh contrast digital cameras give.
The Bits and Bobs
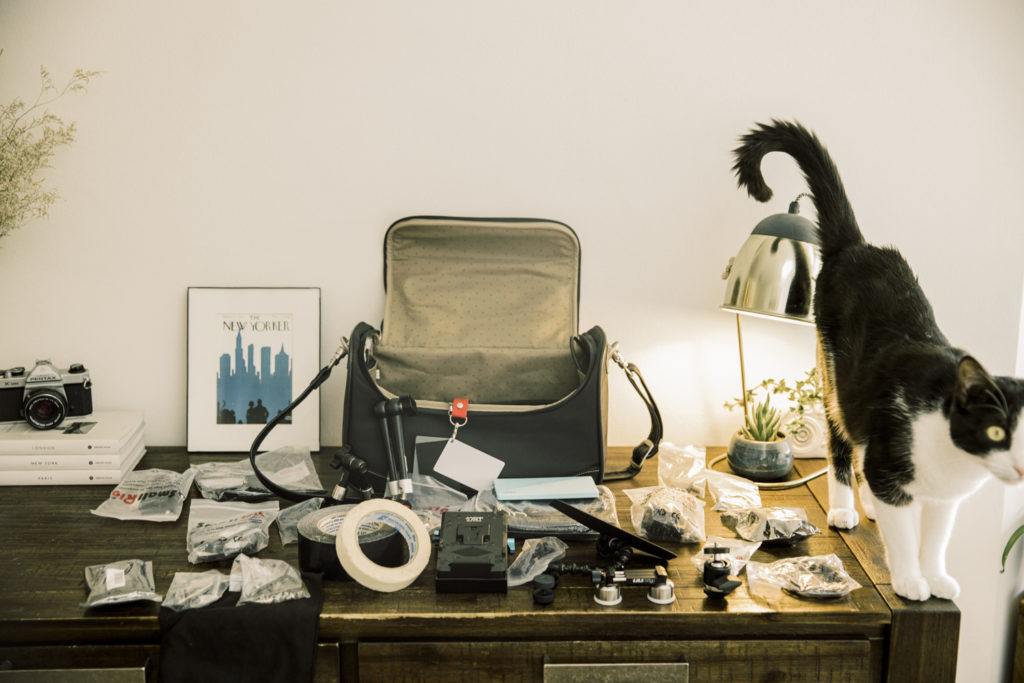
What would we do without all the other bits and bobs that get us through a weddings day. I will always bring along with me a bag that has everything that I will need to get through.
This bag will have a heap of batteries for all the devices, Gaffa tape to keep cables out of the way, velcro straps to tie anything up, powerbanks to charge phones, counter weights, adjustable arms, mini tripods, etc etc.
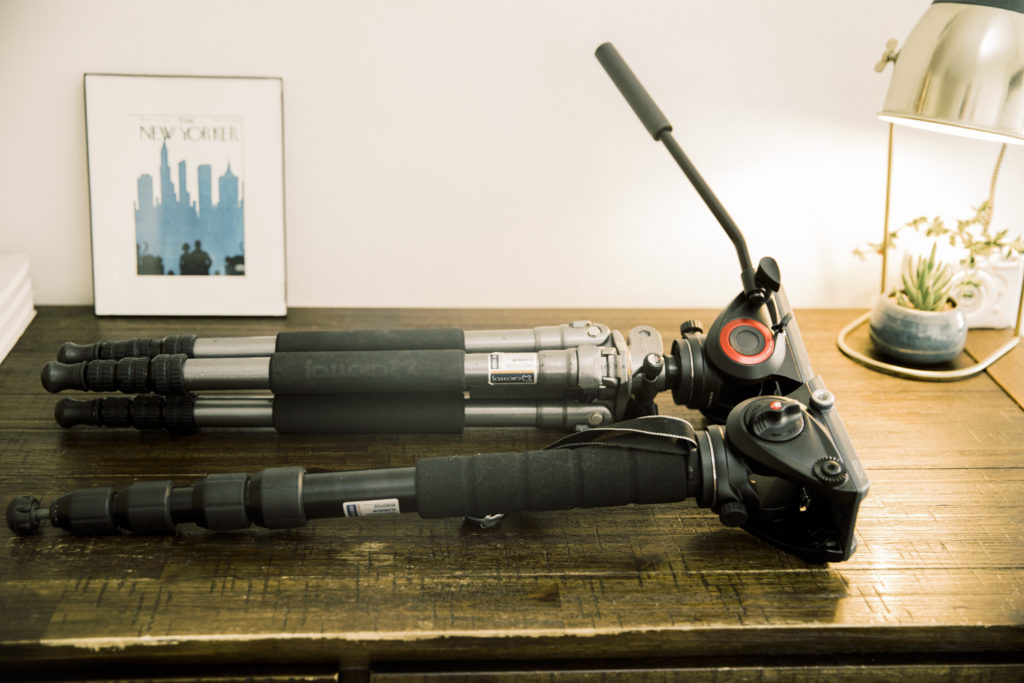
I always bring along my trusty tripod and monopod with fluid heads that are perfect for slapping a camera on for those moments of steadiness.
I have also started using this horrible looking device around my waste which is a fishing rod holder.
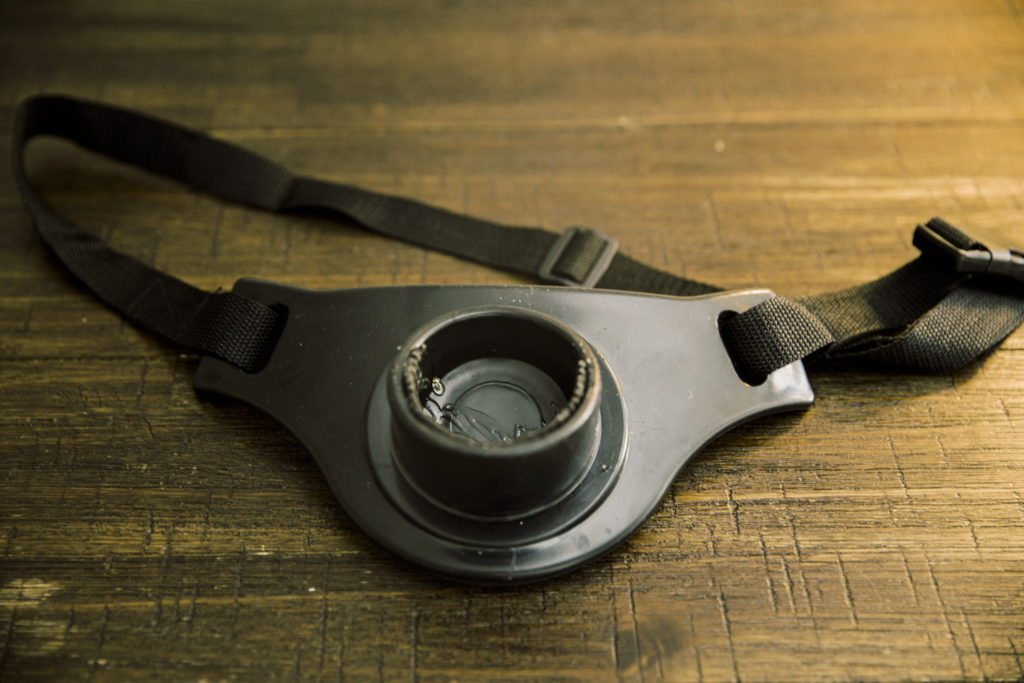
Its great if you are doing extensive gimbal work and need to rest your gimbal against your body. This allows it to sit in the housing giving back energy to you for later, genius!
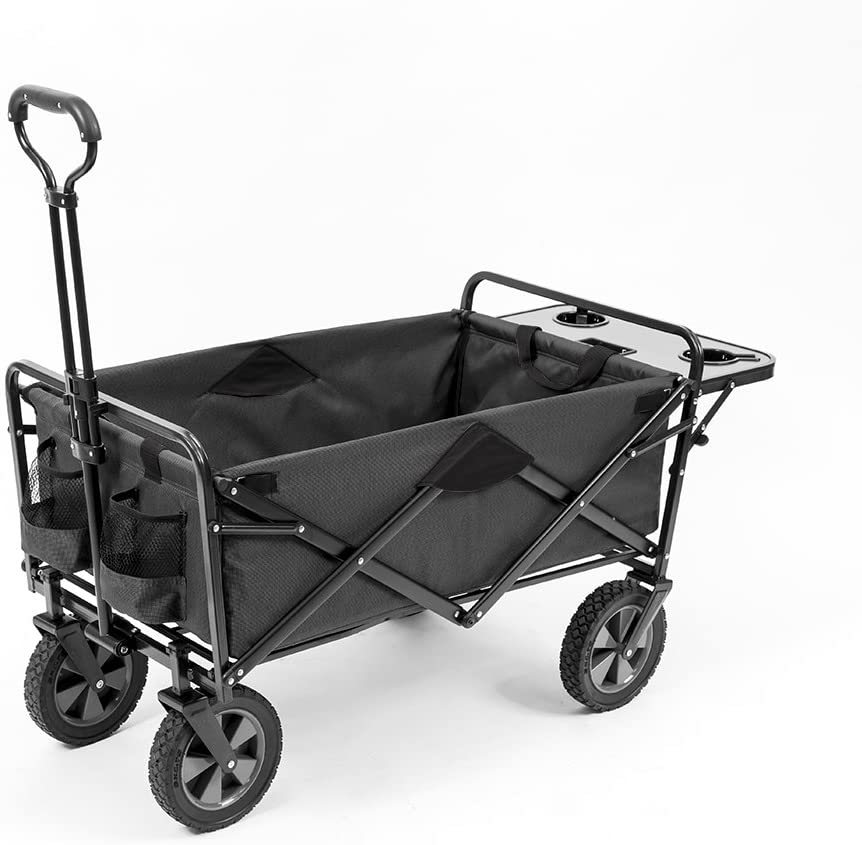
And how do I cary all of this around? Mostly by hand with what I need. But going between the car or venue, to save time, we have invested in the Mac Sports Collapsible Outdoor Utility Wagon It saves a heap of time, just throw in all your gear, take it to the venue, then collapse the wagon and tuck it behind the DJ.
And lastly, have back ups. I know i’ve said it a lot in here, but it really is important to be organised and expect the worse. It’s an expensive undertaking to buy two of everything, but you will be forever thankful you did if something drastic goes wrong!
If you have any great ideas that you have found to make your day easier, or you just have to have, reach out to us on our socials, we would love to hear all about it!
