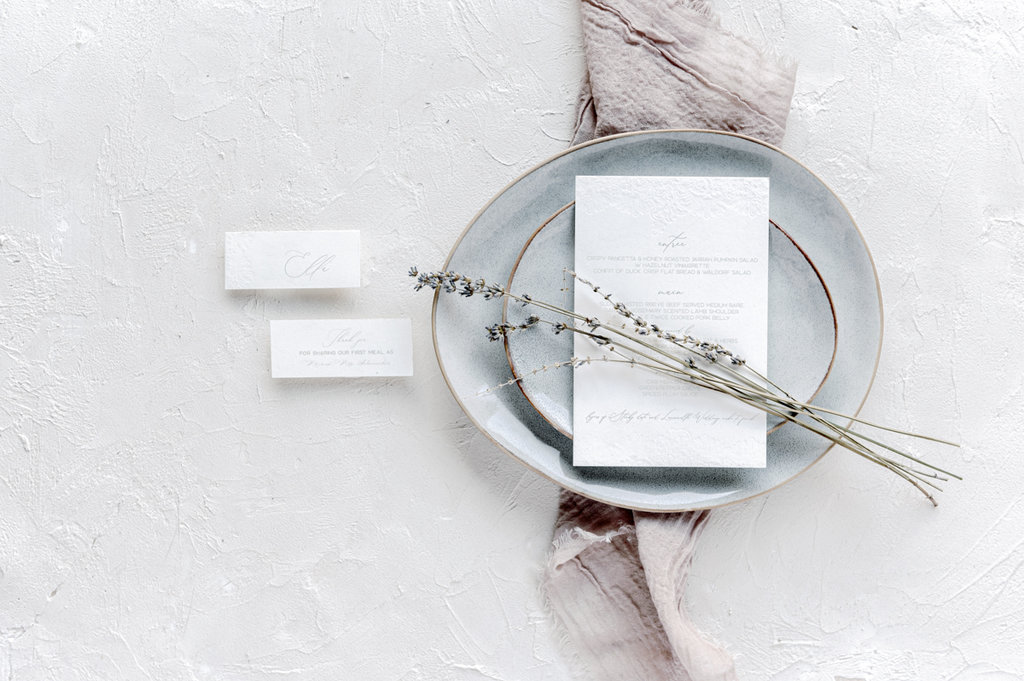
This is a fun and inexpensive method to create a styling board for your photography flat lays in 5 easy steps. Be that you are shooting onsite or at home, these styling boards will fill a void and keep your photos looking professional, every time.
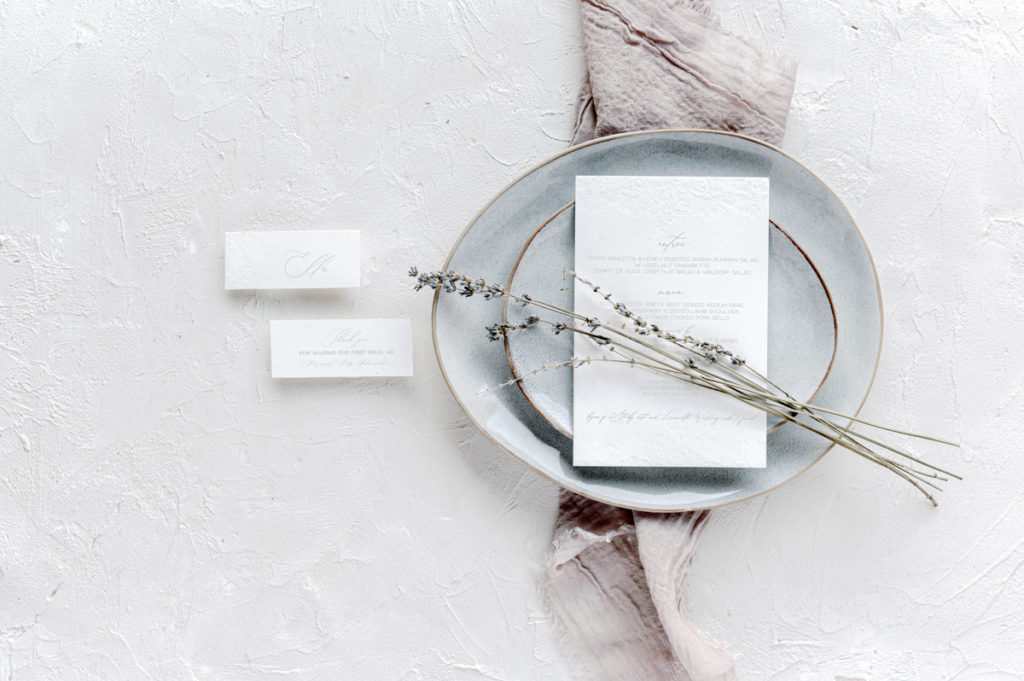
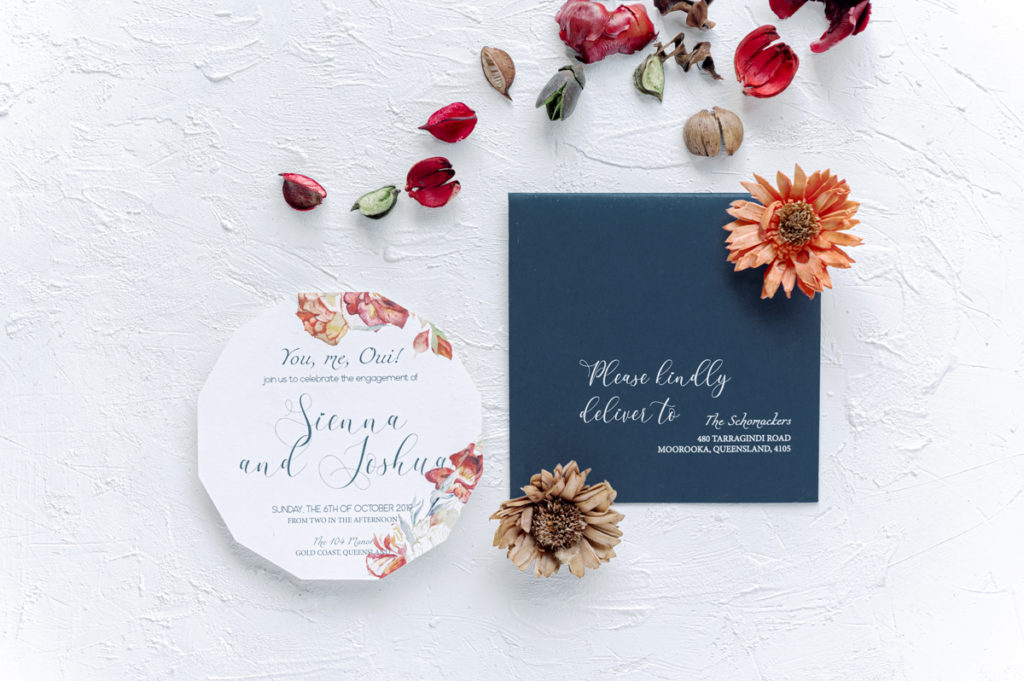
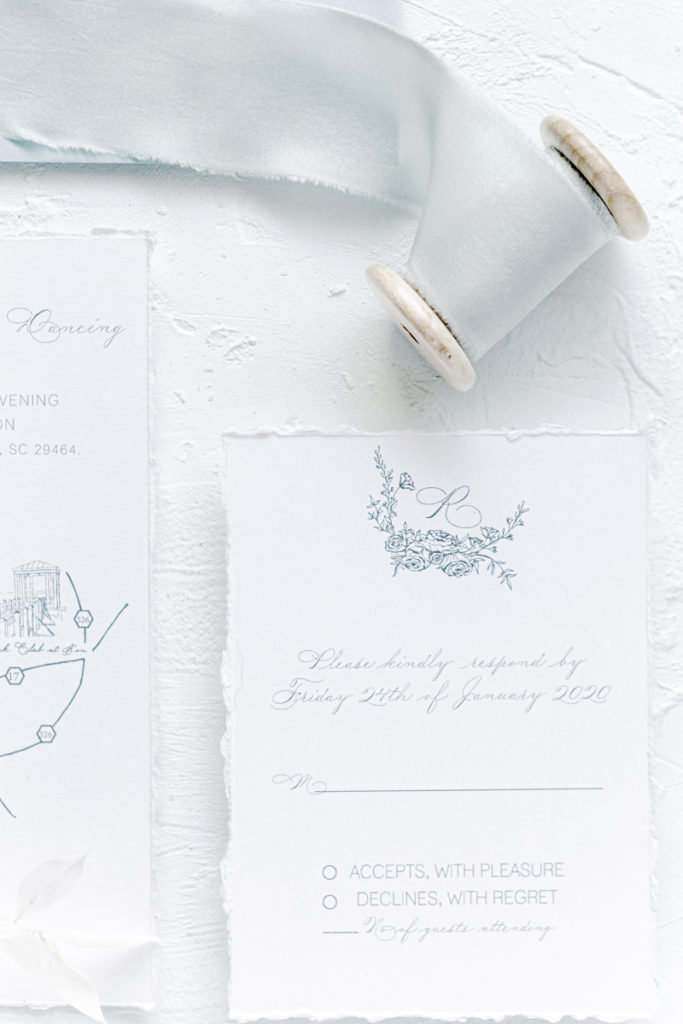
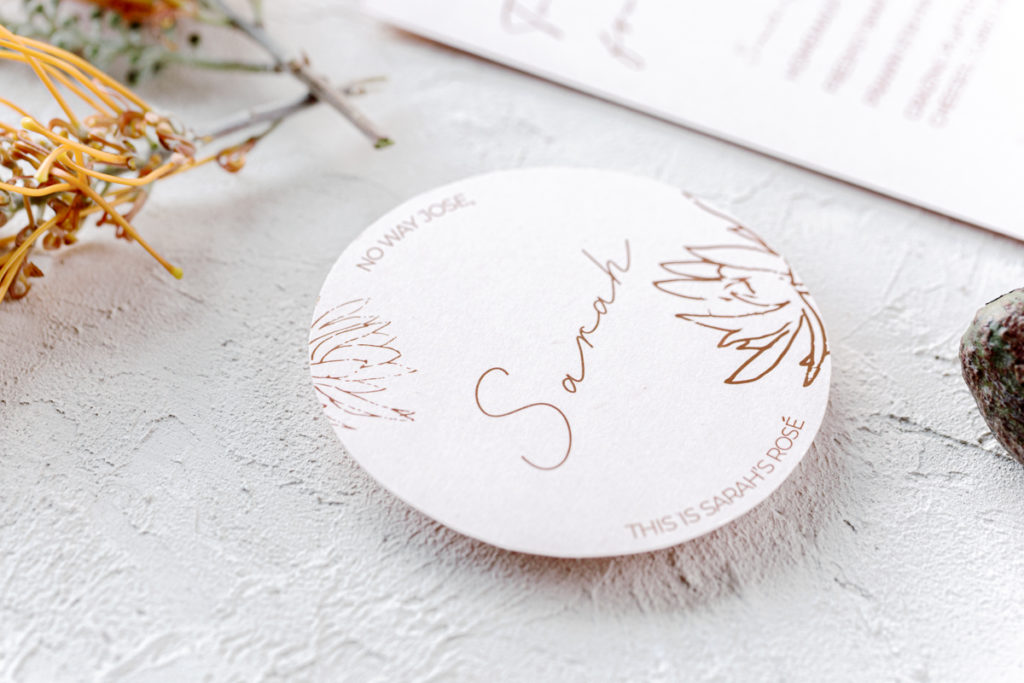
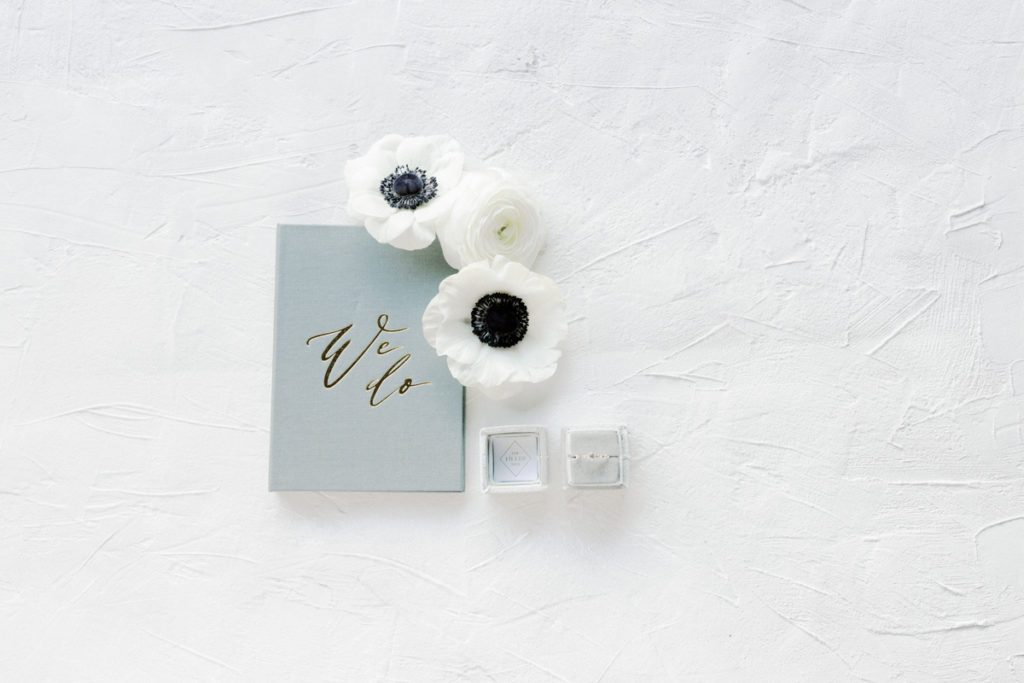
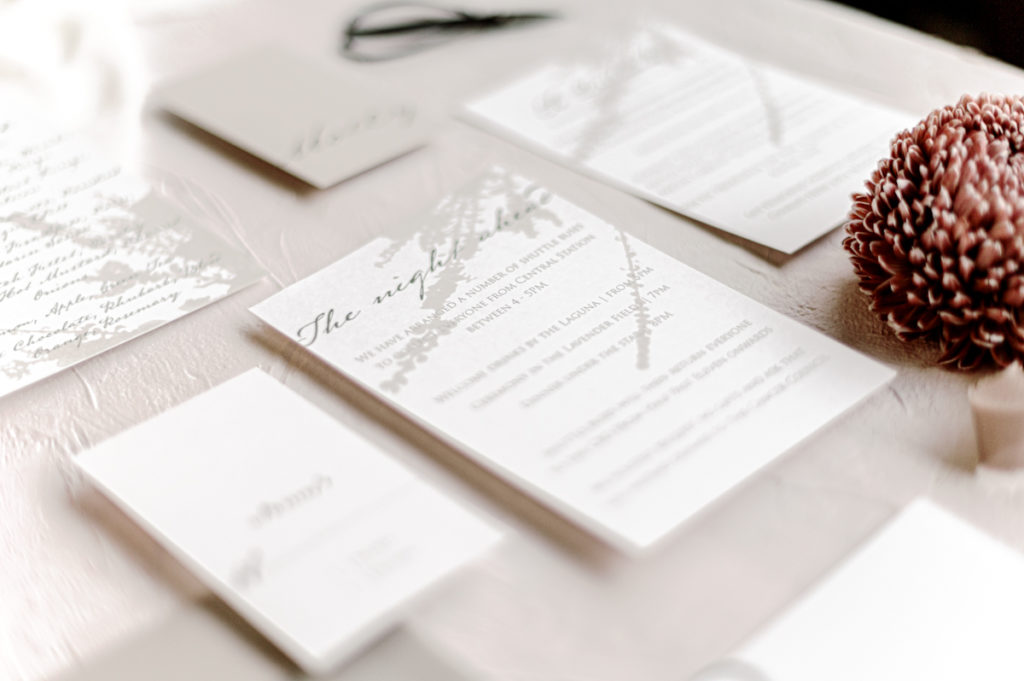
If you are new to flat lays, in short they are small confined space where the product is displayed and shot from above. Styling boards are a great tool for taking flat lay photographs of invitation suites or details on a wedding day.
But Shyani & Simon, why not just use a wooden table or tiled floor? Good Question! It maybe that the table or floor that you want to shoot on is located in poor lighting, with a styling board however, you can move it to where it works for you, allowing you to get creative with the optimal lighting conditions and camera setups available.
We are based in Sydney where wedding photography can be photographed in 45 degree days (C) with direct harsh sunlight, this just will not do, so to be able to move around is so very important to give our clients the best photos we can.
WHAT YOU WILL NEED TO GET STARTED
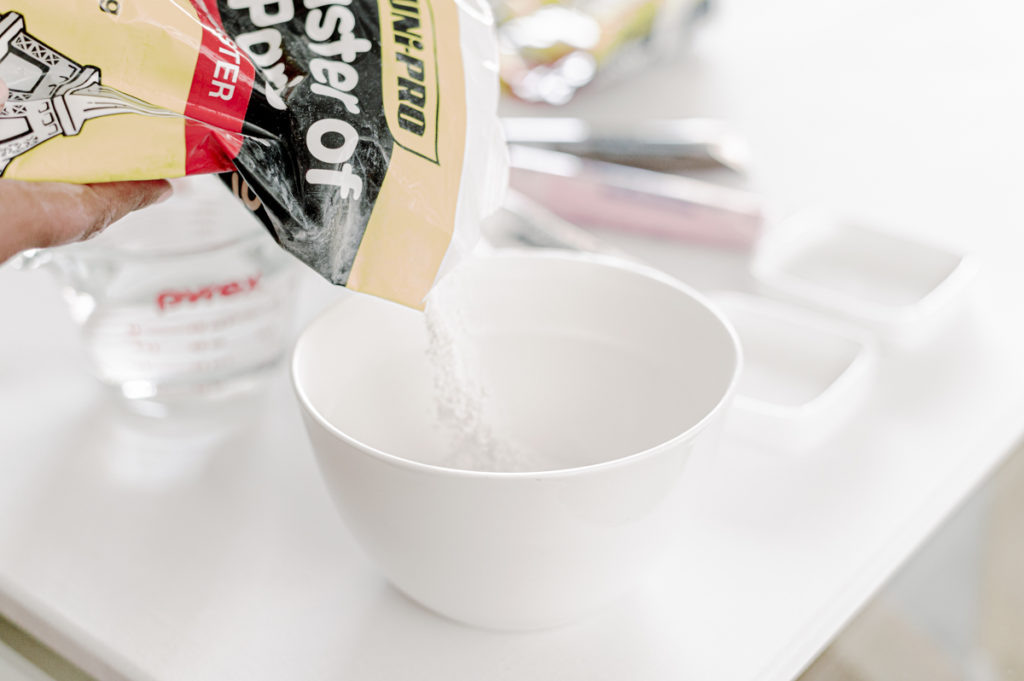
- Plaster
- Joint knife – 1x big and 1x small (we got cheap plastic ones from our local hardware store, Bunnings)
- Canvas board (preferably flat)
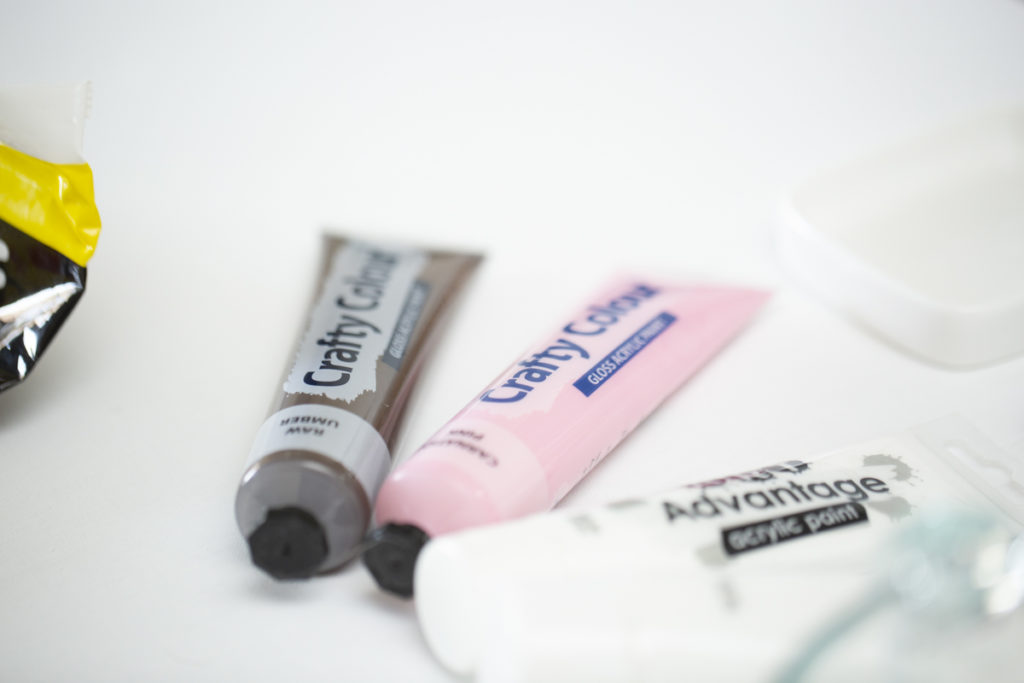
- Acrylic Paint (get creative)
- Paint brush + roller brush
- Mixing Bowl
TOP TIP
Have the bride send you a photo of the stationary beforehand so you don’t end up taking all the boards you own in every colour. Meaning you bring only what works with the theme of the wedding, saving time and space.
BONUS TIP
Also have the bride bring along the stationary and menu to the room they get ready in so you can get the photos of it in the room along with all her accessories.
Step 1. Put canvas down on a table – put a sheet down to assist with cleanup after. I prefer using canvas over plywood because I find the plaster sticks better. I’ve tried plywood before and found that the plaster crumbles and cracks making a mess and not lasting as long as I would like.
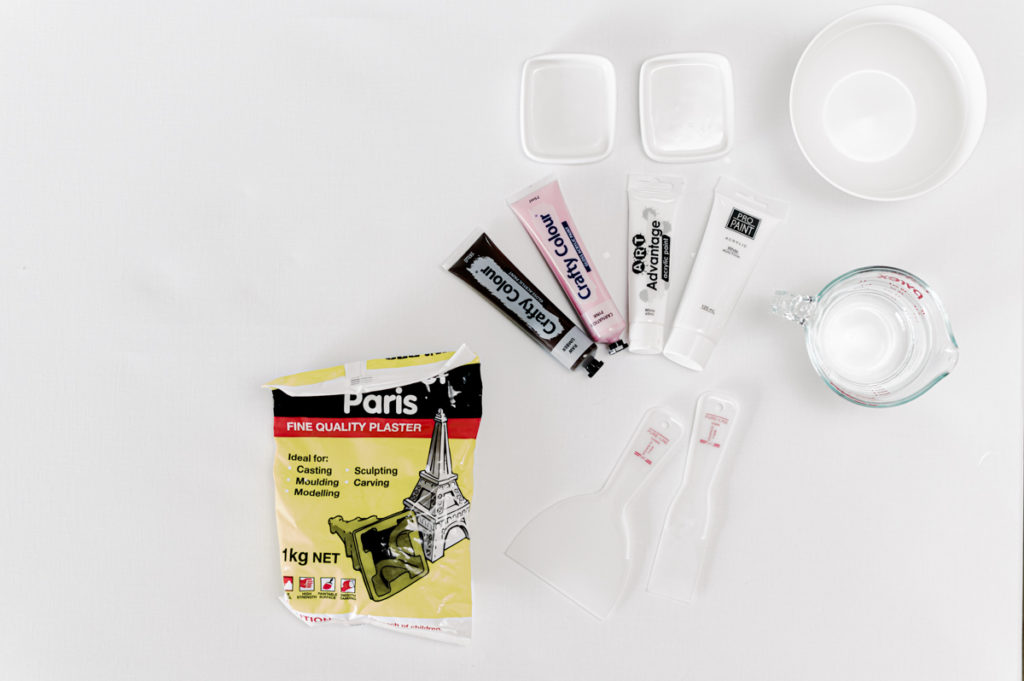
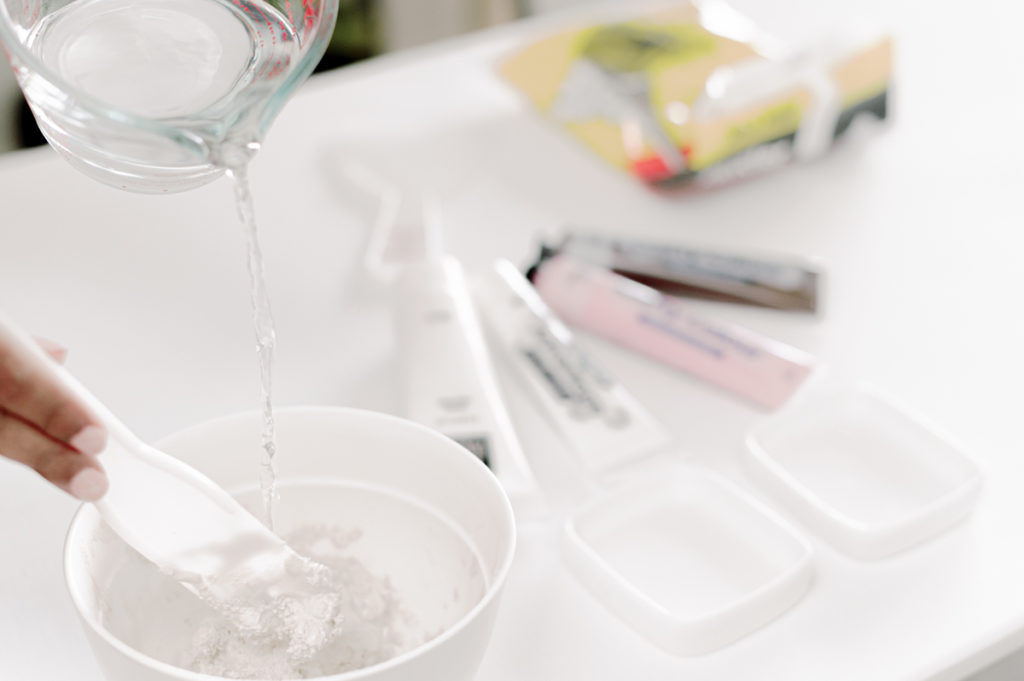
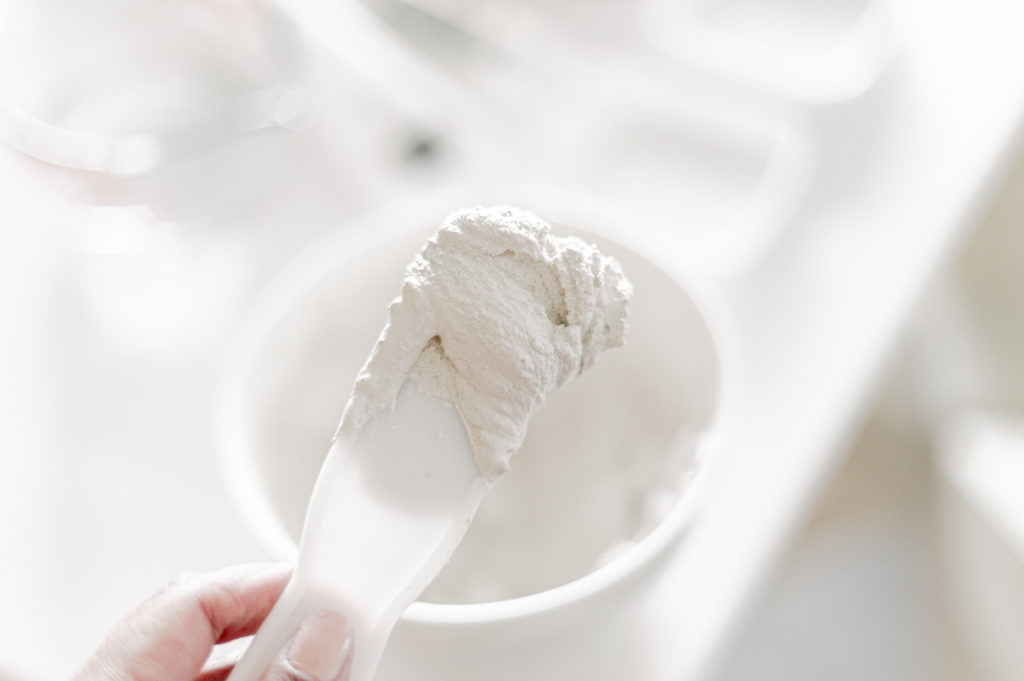
Prepare plaster as per instructions and mix well (if it gets too runny, just add more plaster!). It’s important that the mixture is not too watery – you should be able to hold the paddle upside down and the plaster should stay put.
Step 2. Use the large joint knife to dab the plaster onto the canvas and smooth it out to the desired texture (this is the fun part). Try going in different directions so you don’t make “patterns”
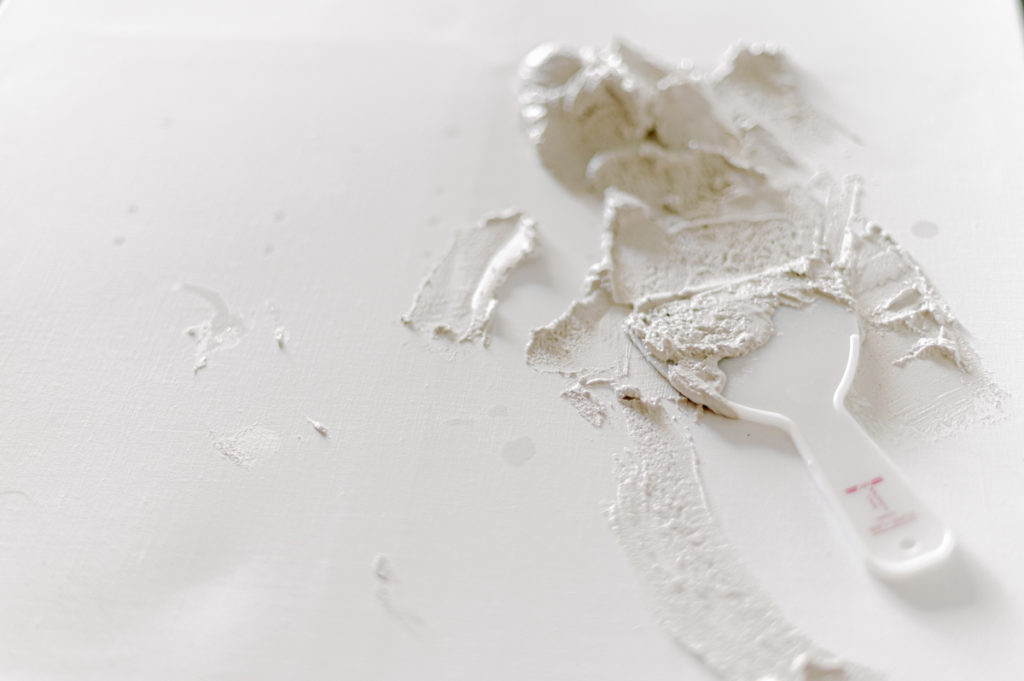
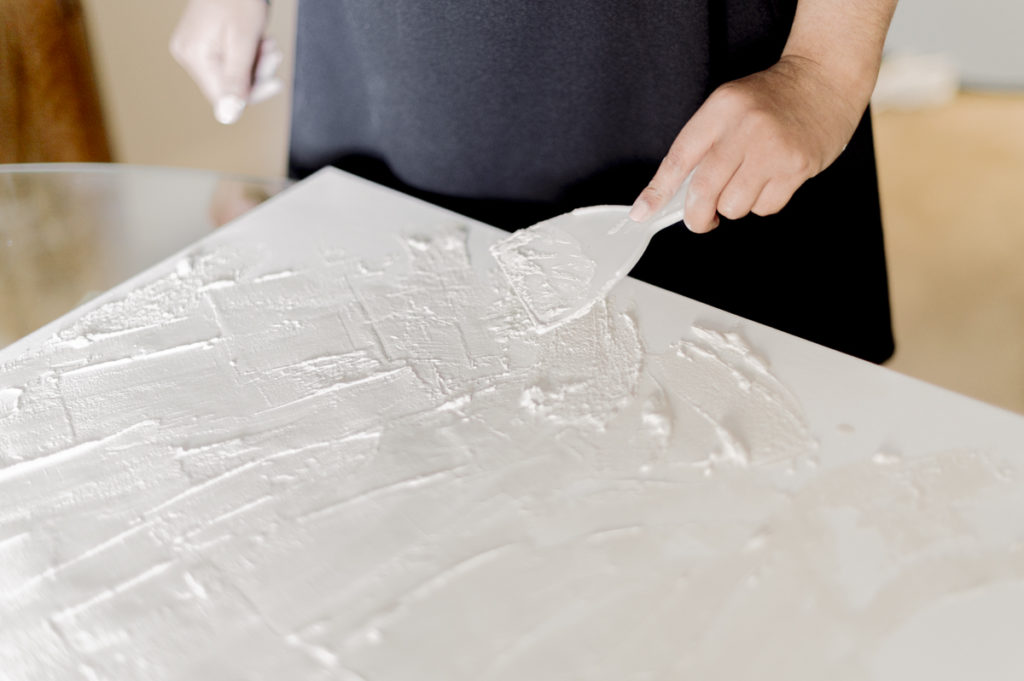
Step 3. Wait for the board to full dry – this could take a few hours – if possible, leave it out in the sun.
Step 4. Paint – you can get as creative as you like with this step. I used a LOT of white as a base coat and a mixture of pink, brown and white for a more “dusty rose” colour. I didn’t cover the entire board with the paint because I prefer a more “imperfect” look.
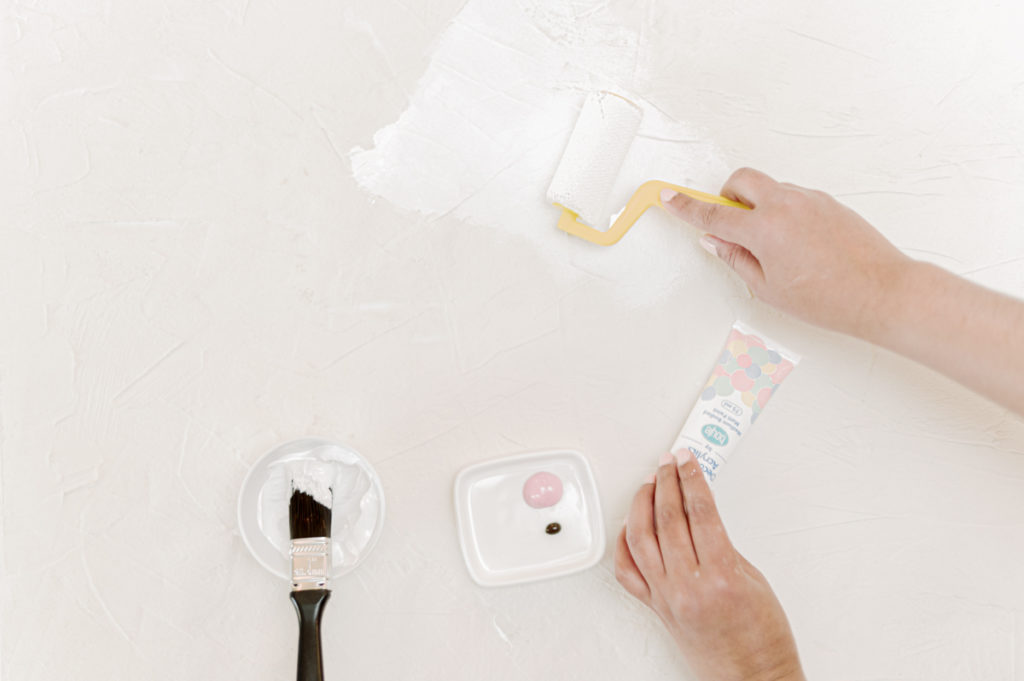
Step 5. Wait until the paint has completely dried out and its time to style away!
WHAT IS IN OUR STYLING KIT?
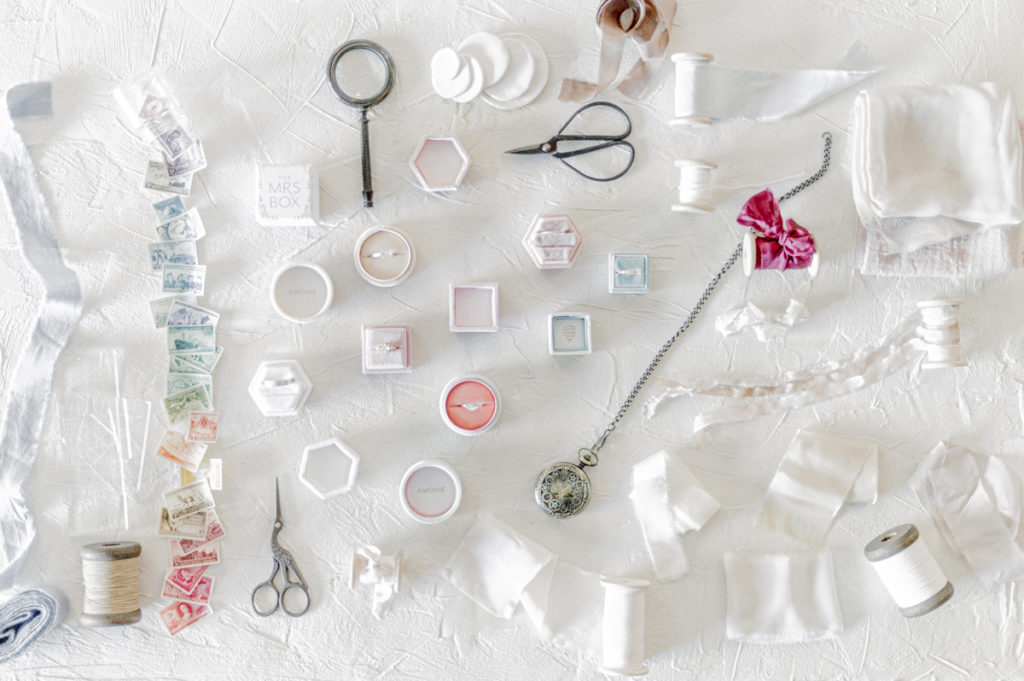
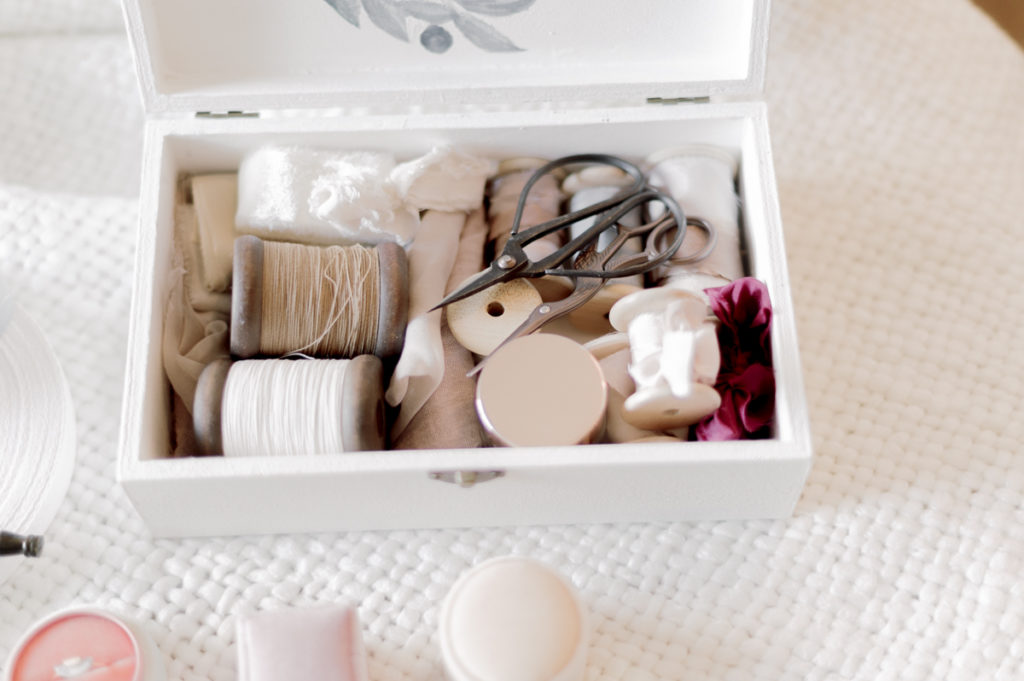
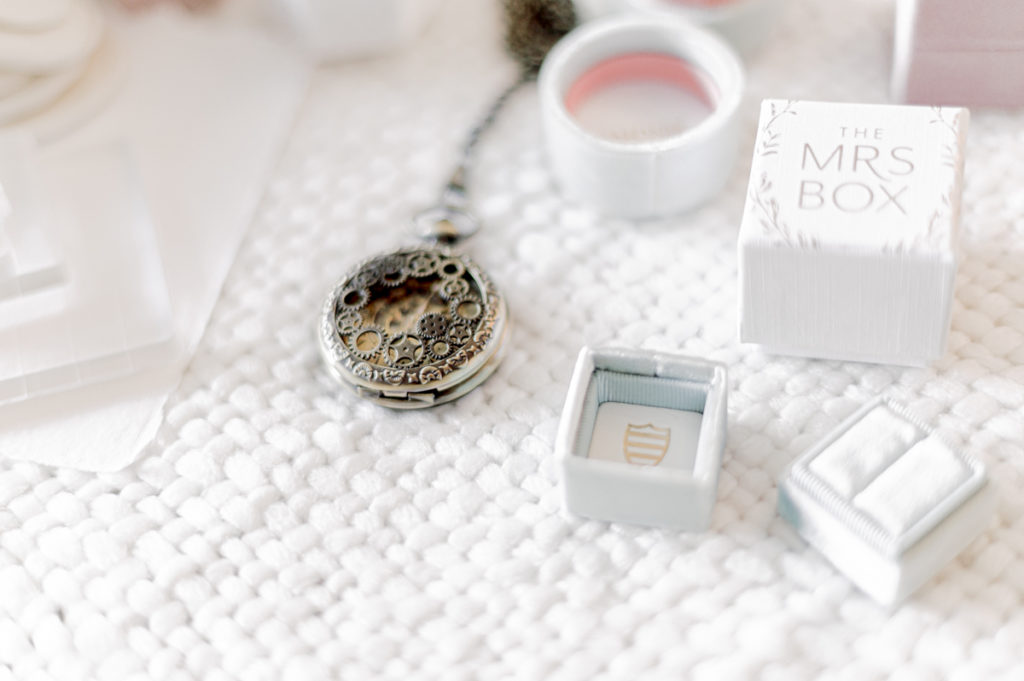
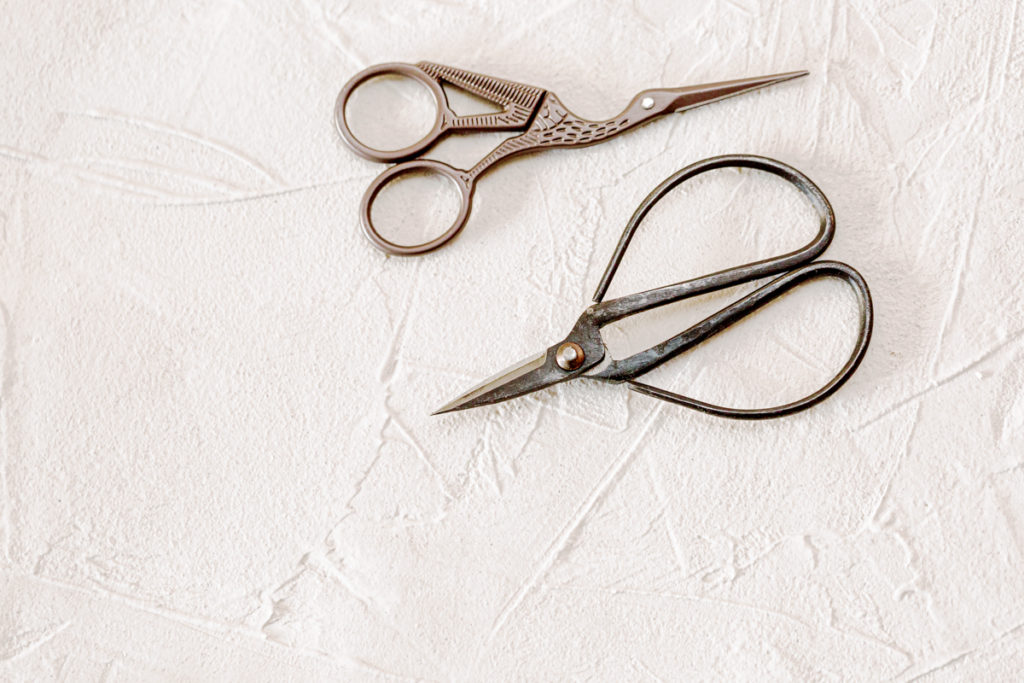
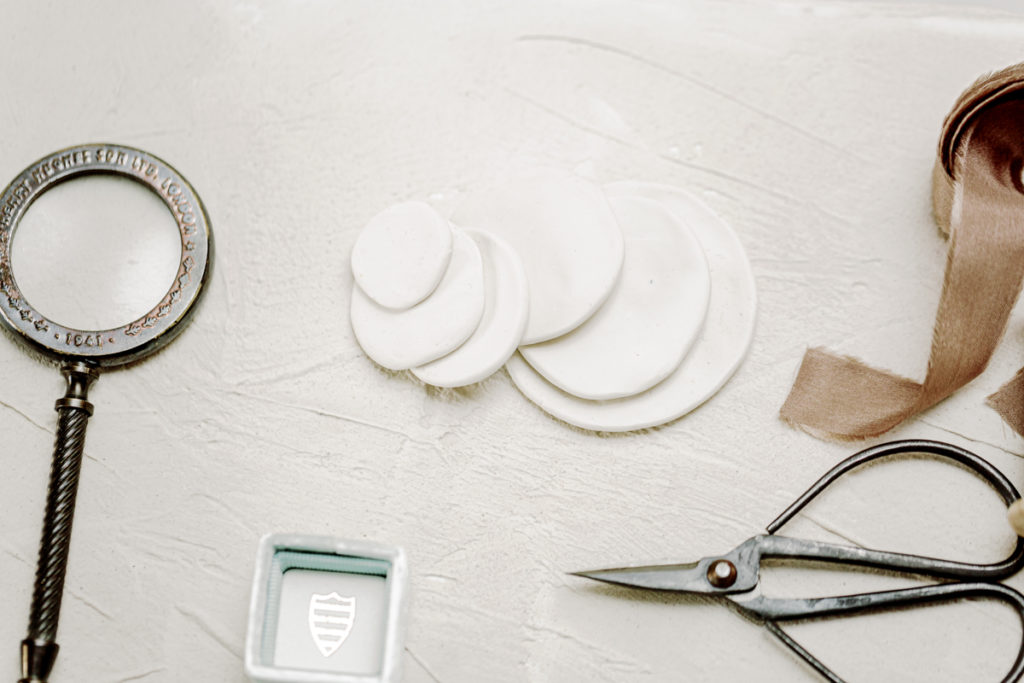
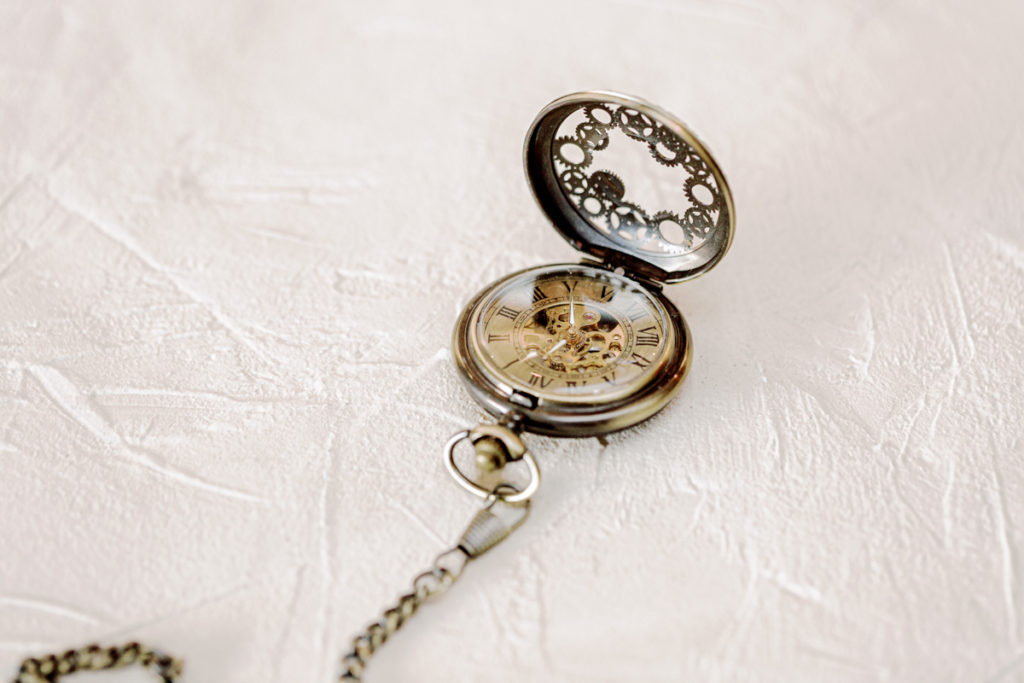
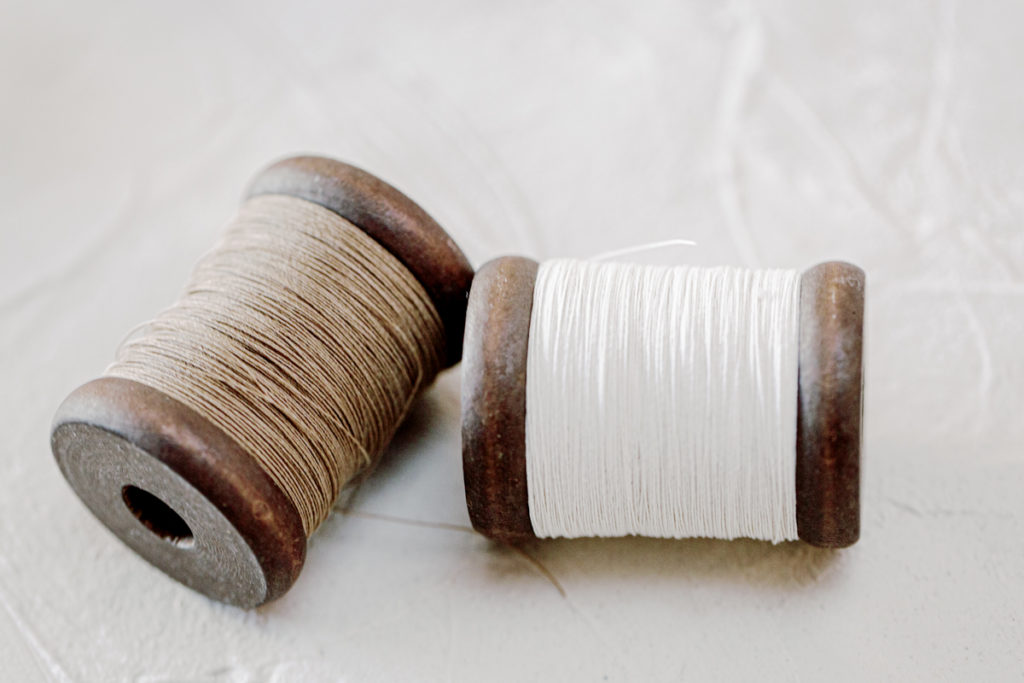
We have various items in our styling kit, ready for any wedding theme, colour or texture.
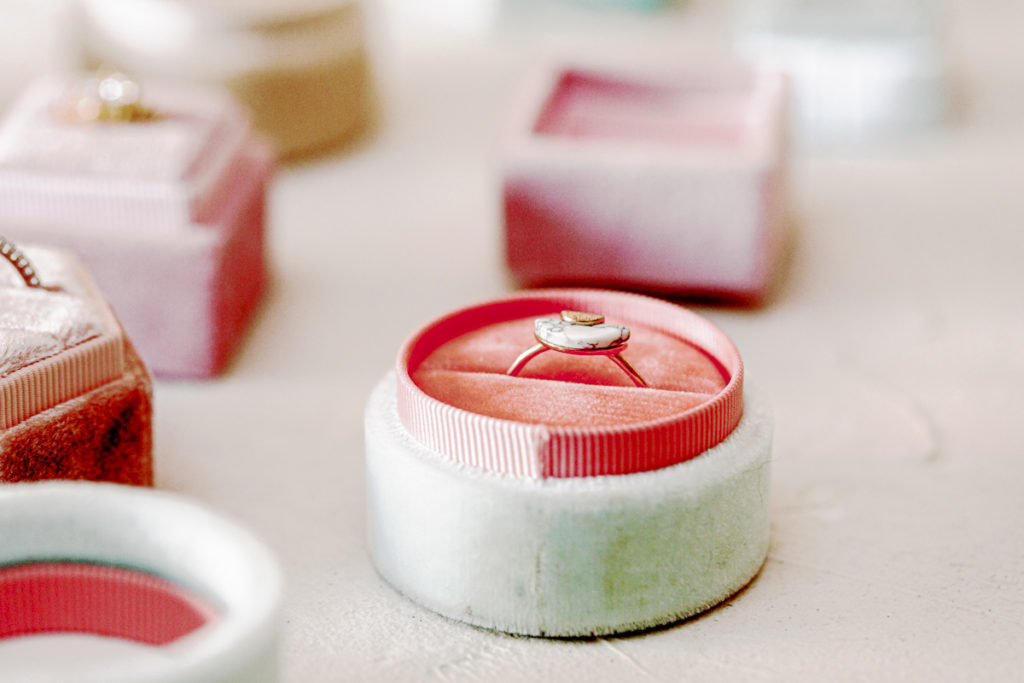
- Various ring boxes – you can pick these up from Amazon
- Various postage stamps – we have some in every colour!
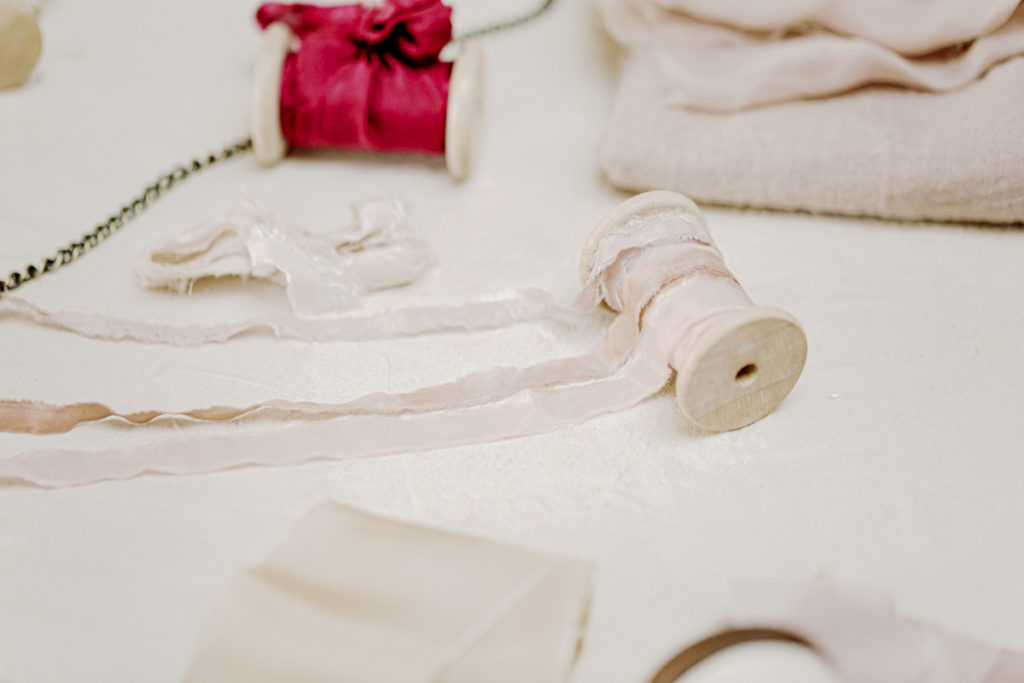
- Various silk ribbons
- Various styling surfaces and fabrics
- Vintage scissors
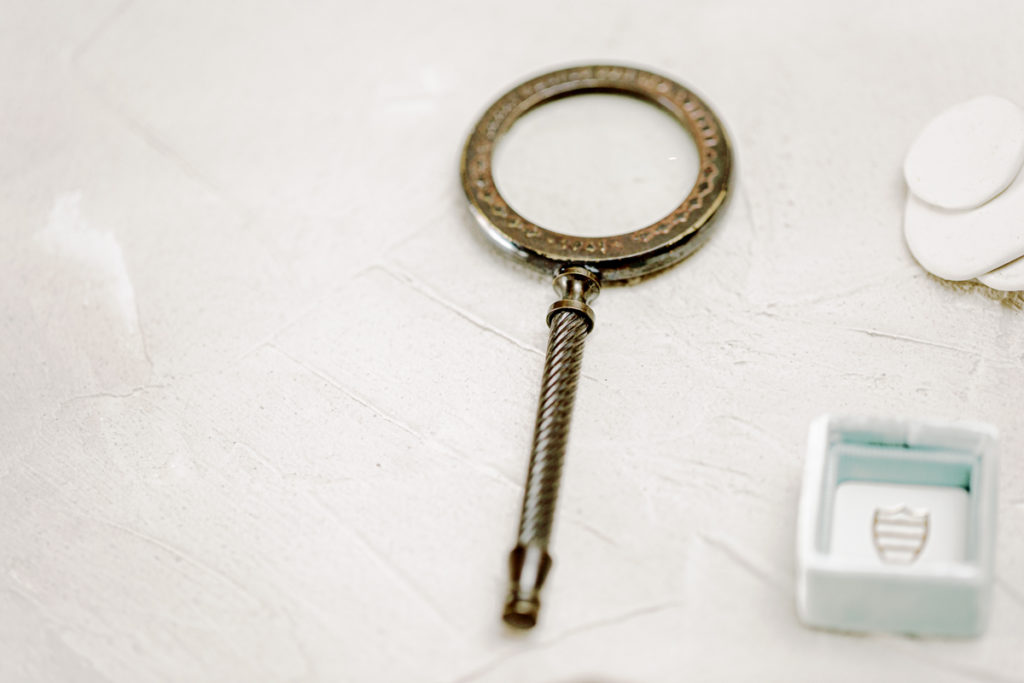
- Vintage magnifying glass
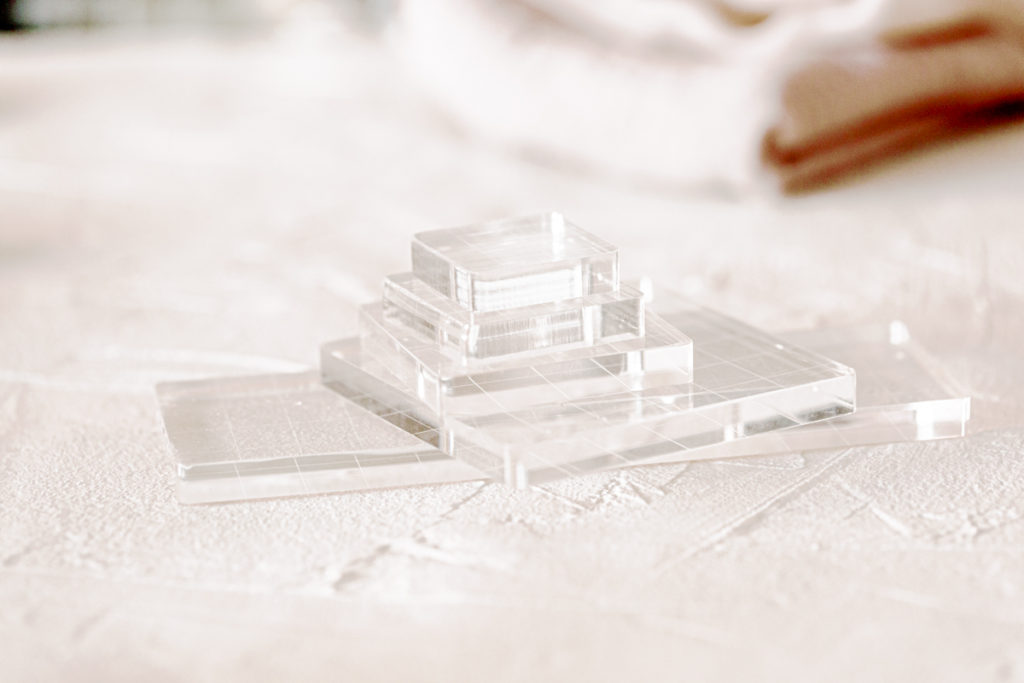
- Acrylic styling blocks (to raise the stationary of the board)
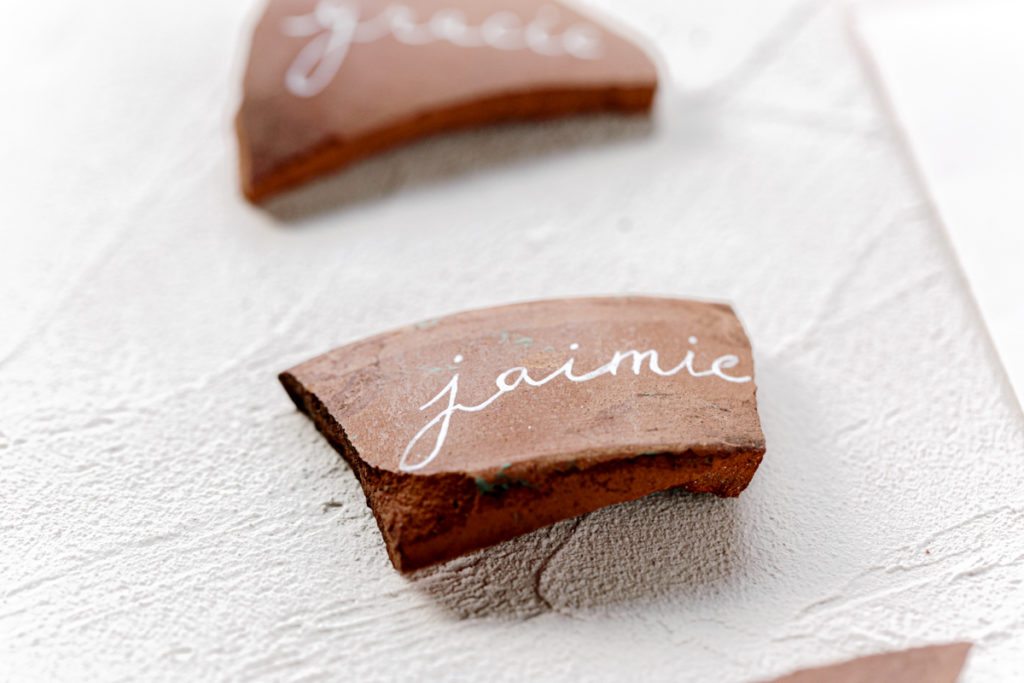
- Clay styling dishes (also a DIY make)
There you have it a simple solution to a frustrating problem! So the next time you find yourself with zero surfaces to shoot the bride or grooms accessories, think about bringing along a styling board, bought or made, so you always have a surface to shoot on.
All stationary was created by our dear friend at Fielding Milligan. They have stationary for all occasions and all hand made.
