The big wedding day has finally arrived, yeow! your batteries are fully charged and you have memorised the run sheet down to the minute. There is nothing left you can do but knock on the front door and start shooting arguably some of the most important photos you will take of the bride for the day.
Well hang on there cowboy, before you’re go knocking on that door we have a proven workflow that you can carry out each and every wedding. Not only will it show your competence to the bride, but it will fill her with confidence that you are in control of the day. With her new found confidence having chosen wisely, your photos will instantly become better with the day being so much more relaxed!
“Give me six hours to chop down a tree and I will spend the first four sharpening the axe.”
― Abraham Lincoln
PREPERATION & PUNCTUALITY
Preparation is everything, you need to have communicated with your couple how you operate and what you will need from them well before their wedding day. This should be done at multiple stages during the lead up to their wedding, first a verbal communication in the initial meeting and then followed up in an email detailing your conversation and lastly in the weeks or days leading up to the day as a refresher.
You should be telling your wedding couples the following;
- Setting Expectations – your wedding couples usually haven’t done this before, they need your guidance. Make-up and hair never runs on time, so don’t be afraid to move their timeline around to make the experience for the bride more enjoyable and carefree in the morning, remember, YOU are the expert.
- Arrival time – this should be an hour before you agreed too and when the bridesmaids are in touch-up stages of hair and makeup. During this first hour of the wedding can be very chaotic, bridesmaids, makeup artists, family and friends, there are bodies EVERYWHERE! Use this time to get to know everyone, to explore the room, setup your equipment and come up with a plan with the light available for where you will shoot.
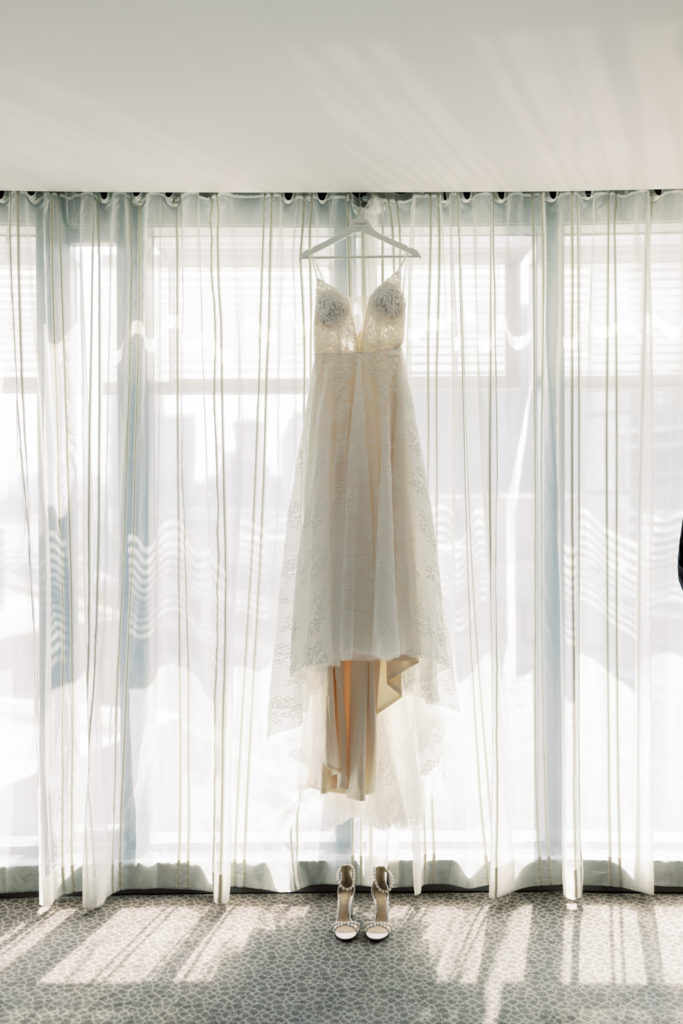
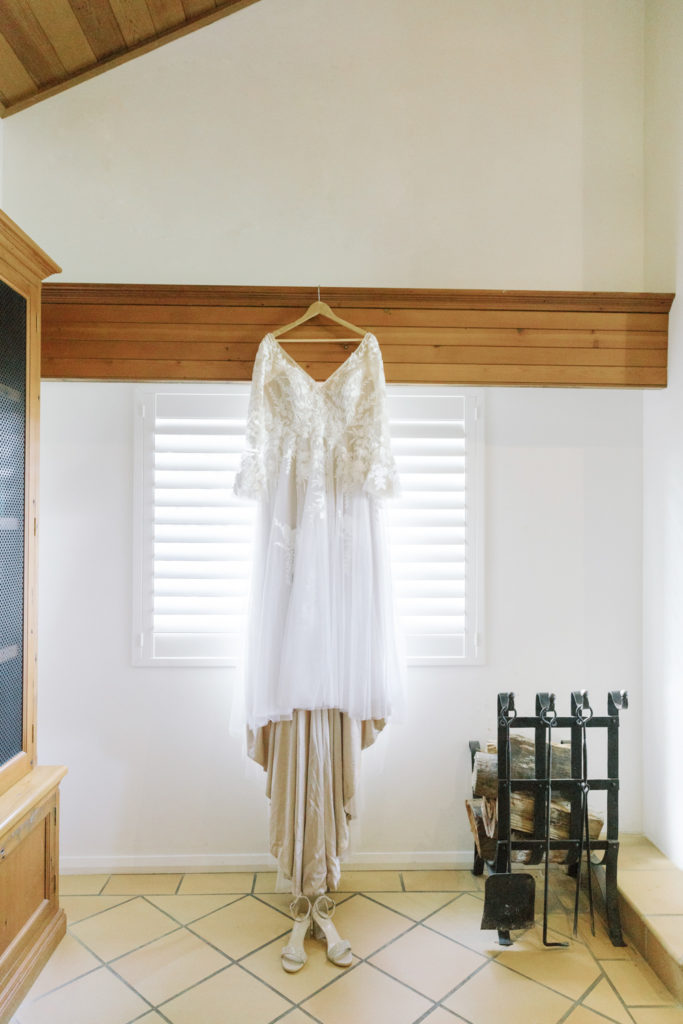
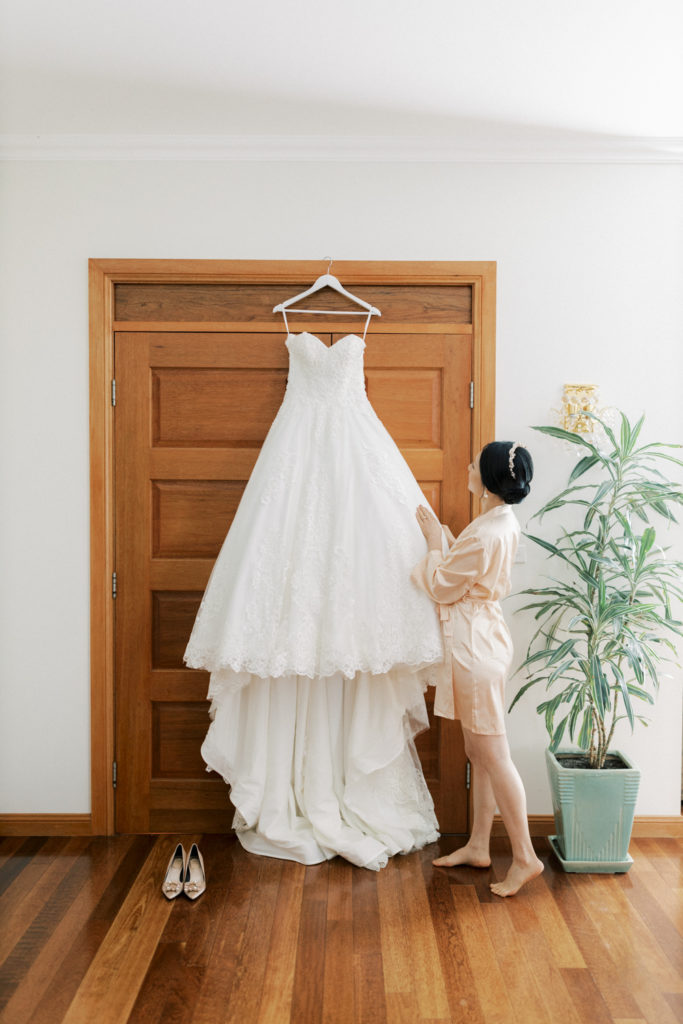
- Wedding Dress – Find a place in the room to hang the dress, either on an empty wall, above a bed, chandelier, door, what ever you find flattering. We tend to hang it in a room where it can be seen in photos during the getting ready area so its always in the background.
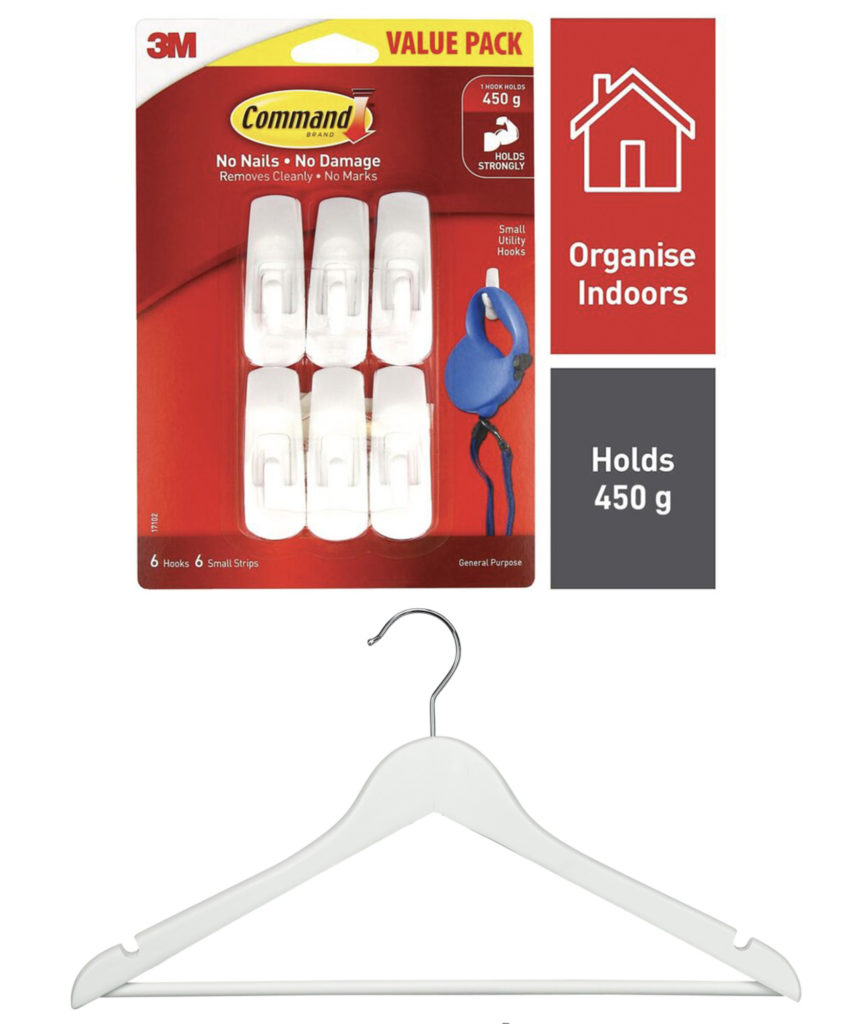
Our top tip for wedding dresses is to purchase some 3M hooks. Best to have a variety of hooks pending the size and weight of the dress. Not all locations offer a place to hang the dress, so when we have a place we like, we stick a hook on the wall and get the shot WE want.
Another top tip is to always have a spare coat hanger with you, there are some amazing vintage ones out there, or just a plain white wooden one for those times the bride only has the one that came with the dress which usually has their branding on it. It’s the little things that will make you great!
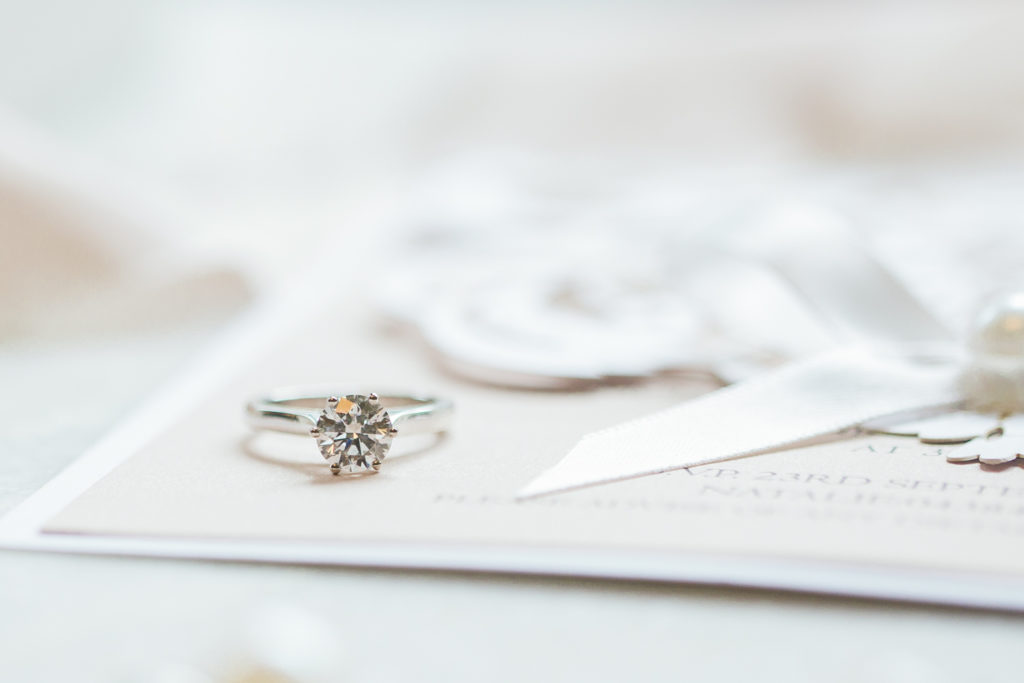
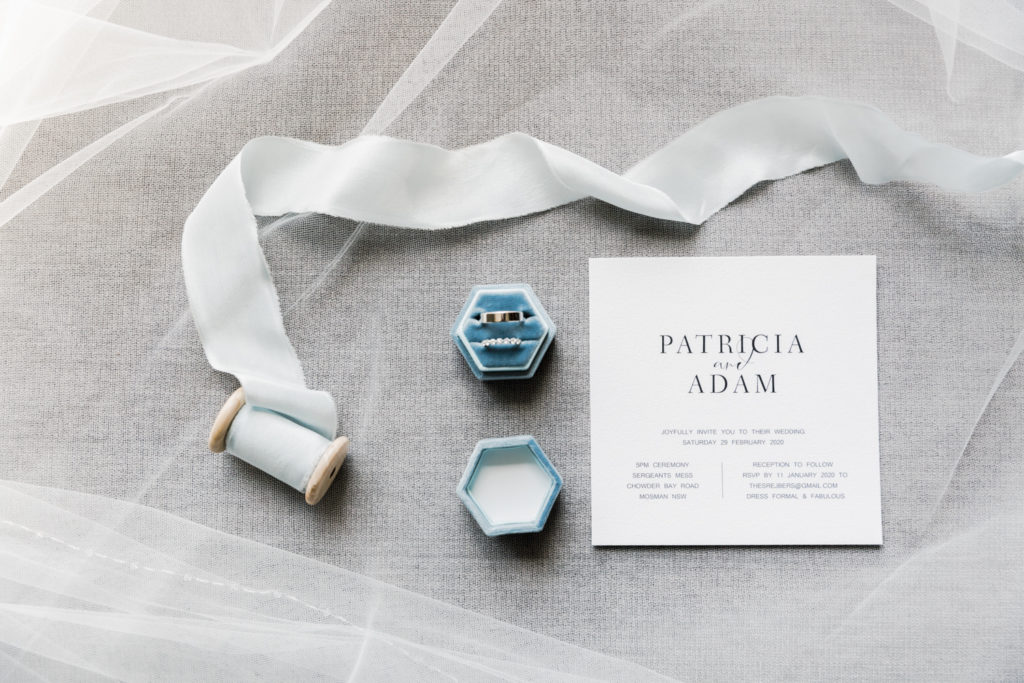
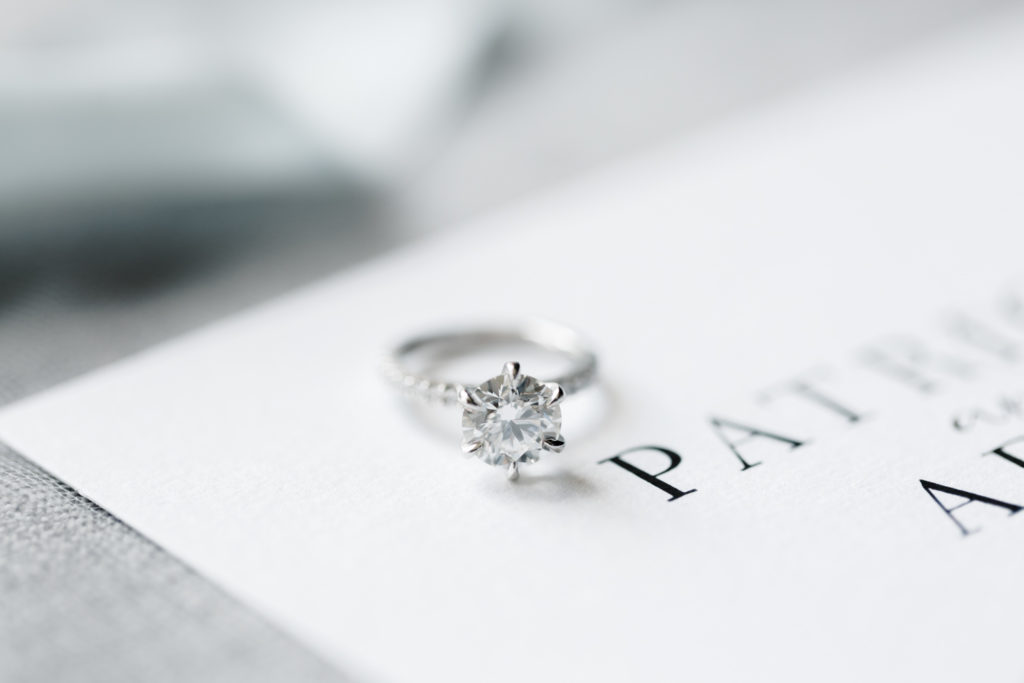
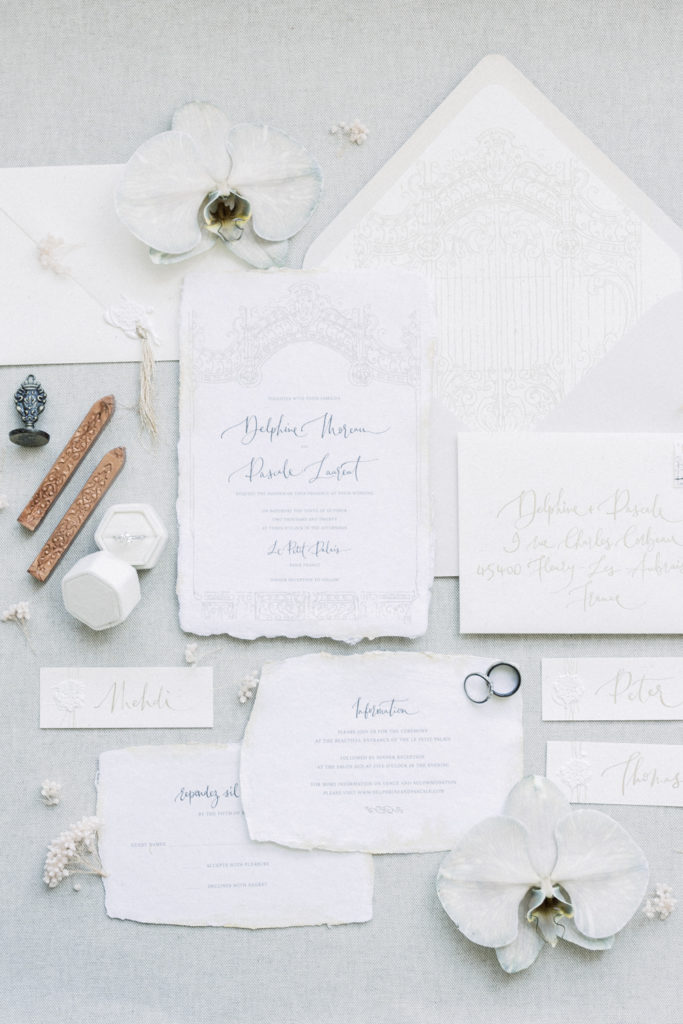
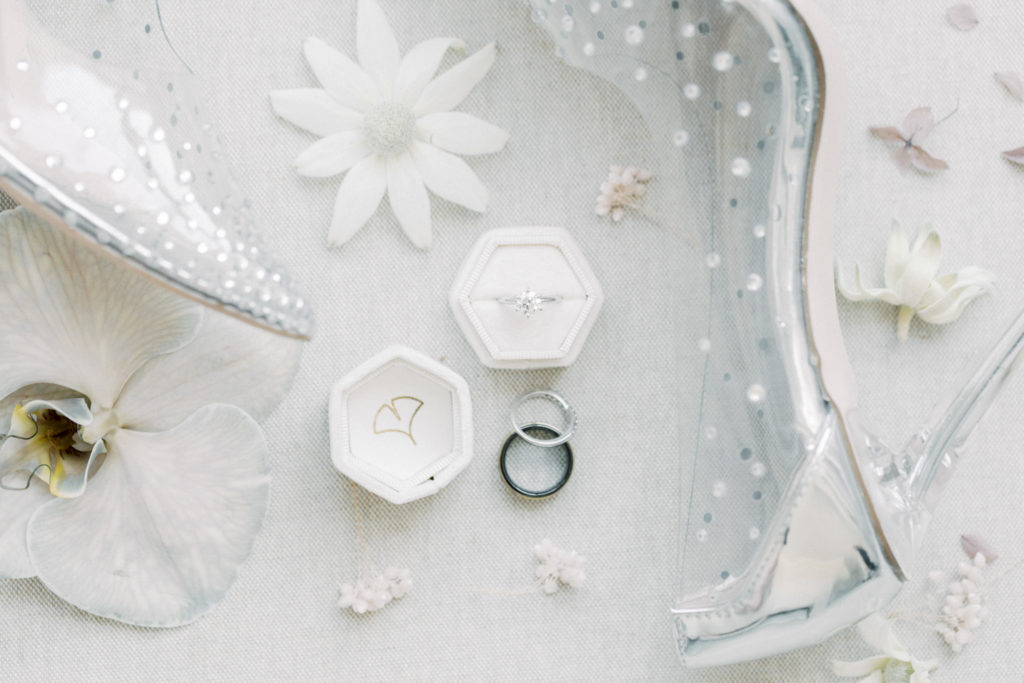
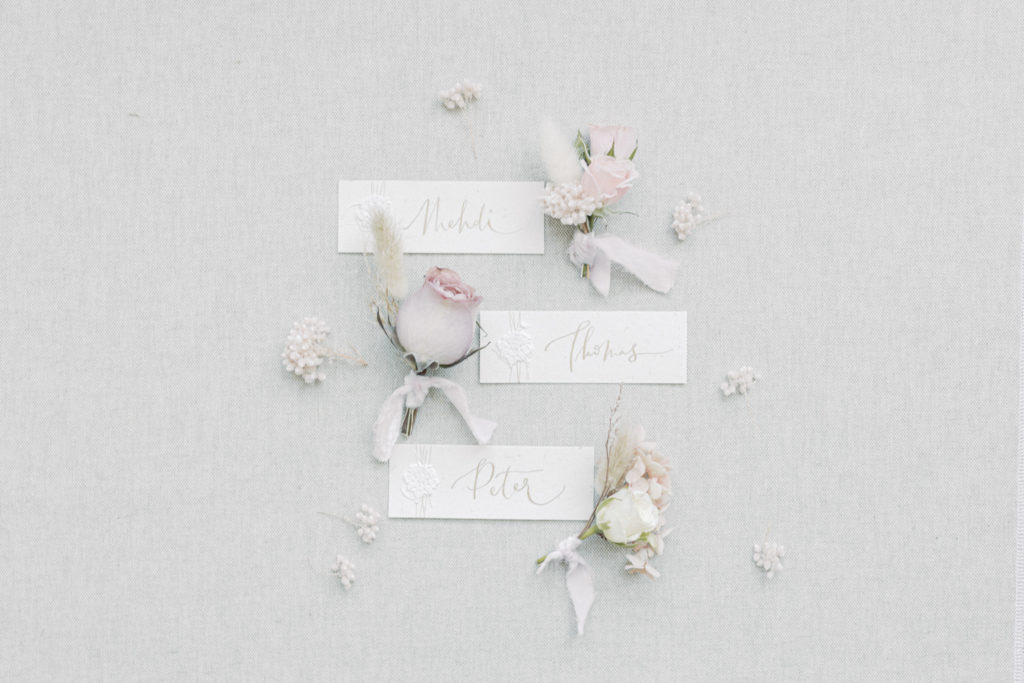
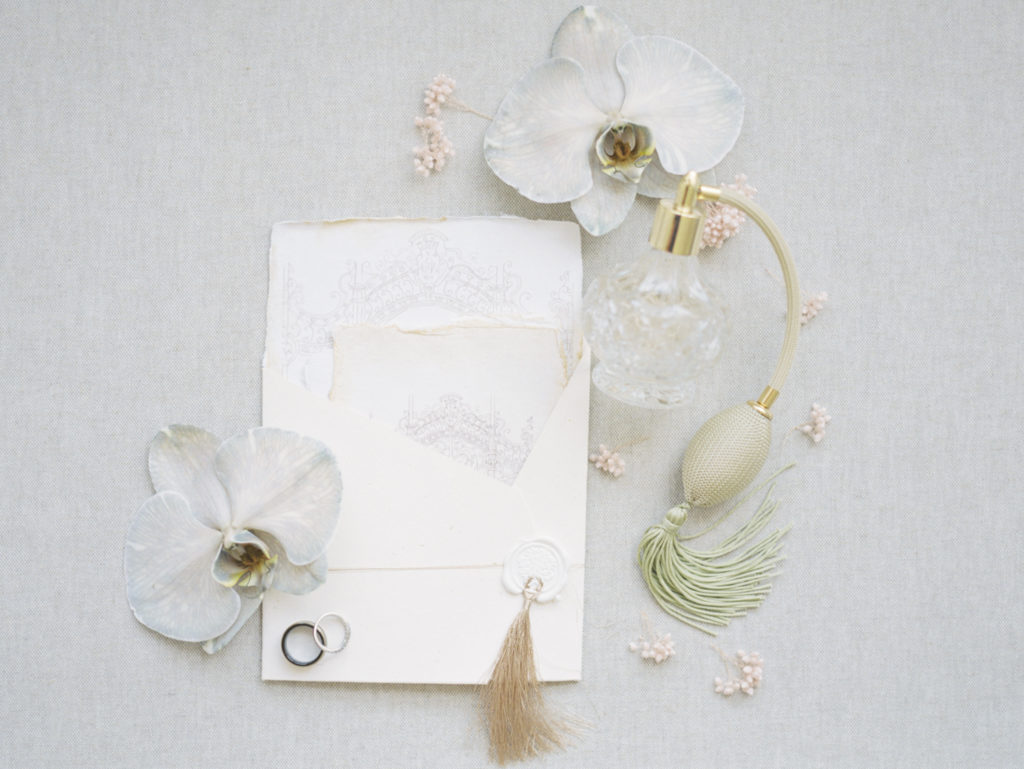
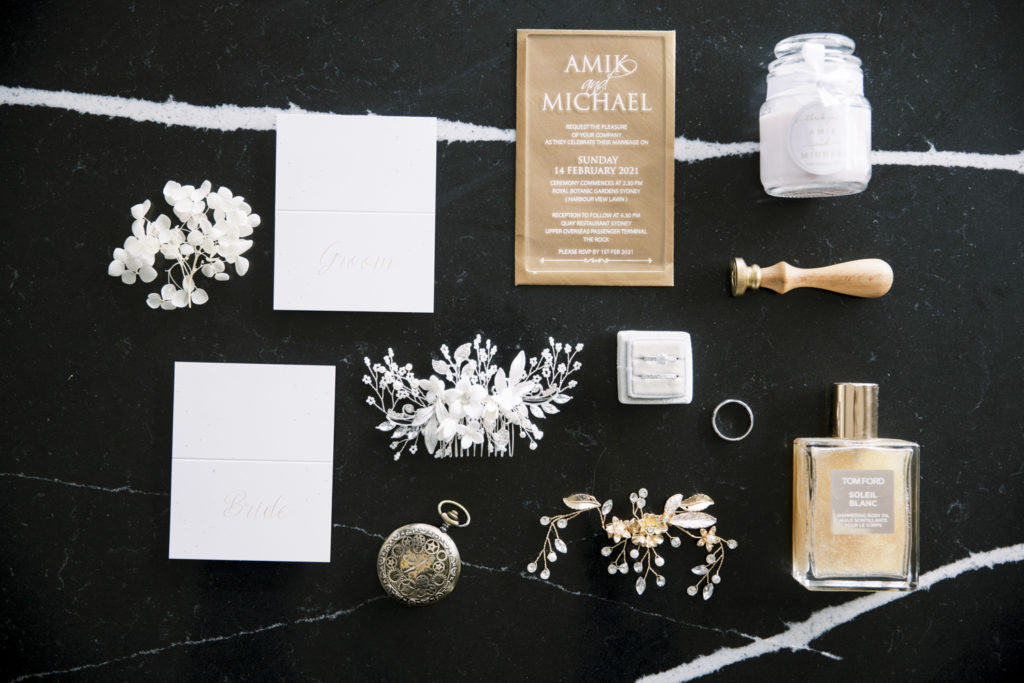
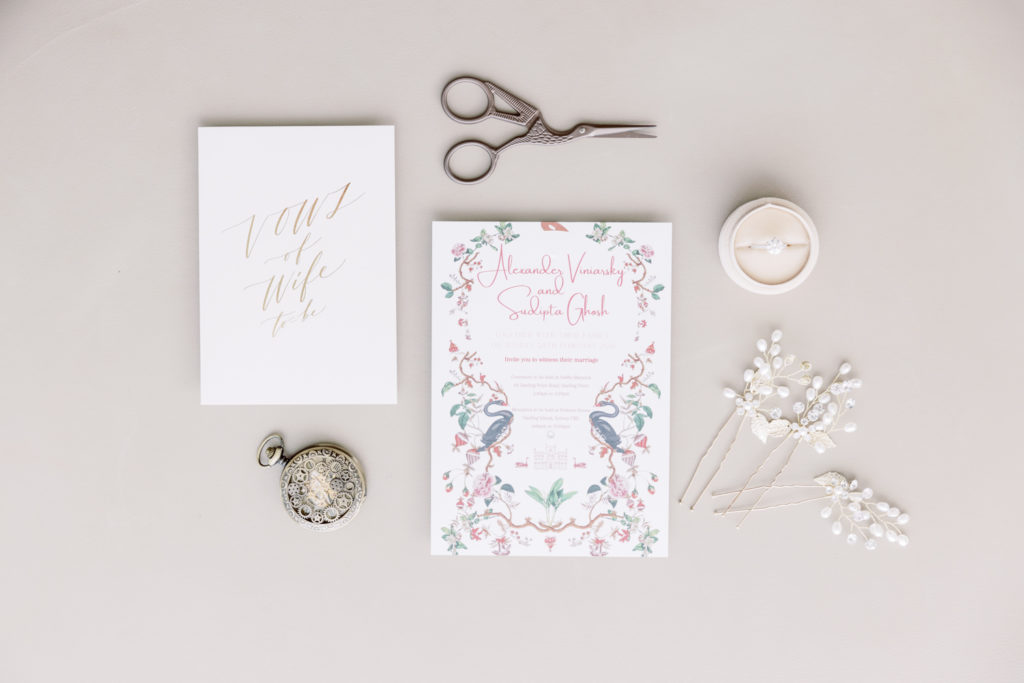
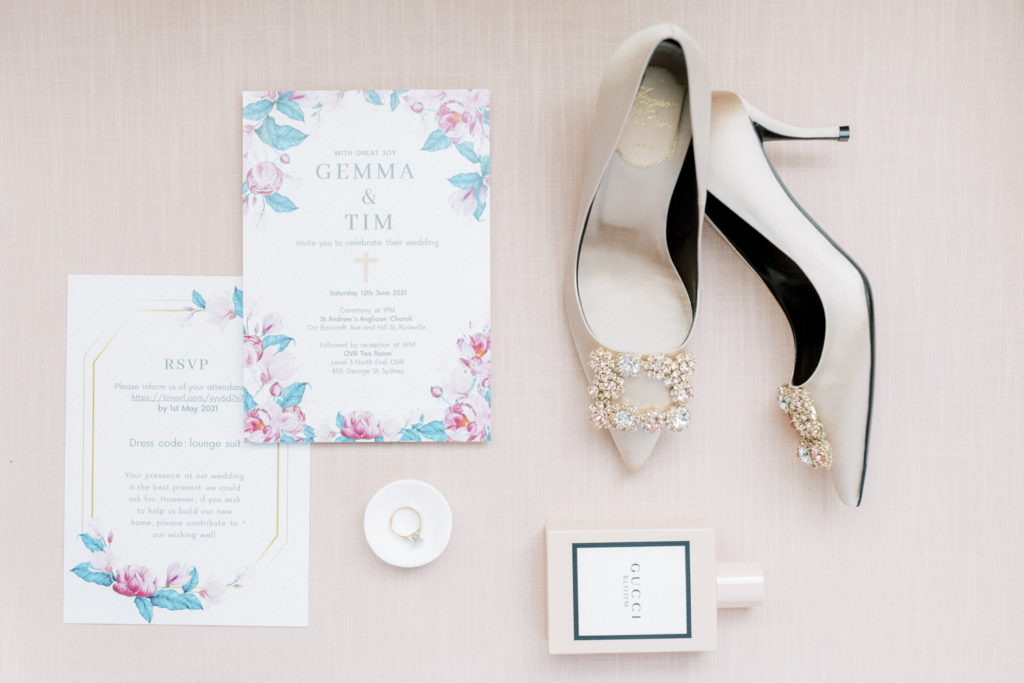
- Stationary – Tell your couples early on to have all their stationary from there wedding (preferably 2 copies if they have designs on both sides, like invitations, menu’s etc. These can be used for the flat lay photography, have the bride collate all these items in a box ready to shoot in the morning for you.
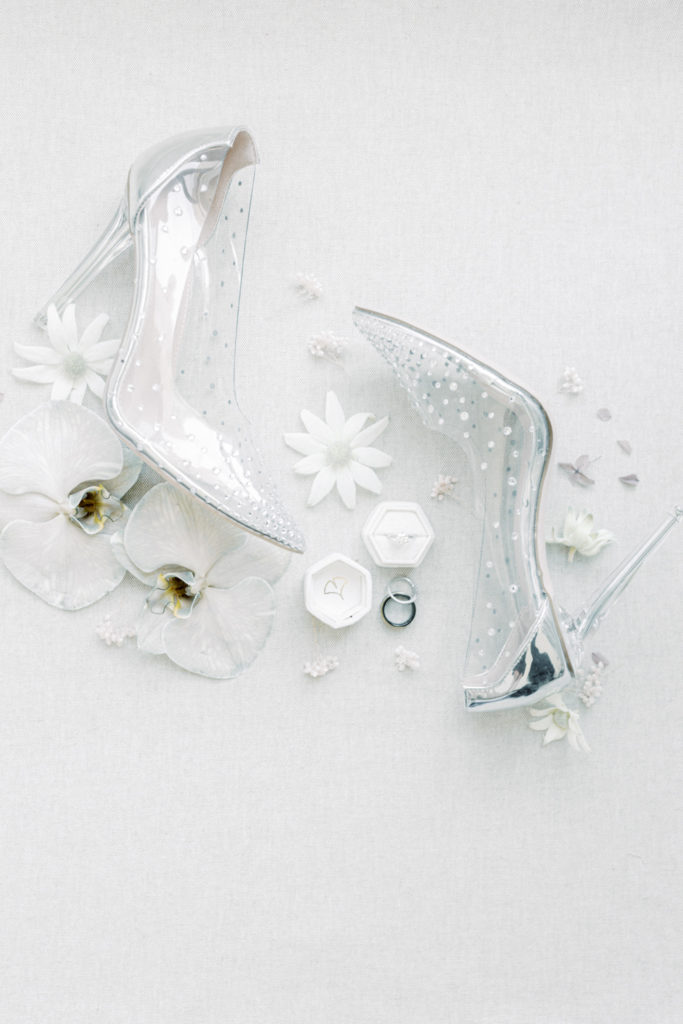
- Jewelry shoes & other items – Along withe stationary, have your bride have her heals, jewelry, perfume, something old / something new, or anything significant to the bride for the day in the one area ready to shoot. This saves so much time on the day, especially when everyone is chair bound having their makeup applied.
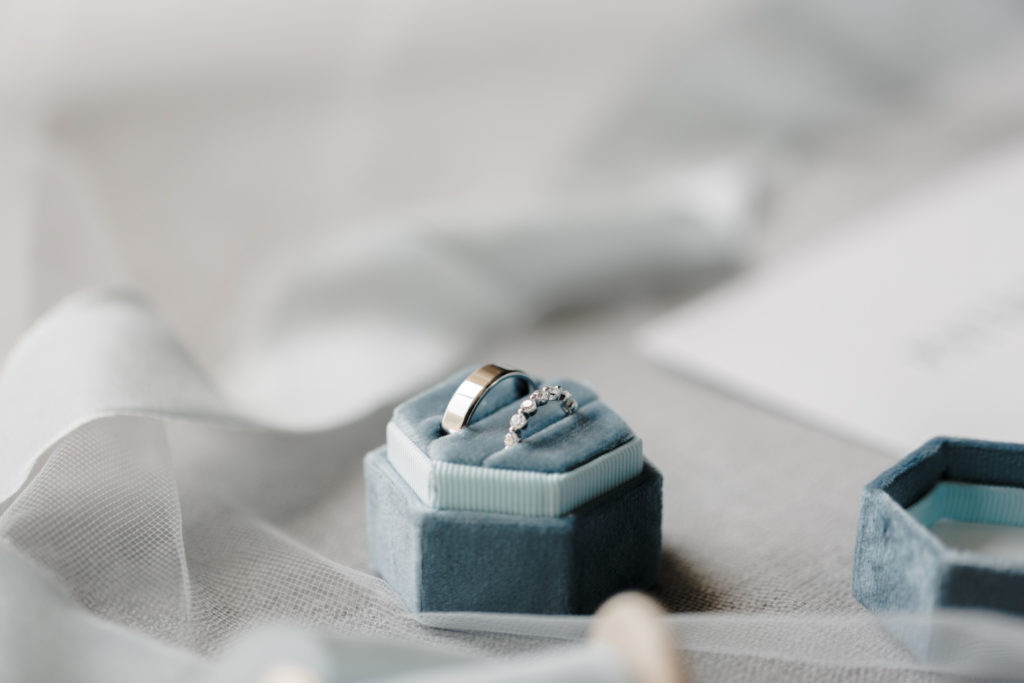
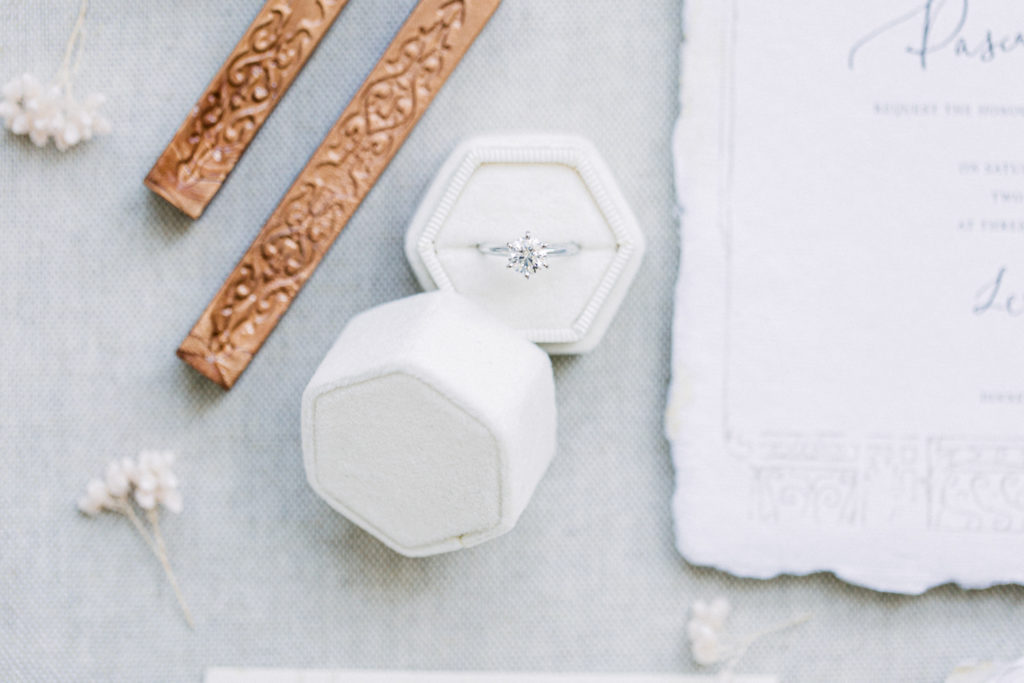
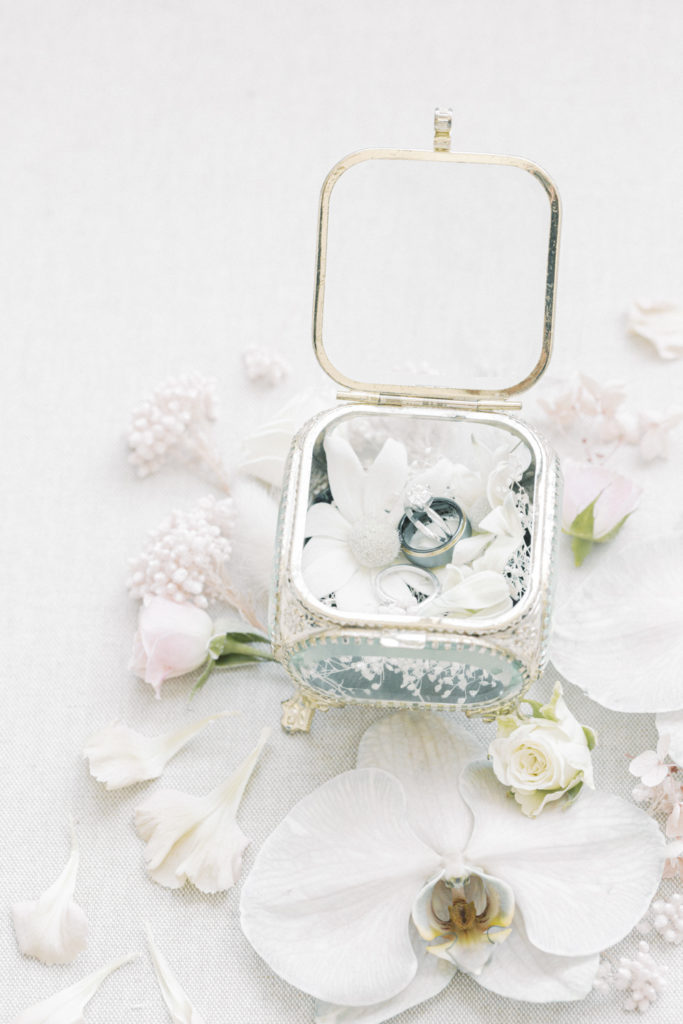
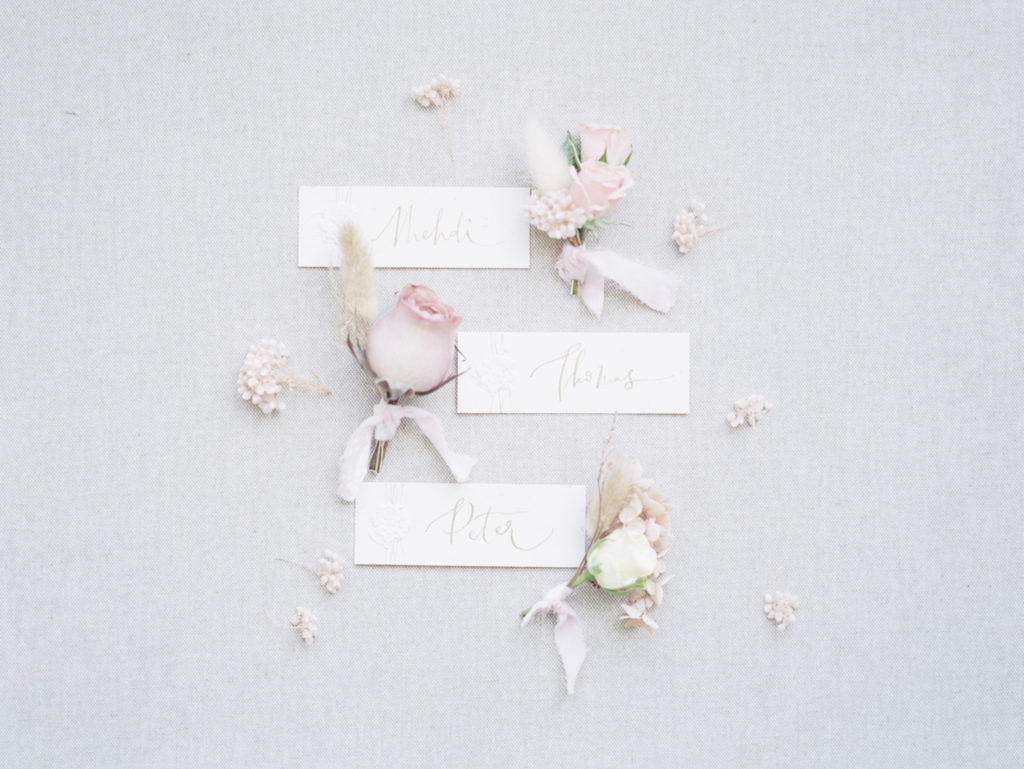
- Your own trinket box – We swear by this, bring along your own box of goodies you can use for the flat lays. Ring boxes, ribbons, material canvas’s, vintage watches, combs, scissors and most importantly, an array of dried flowers. These are your get-out-of-jail-free-card if you need something to spice up your photos.
- Cleanliness – As you know, mornings can get messy and there will always be some last minute tidy-ups. To help with this, explain that you need the brightest corner of the room to remain free of clutter, no clothes, no make-up, just a clean slate to be used for the bride to get in her dress and have her portraits taken.
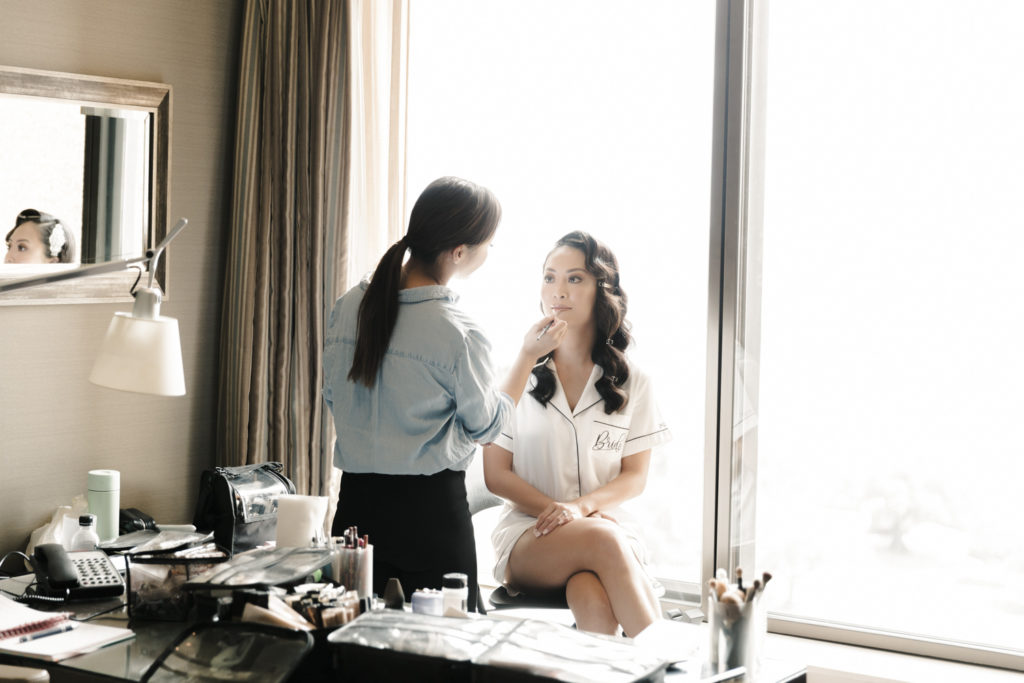
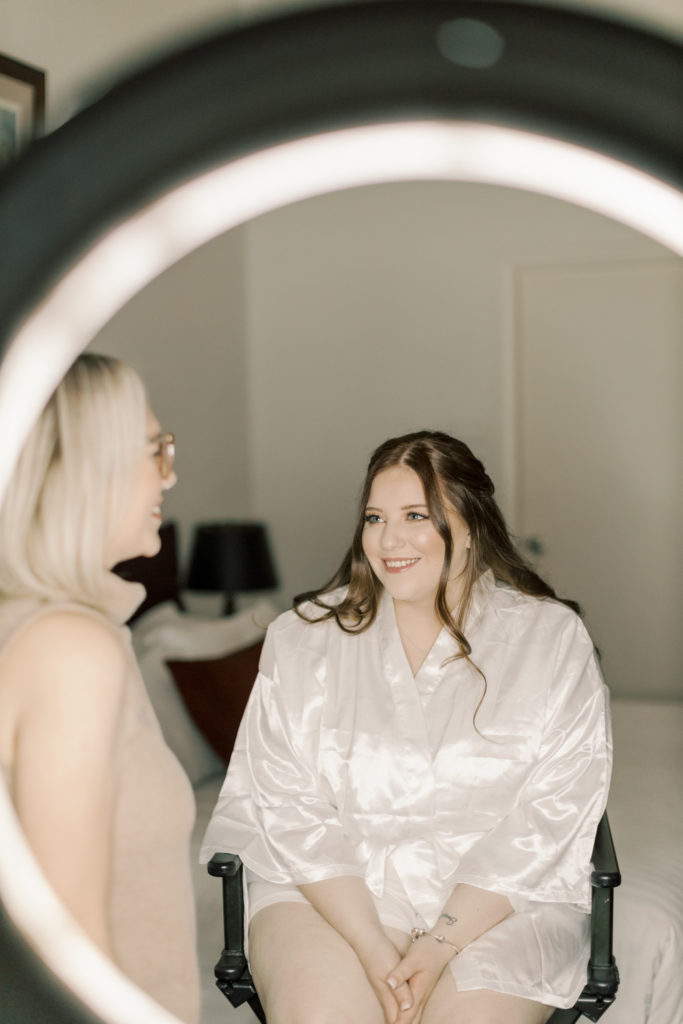
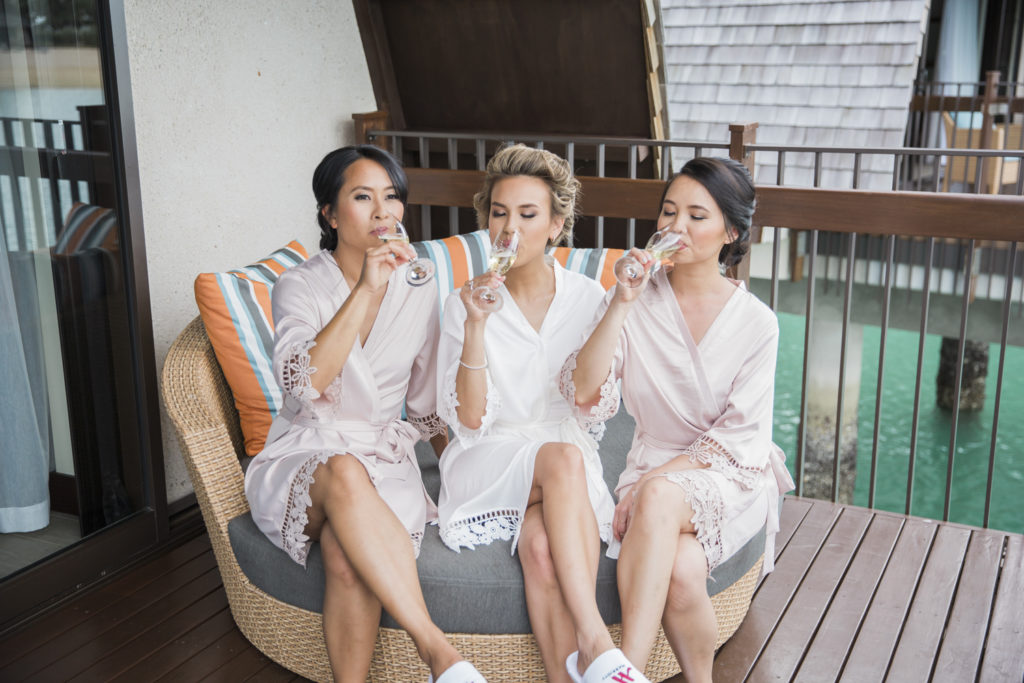
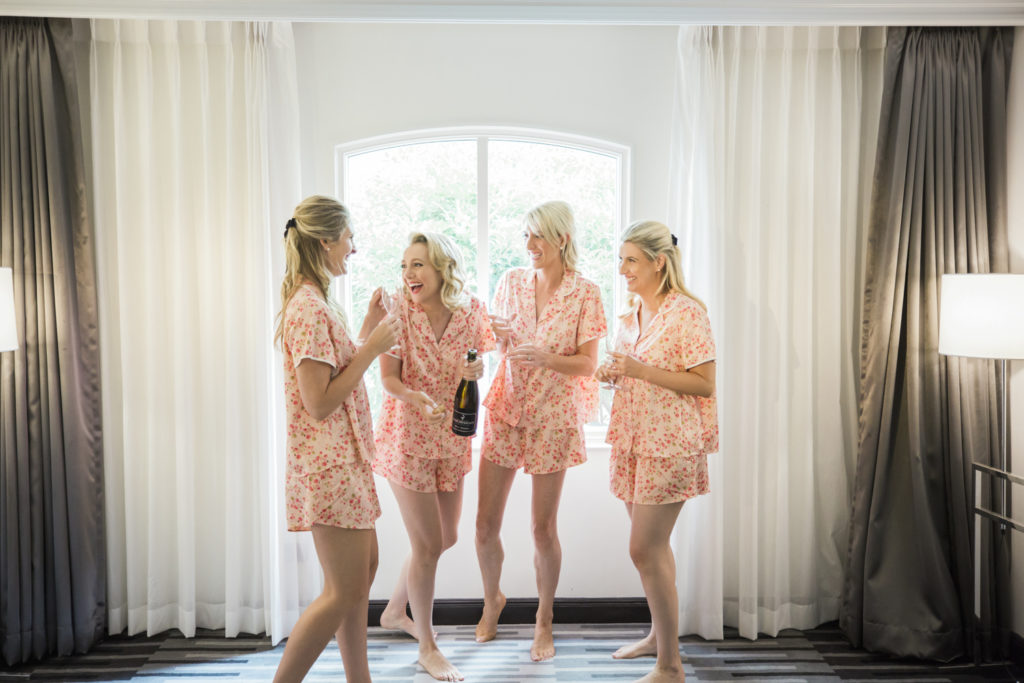
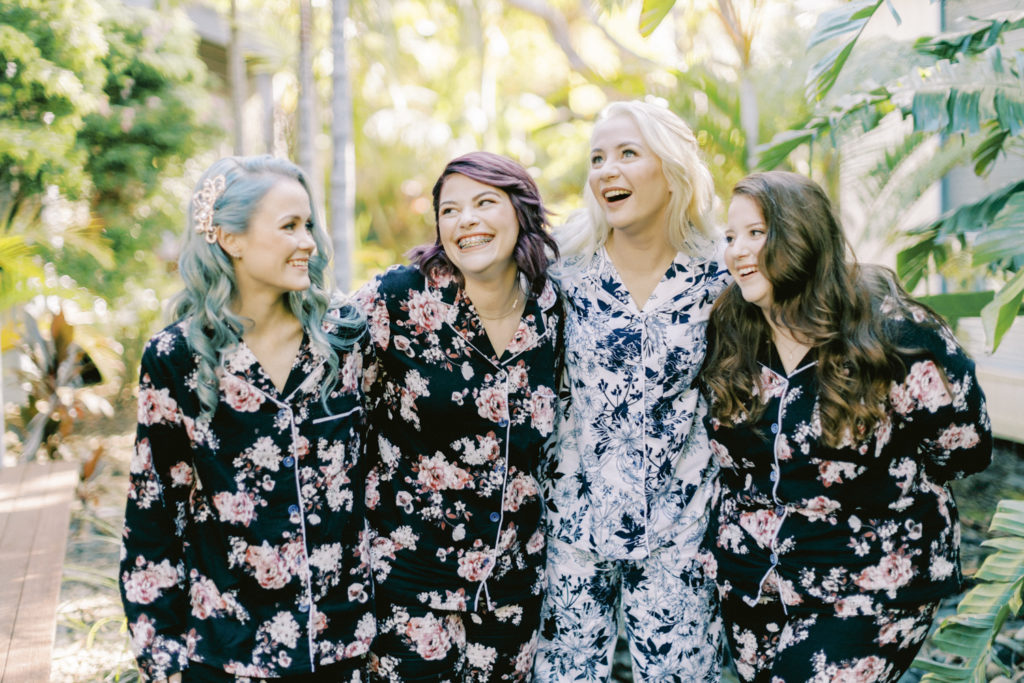
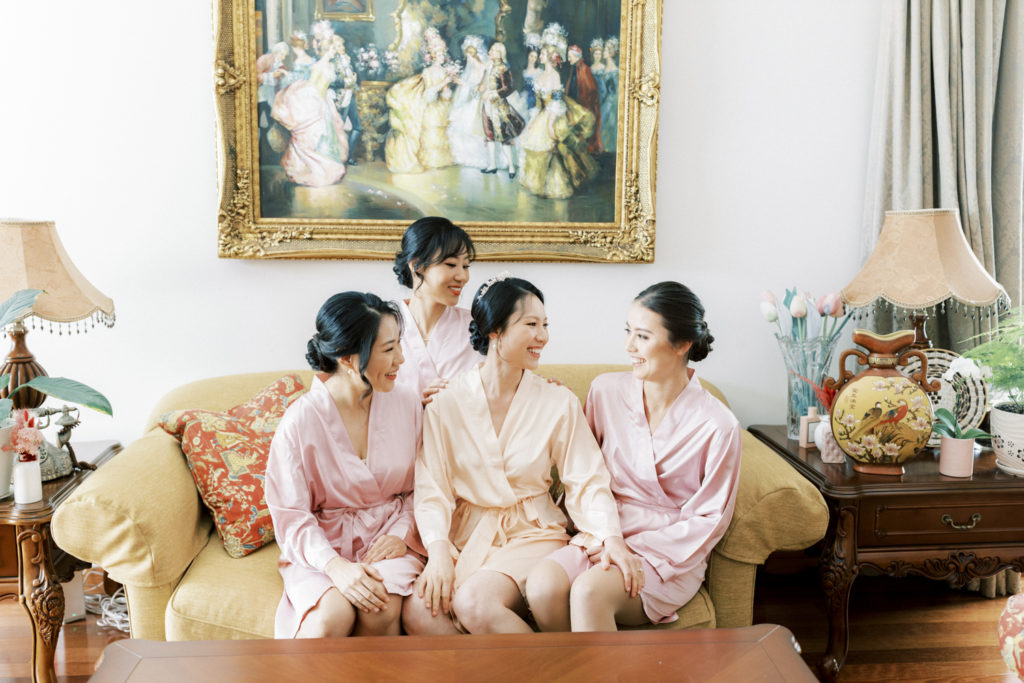
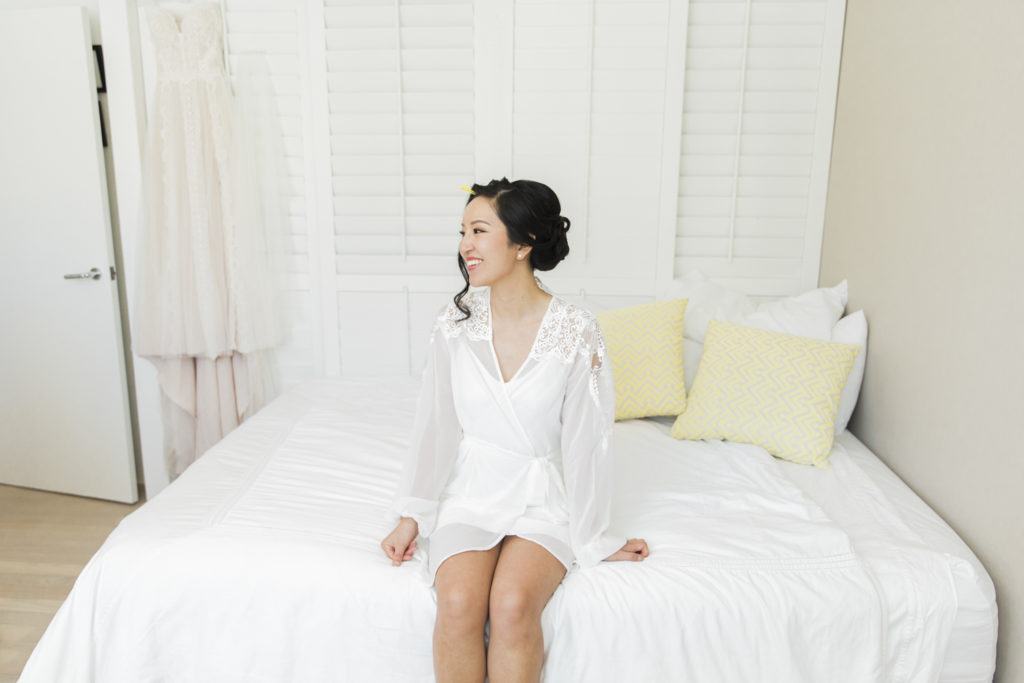
- What to wear – Have your bride and bridesmaids wear something neutral in the morning, preferably PJ’s or custom nighties. At the very least have them wear non branded clothing as its distracting in the photos.
- Operation rearrange – Before you start shooting, look at the room they have given you and if you don’t like something, move it! Pillows, cables, tv’s, phones, bins, entire lounge suits, if there is something in your shot that wont make it work… move it! The bride and her parents are always willing to rearrange a room for you if you ask, editing out a phone in photoshop or Final Cut Pro isn’t fun and extremely time consuming.
Now that all the prep work has taken place, your couples know your plan of attack, you’re in a perfect position to start shooting the bride and everything in between. So without any further adieu, lets get into the 13 absolute must have getting-ready shots you need to take of the bride getting ready!
IMPORTANT: Before you start shooting, turn off all the lights to the room, only use natural light or bounced flash.
1. FLAT LAY PHOTOS
Before you start shooting the bride and her bridesmaids, take photos of the stationary, this will give everyone a little time to get used to your presence in the room. Lets face it, we are all a little nervous on the day, so starting with simple, static shots will get the day started nicely.
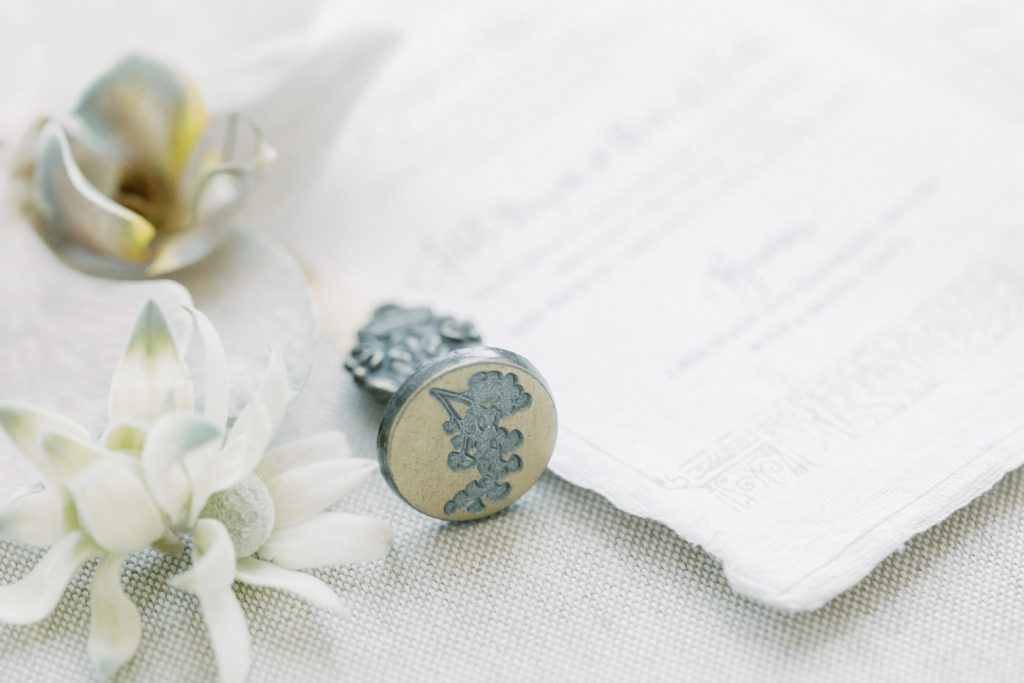
Due to your prep work, you should be able to grab the box of goodies the bride has gathered for you, lay them down on your own mat or surface in the home / hotel that best works for them. Lay out the stationary on blocks, along with any other times they have, like rings, shoes and perfume. To give the photos volume, get into your box of trinkets and start filling in the gaps.
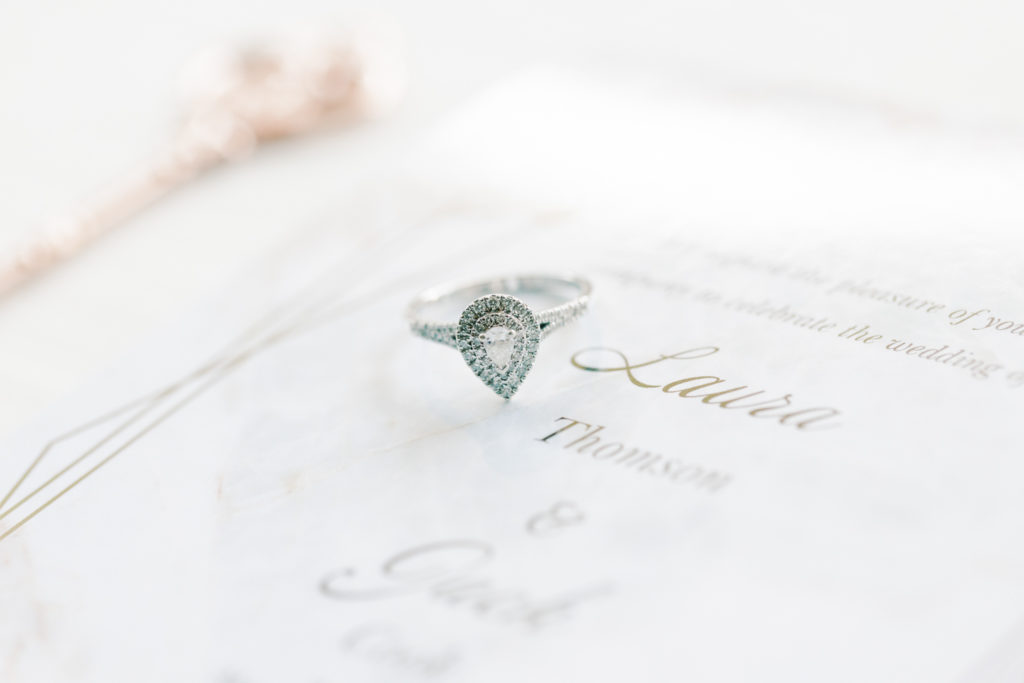
When it comes to shooting, have one photo taken from directly above, then using a macro lens and start taking individual shots on an angle.
2. MAKE UP PHOTOS
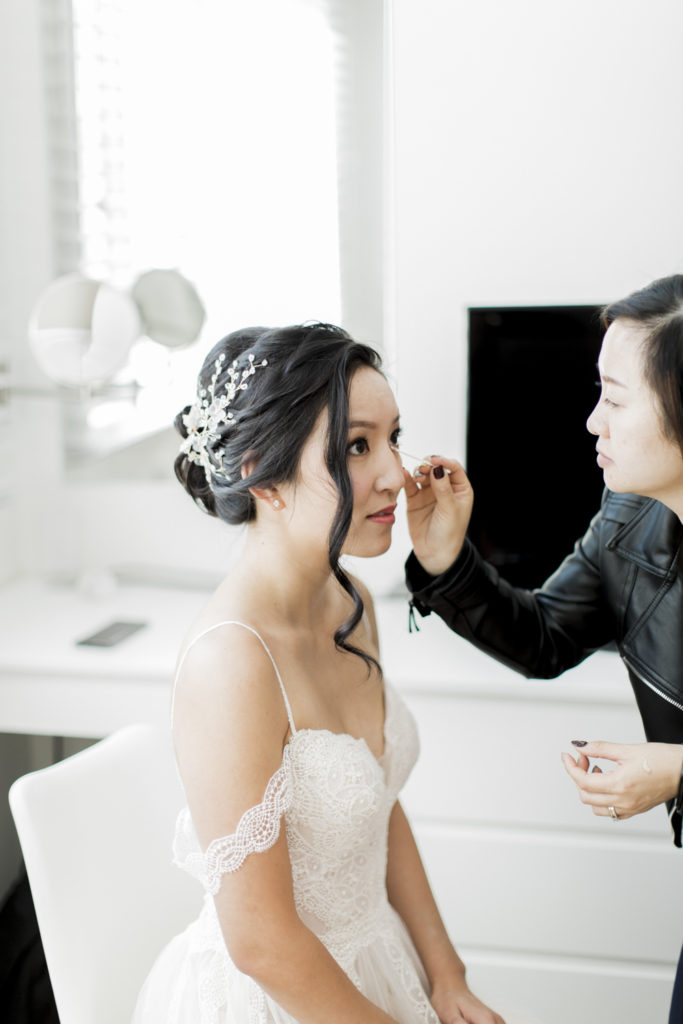
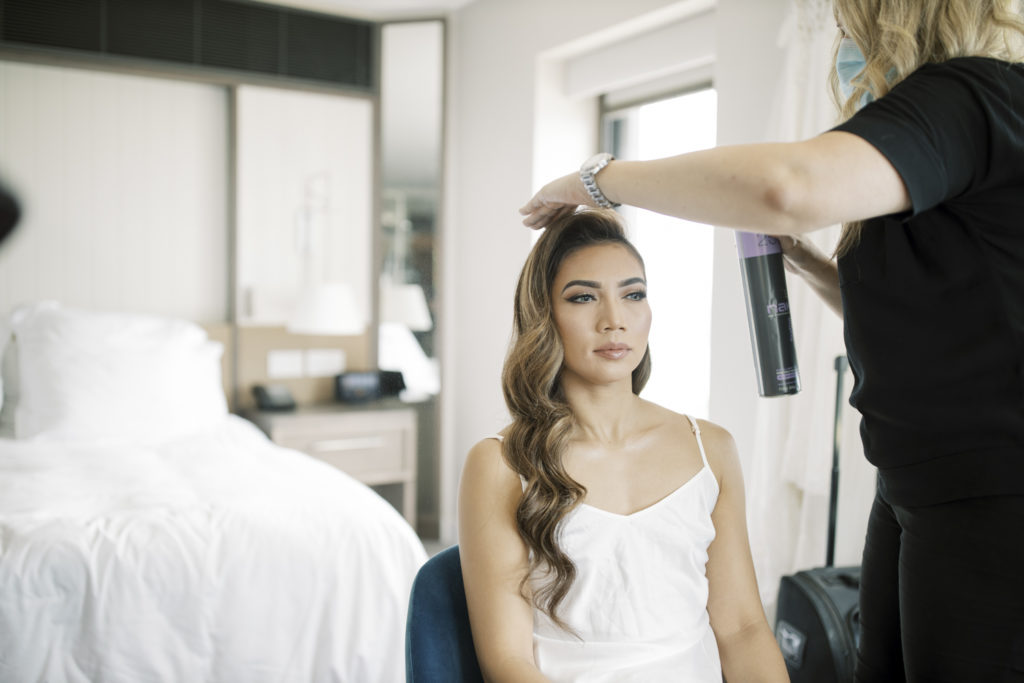
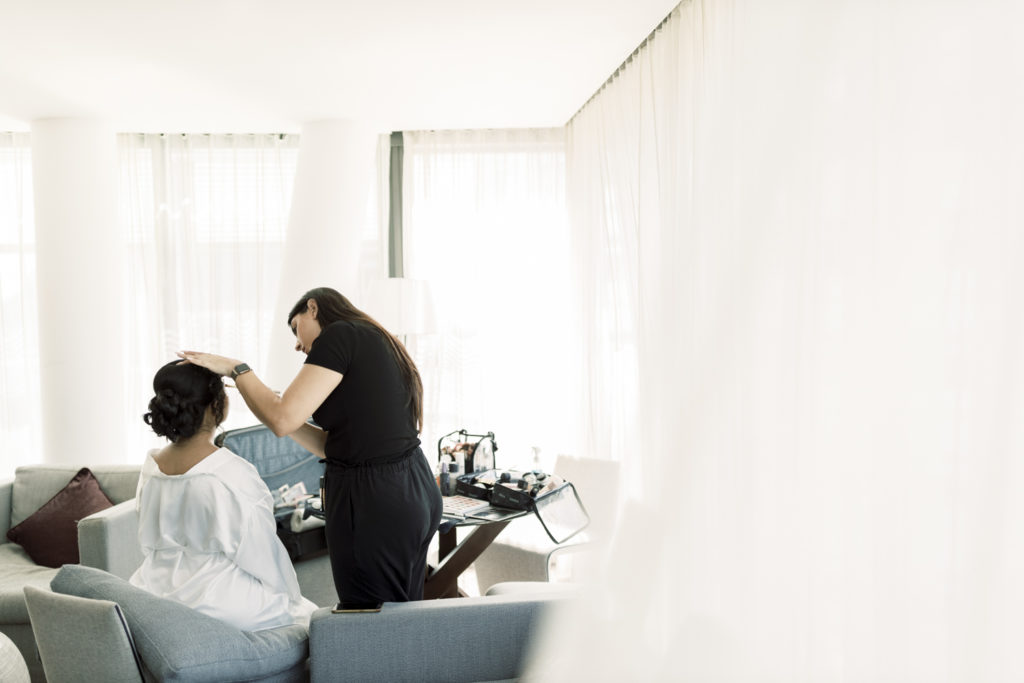
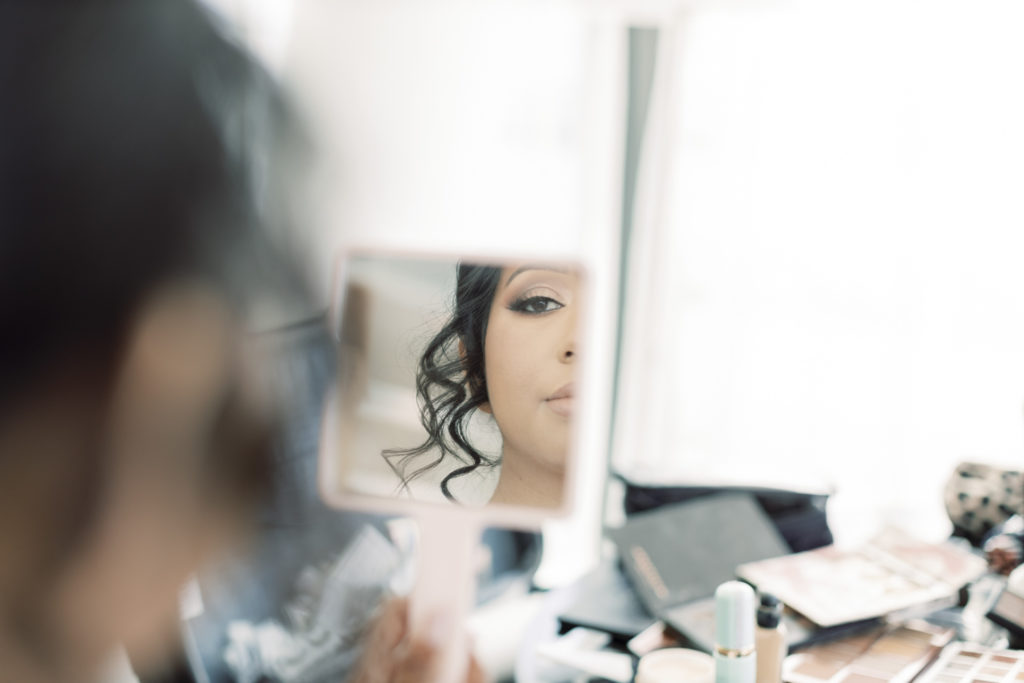
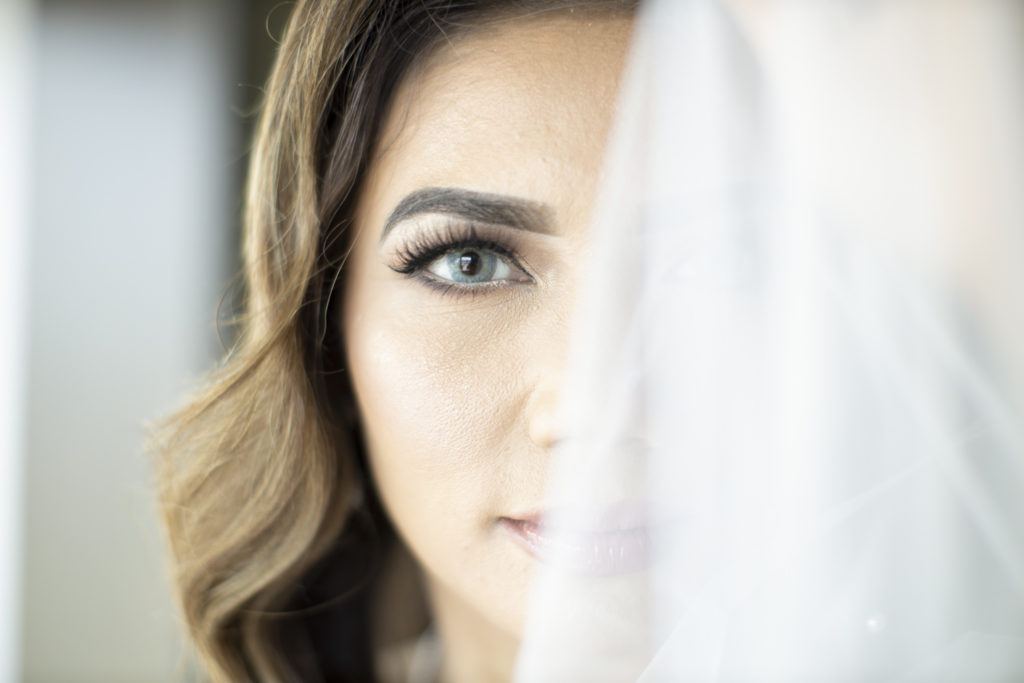
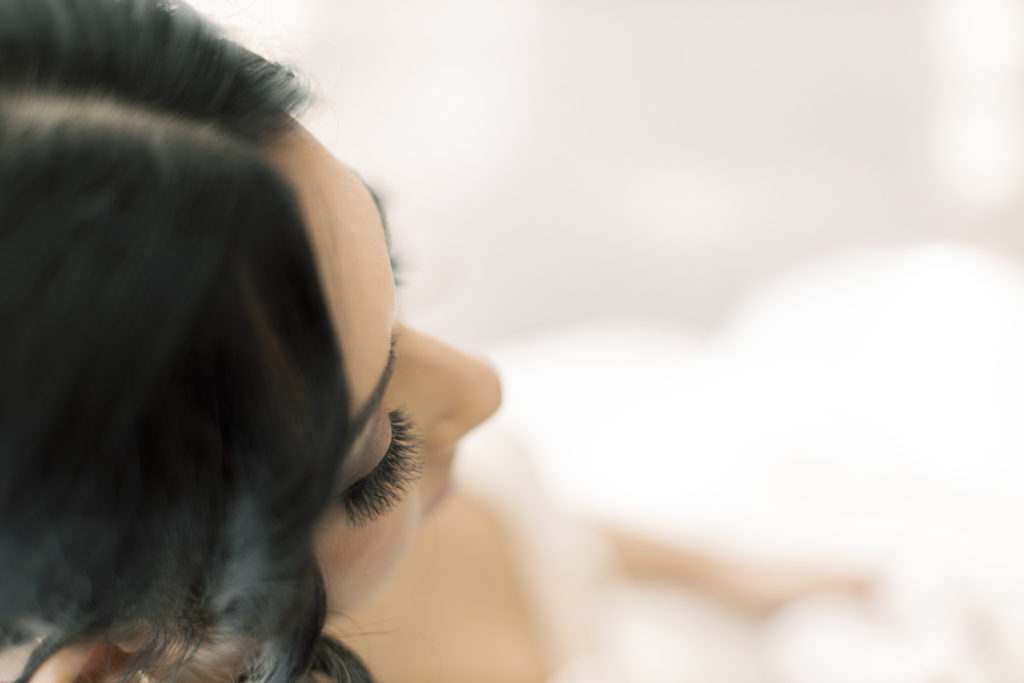
Always keeping an eye on whats going on and if the time is right, make sure to get makeup photos. Usually its easier to do this at the very end during touch up’s only, the last thing you want is a half made up bride with only one eyelash. As such. we recommend any close up shots to be done at the very end, even if its mocked up, while for everything else, use a wider lens and get further back so you don’t see details while showing the room. The use of negative space, and rules of thirds work nicely for these photos.
3. THE PJ’s
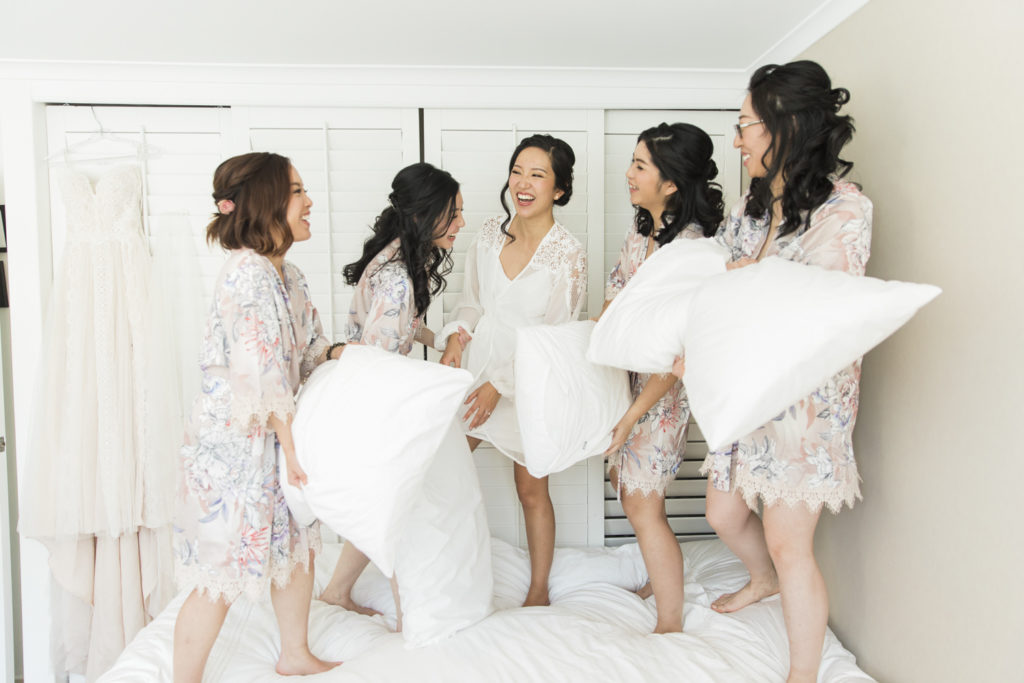
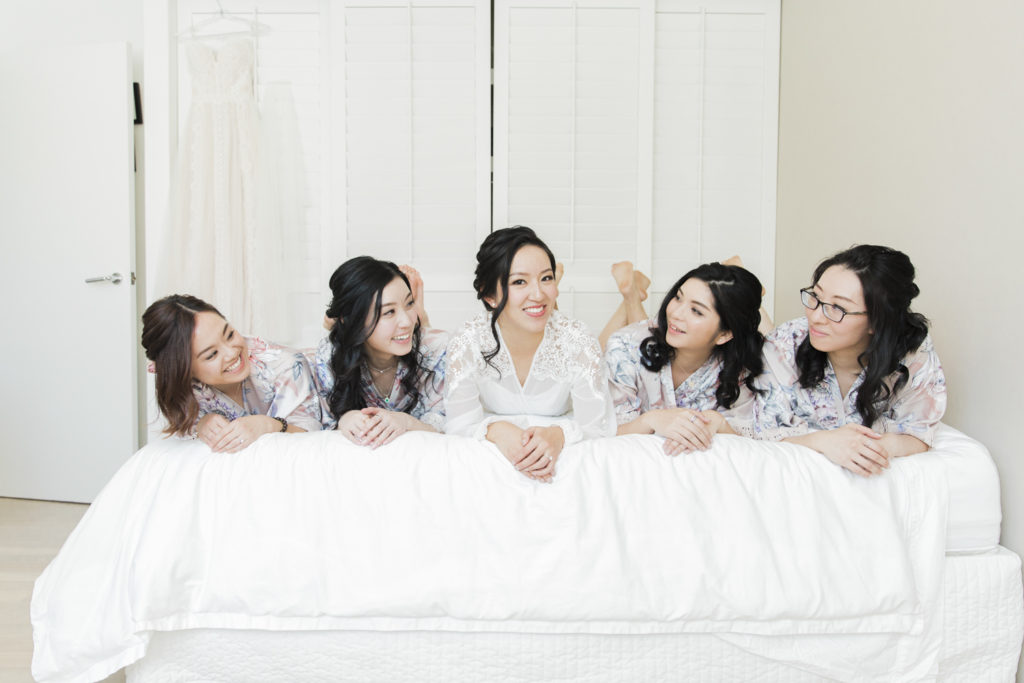
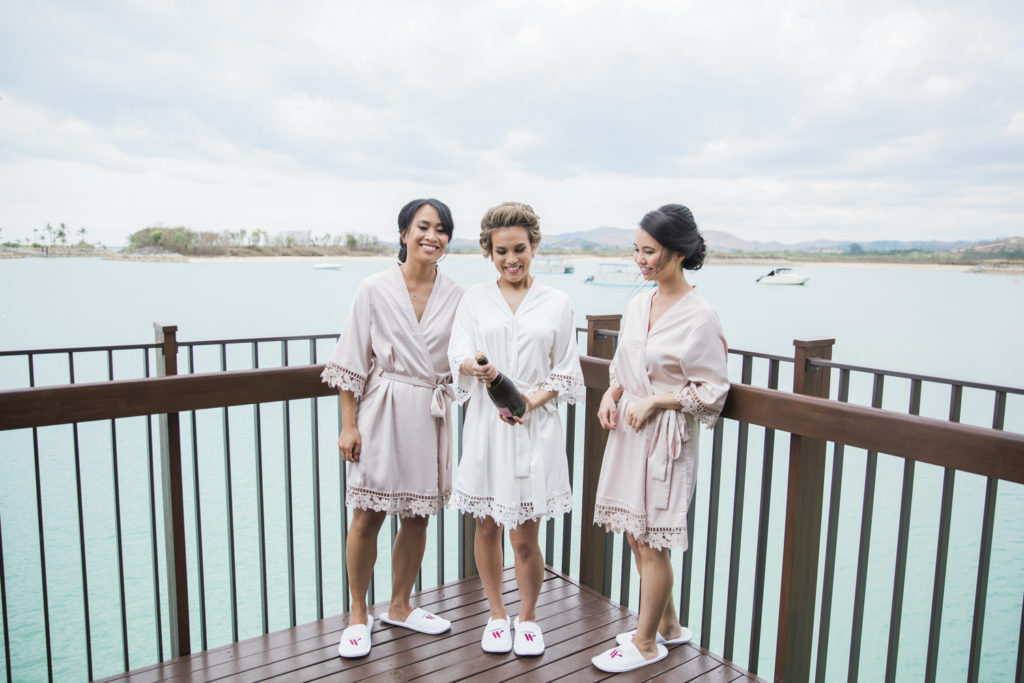
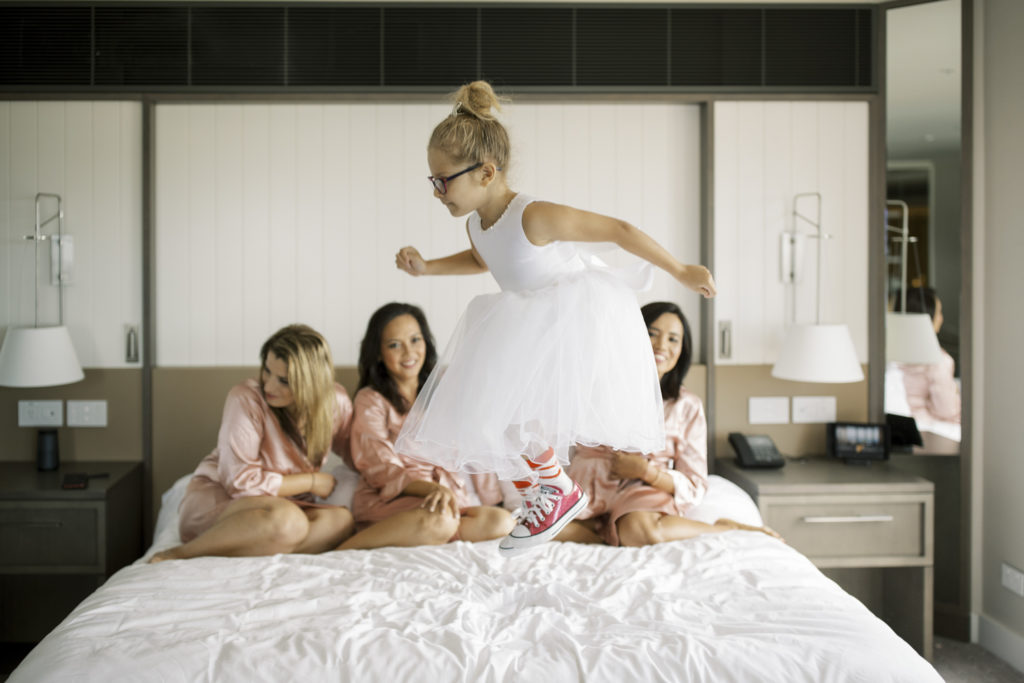
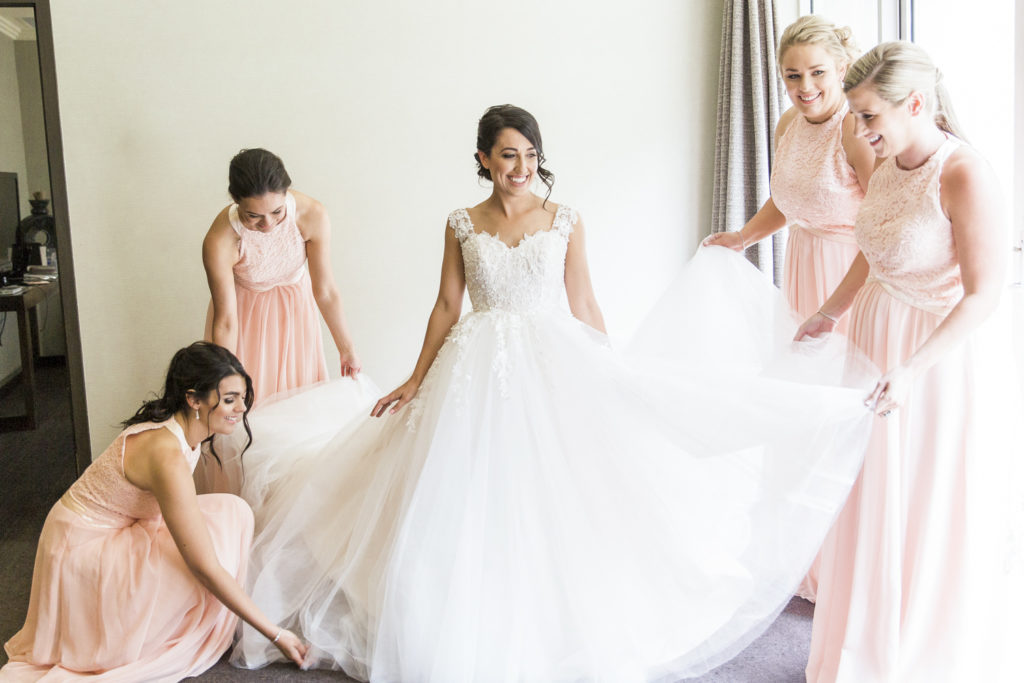
Before the bride hops into her dress, take a quick photo of the girls in their nighties or PJ’s. As this is probably the last time they will be able to move freely, we always encoring the bride and her girls to jump on a bed or have a glass of Champaign
4. THE DRESS
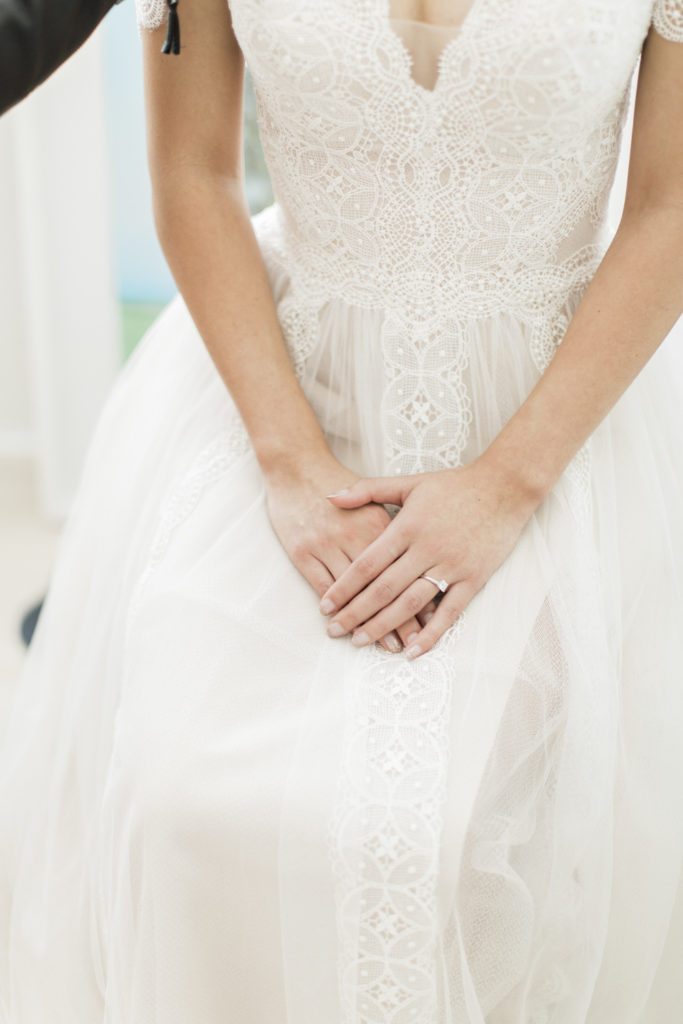
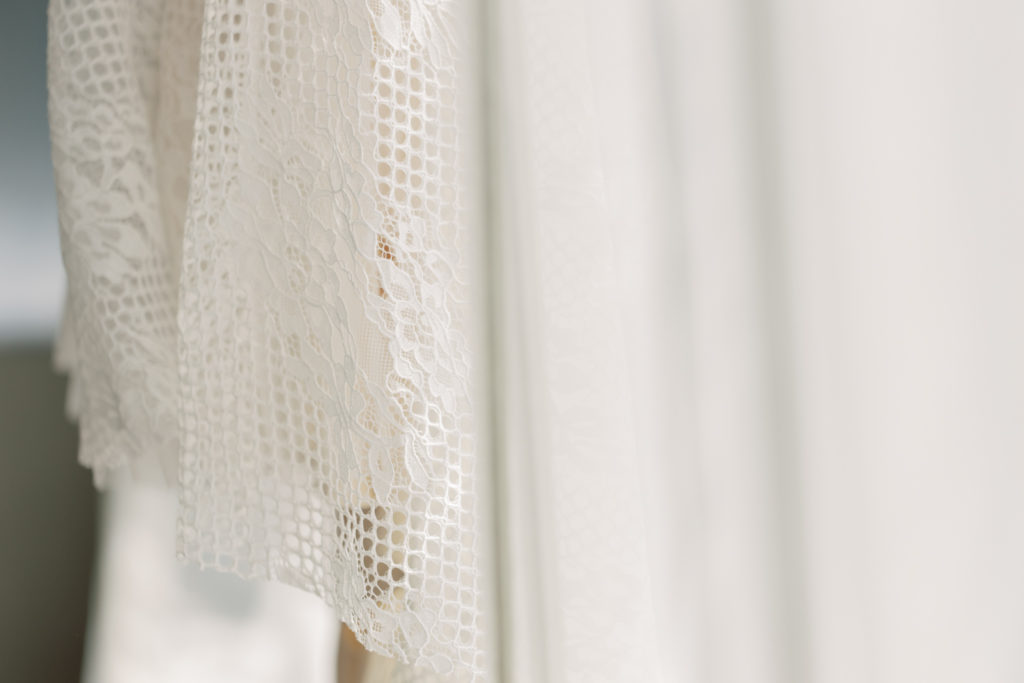
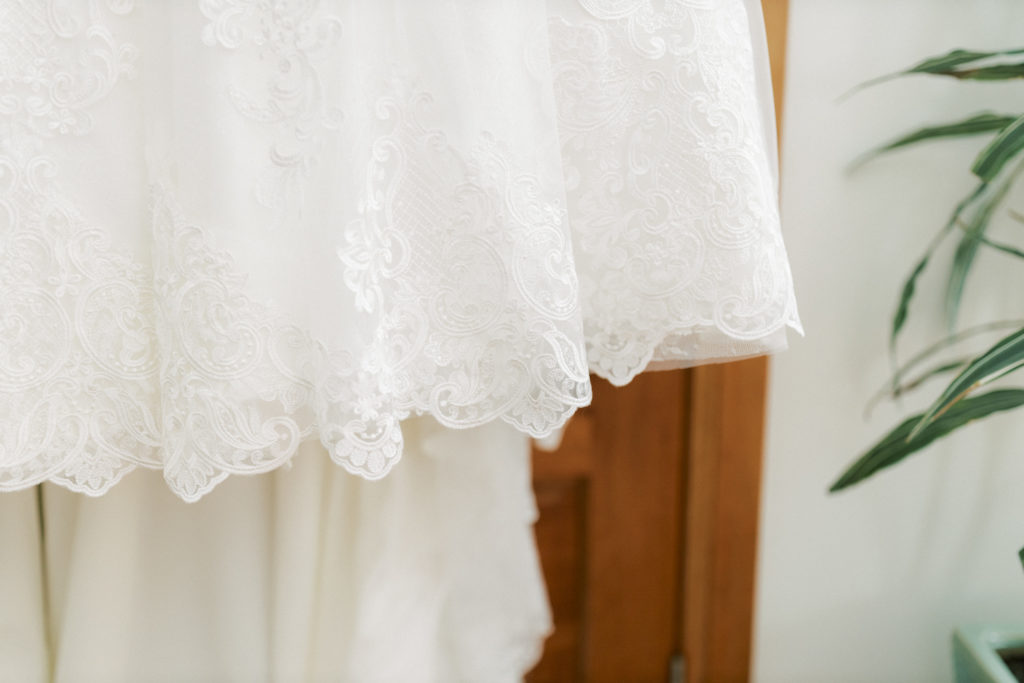
While the bridesmaids are getting into their dresses, we find this is a wonderful opportunity for taking photos of the wedding dress (if not sooner). Take these at three different distance, wide, medium and tight, allowing your creativity to showcase the dress in all it’s beauty.
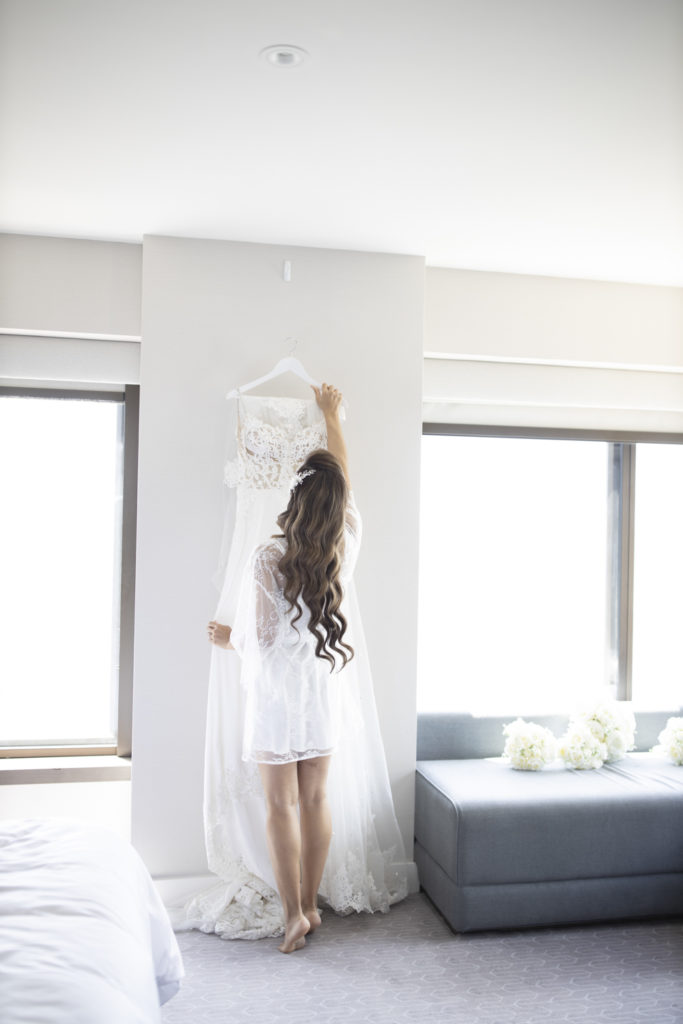
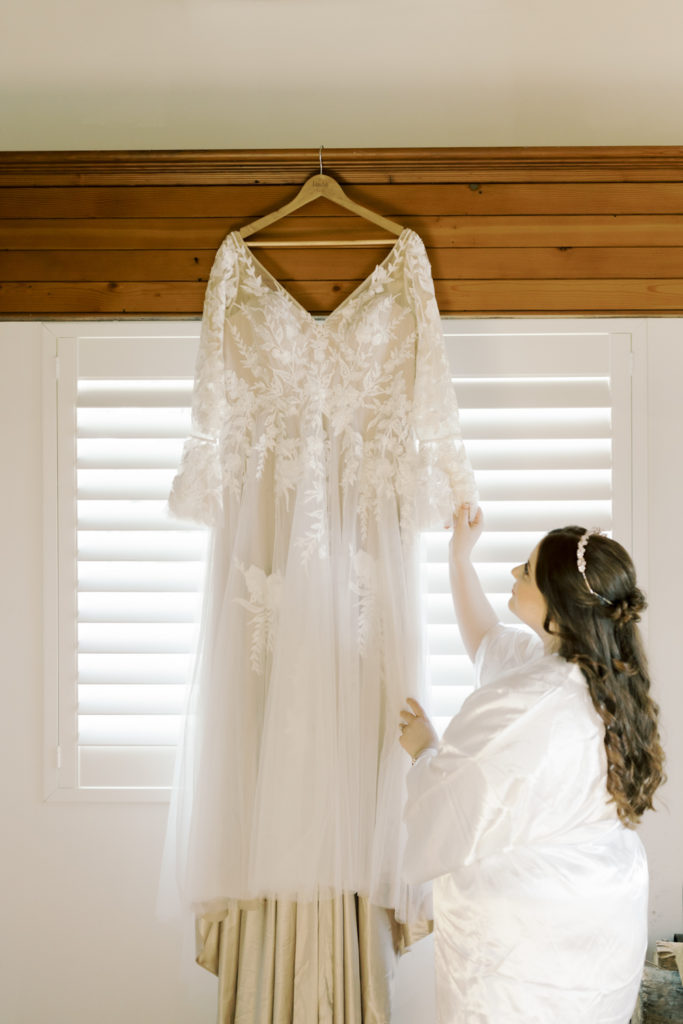
5. FIRST LOOK AT THE DRESS
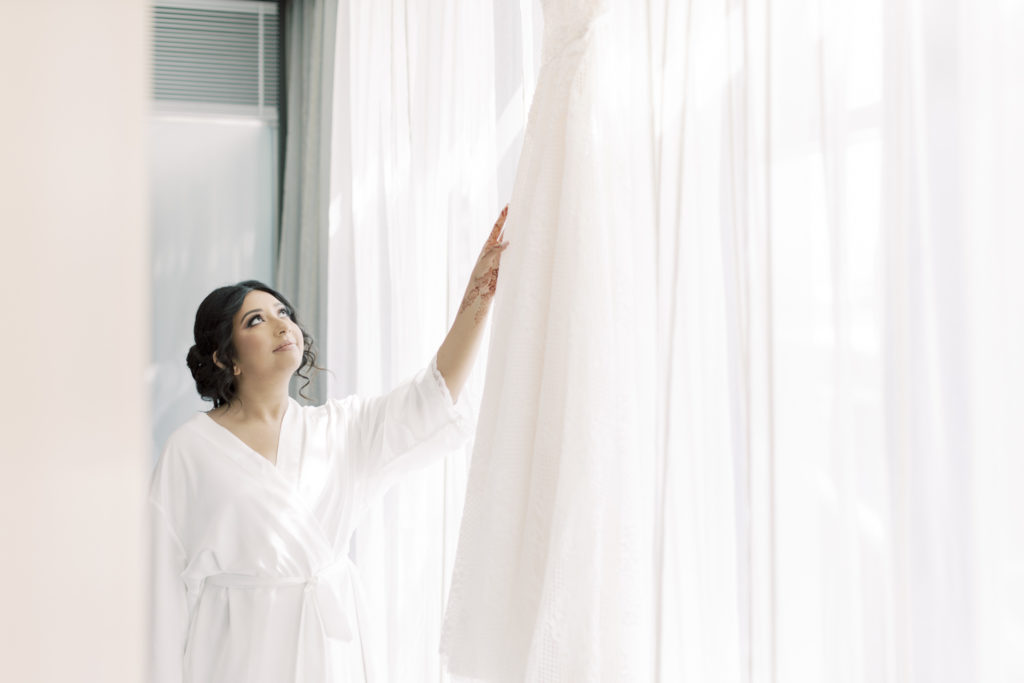
While the dress is hanging, this is a great opportunity to have the bride admiring her dress, before capturing her bringing it back down. These look fantastic in an album, a little intimate moment thats photography gold! Make sure to get both a far away and close up shot of it. Hot tip, using a bit of movie magic, have someone tall to take the dress off the hook first to make it look like the bride has taken it down herself.
6. GETTING INTO THE DRESS
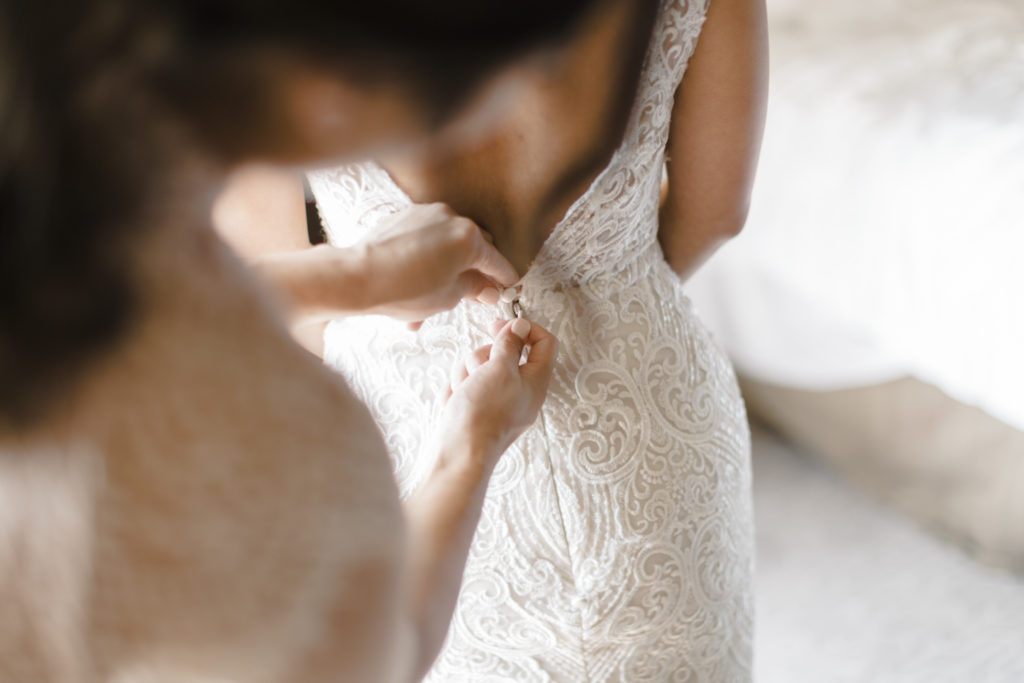
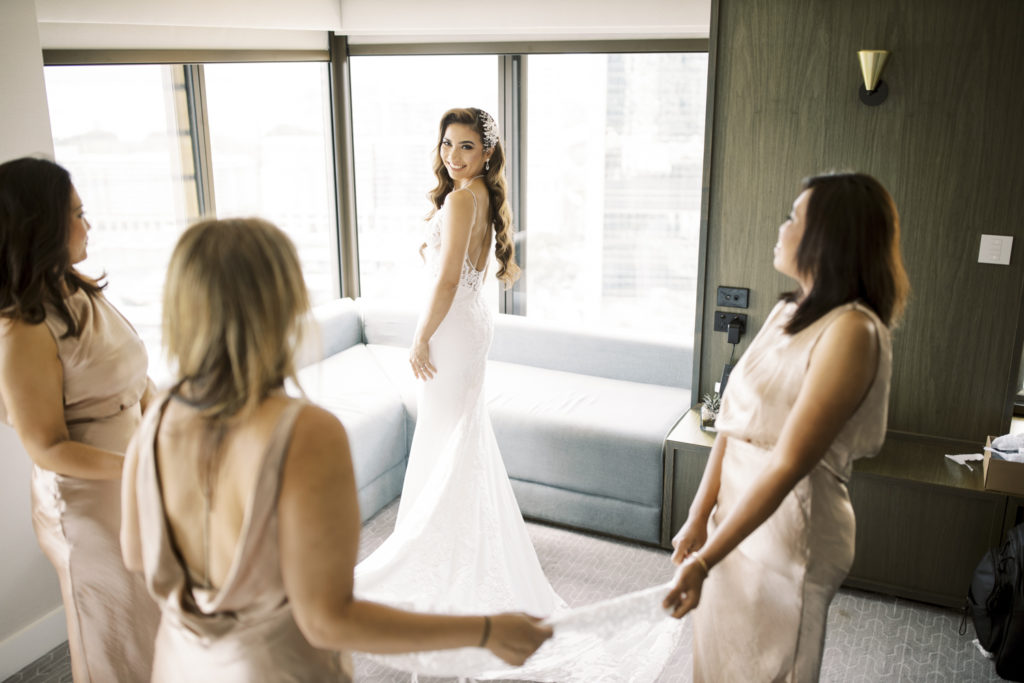
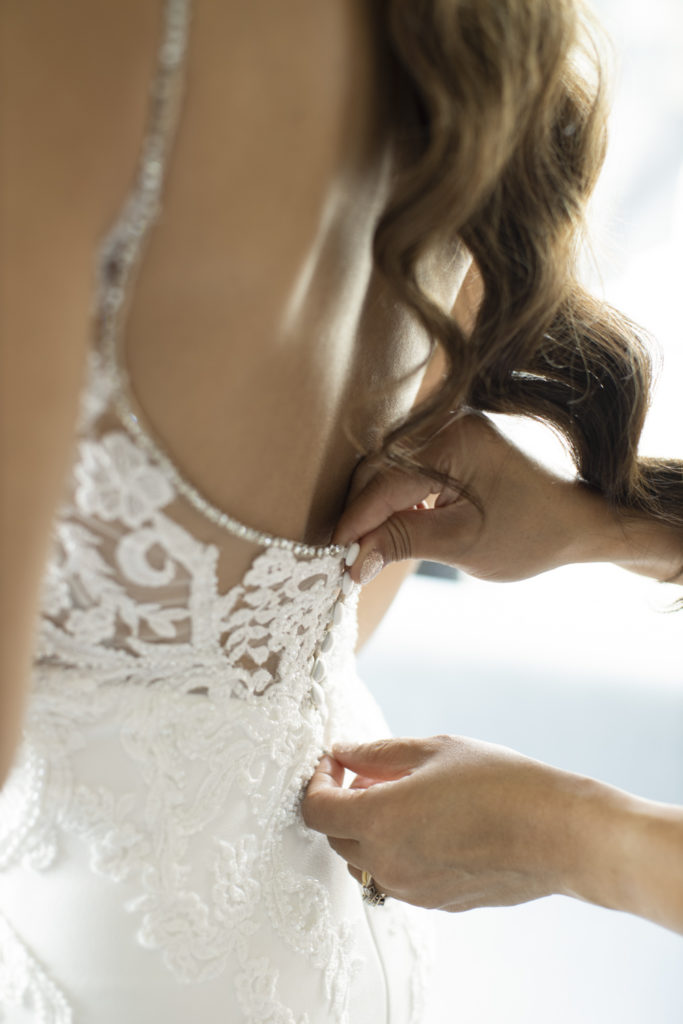
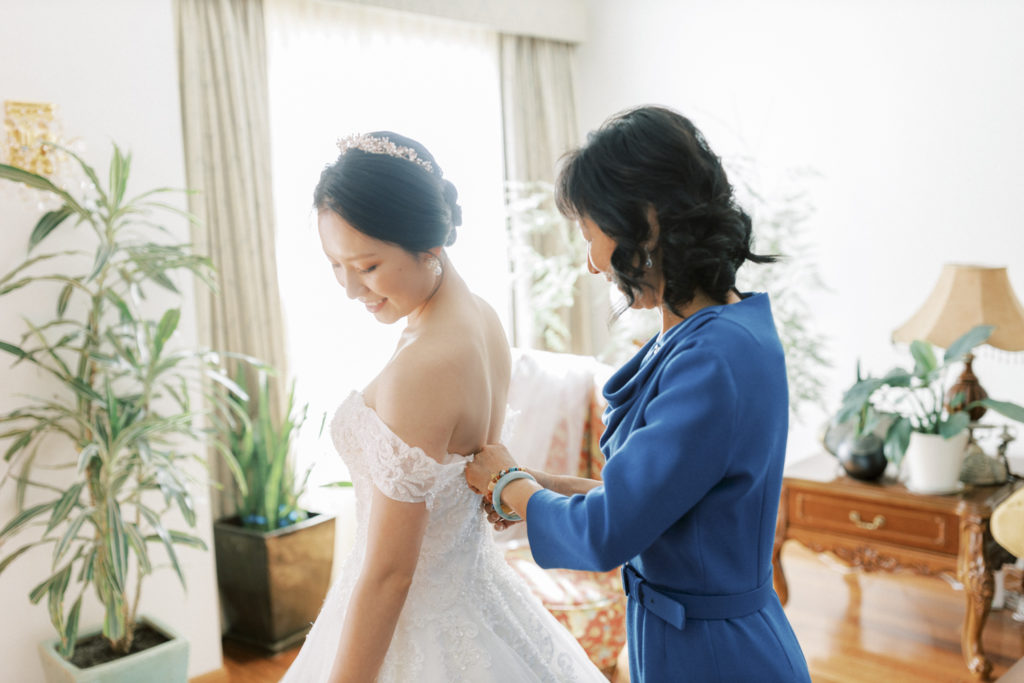
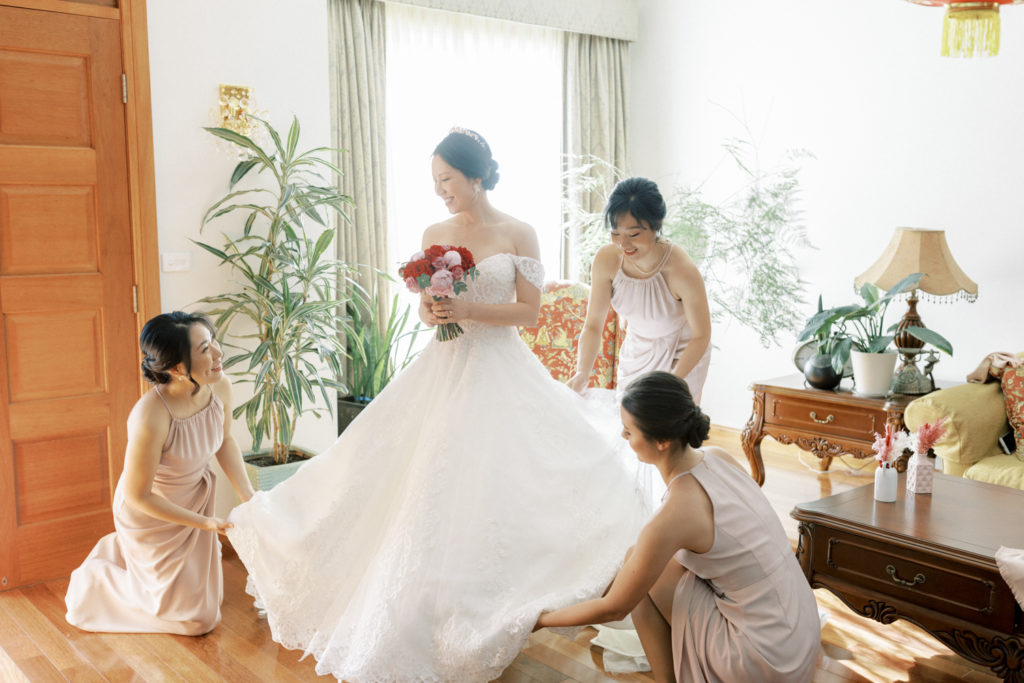
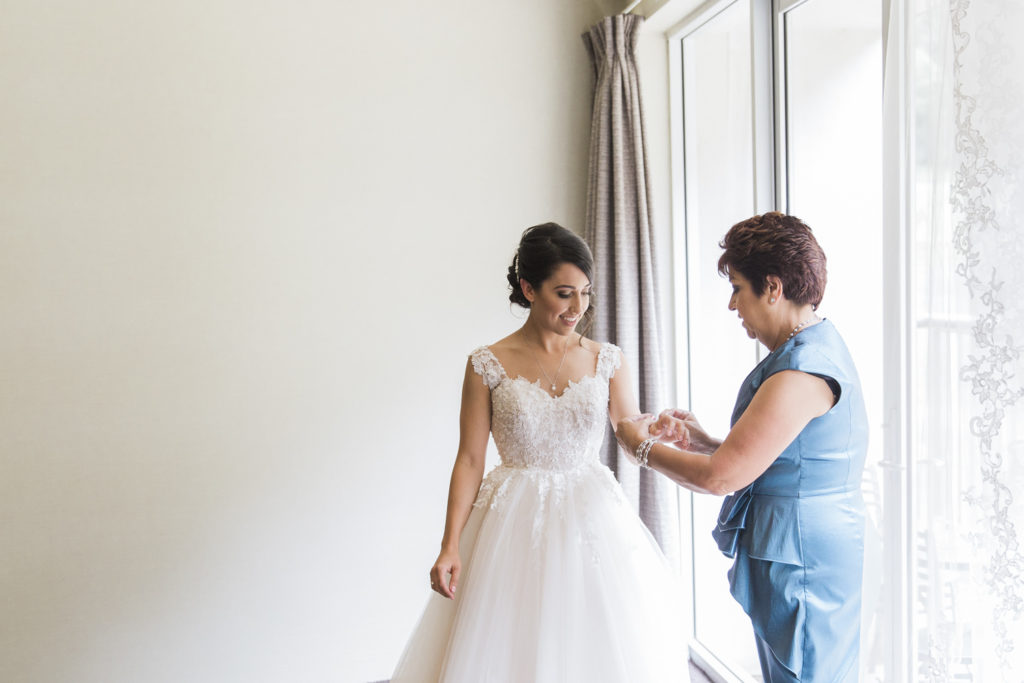
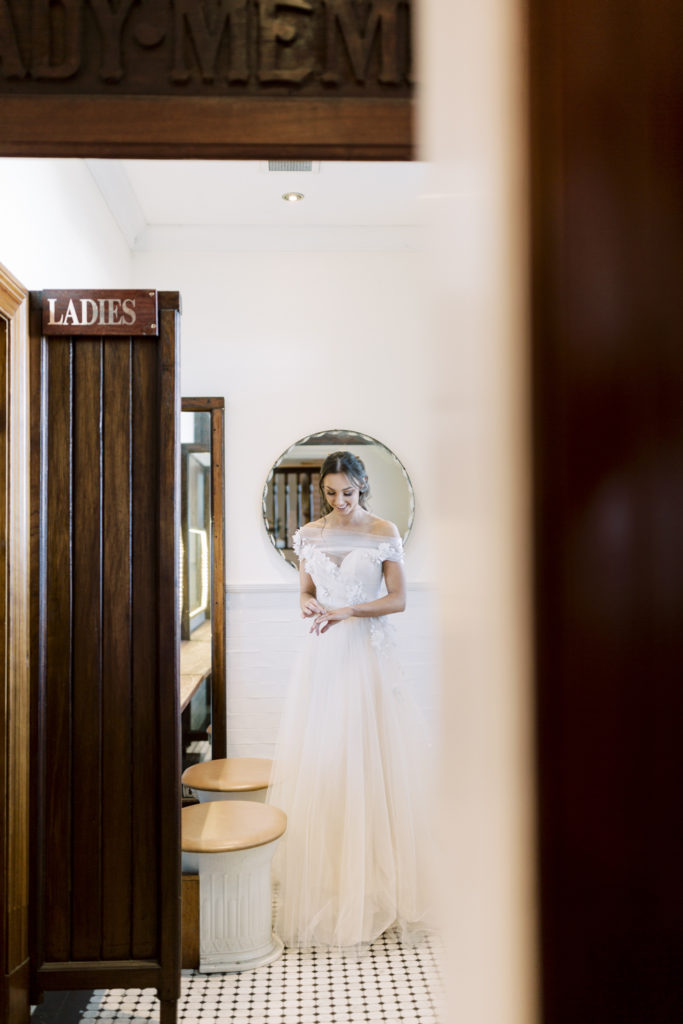
It’s time for a quick break while you give the bride a few moments to squeeze into her dress in another room. During this down time, start arranging the room and cleaning up anything out of place so you can take the photos of the bride in a bright, indirectly lit corner. Once she is mostly dressed, its time to get into all the usual shots close and far. Our top tips is to use the mother or the maid/matron of honour to help with the final button/zip up.
This happens usually over in a split second, so don’t hesitate to ask them to slow down or do it again, the perfect photo is important after all!
7. JEWELRY
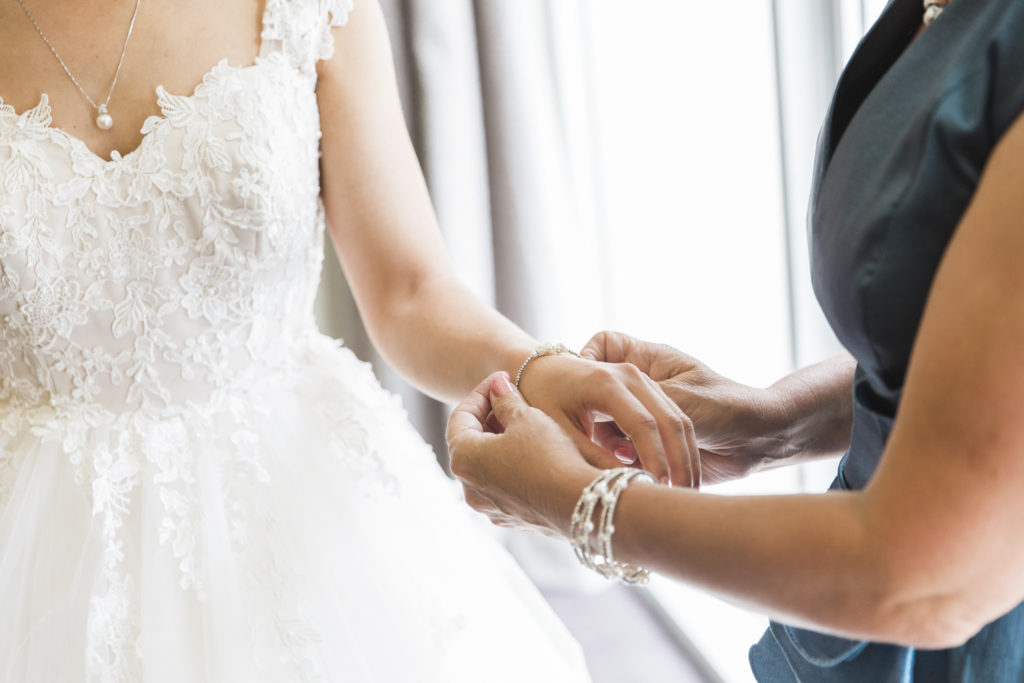
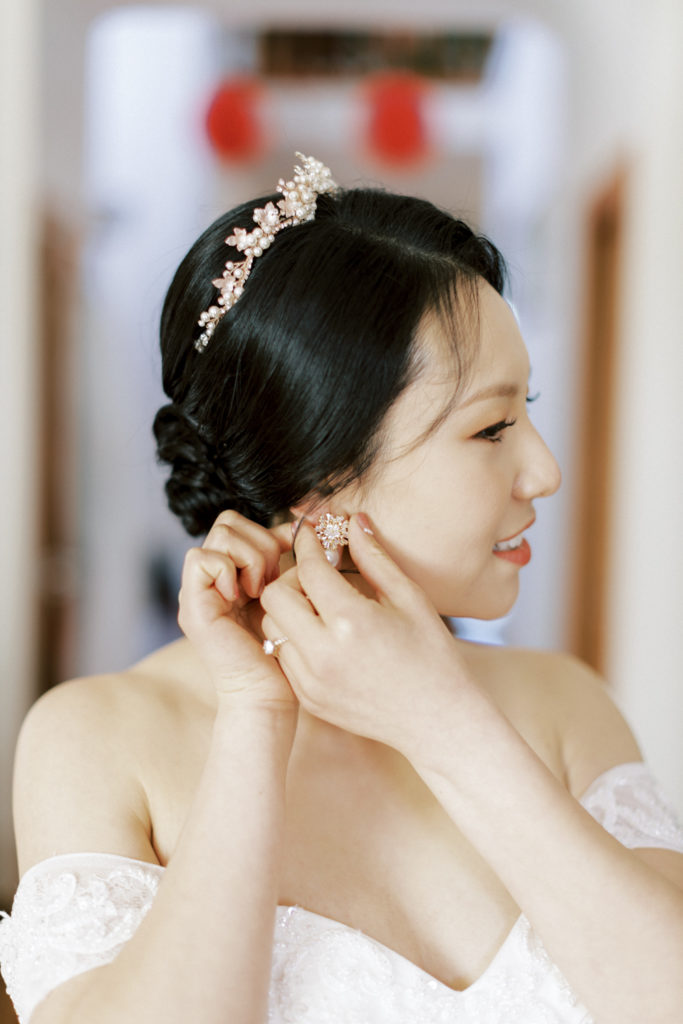
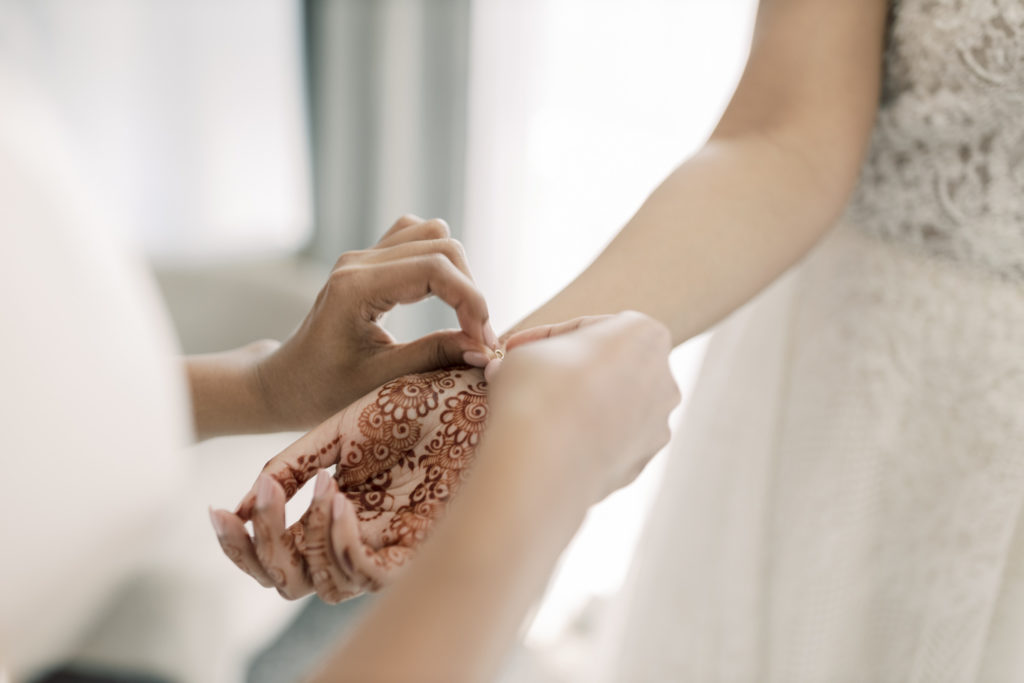
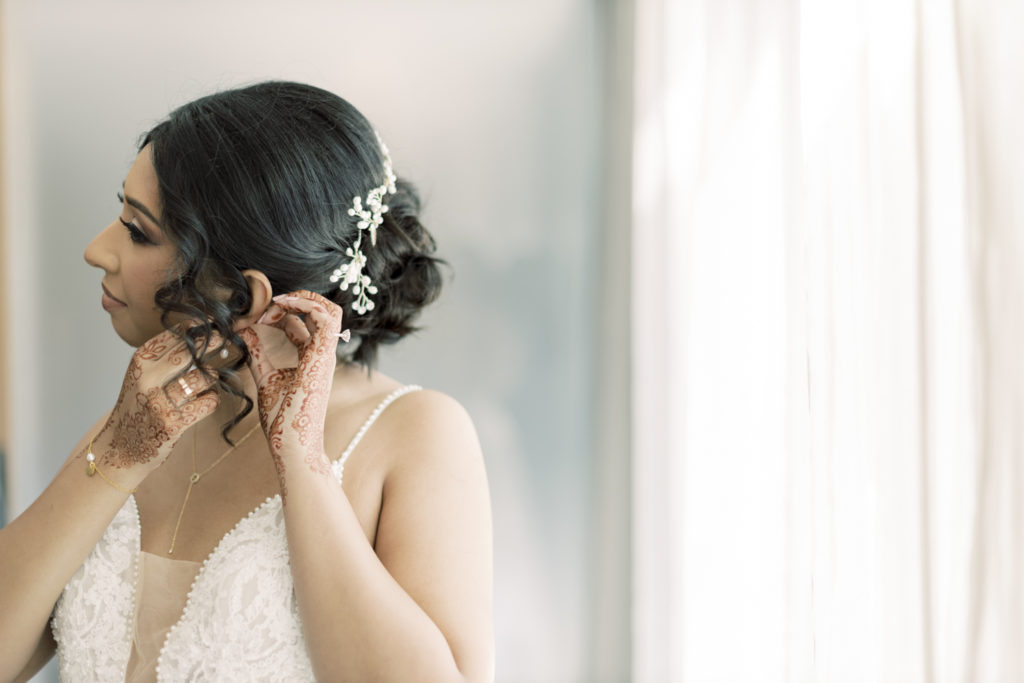
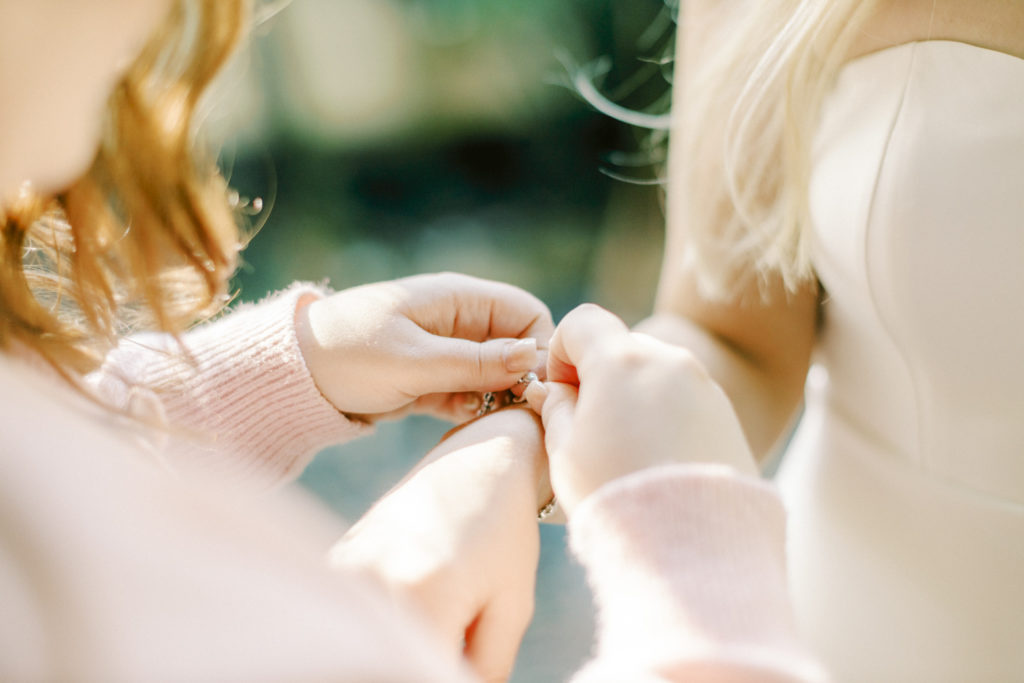
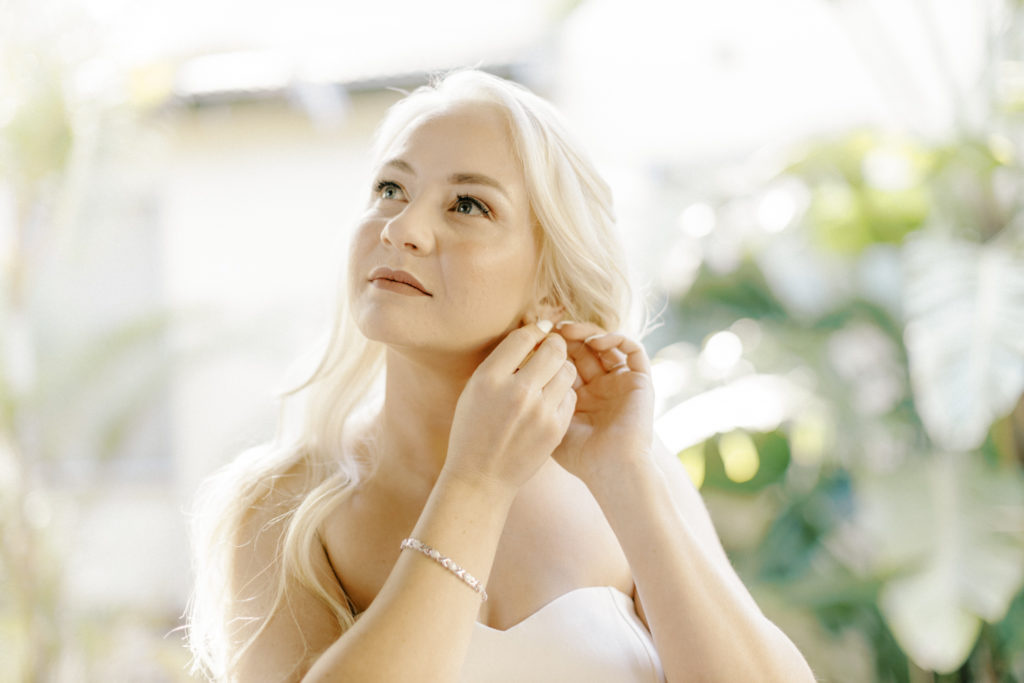
While the bride is still standing have the mother or the head brides maid to bring over all the jewelry and start putting on the necklace and or bracelet, for the the earrings, have the bride do this herself.
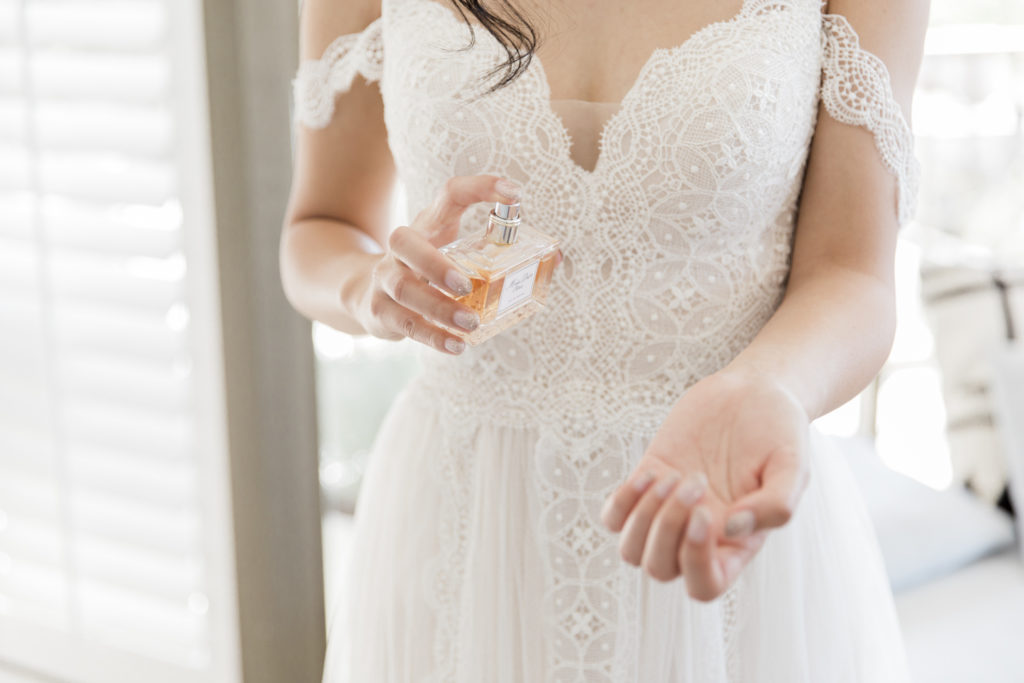
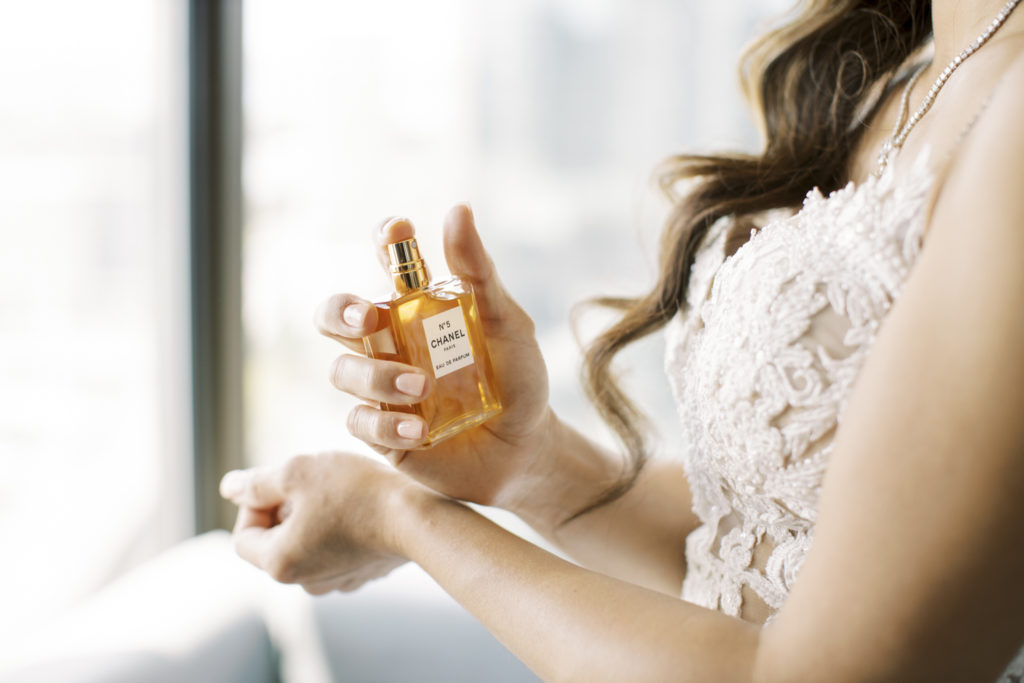
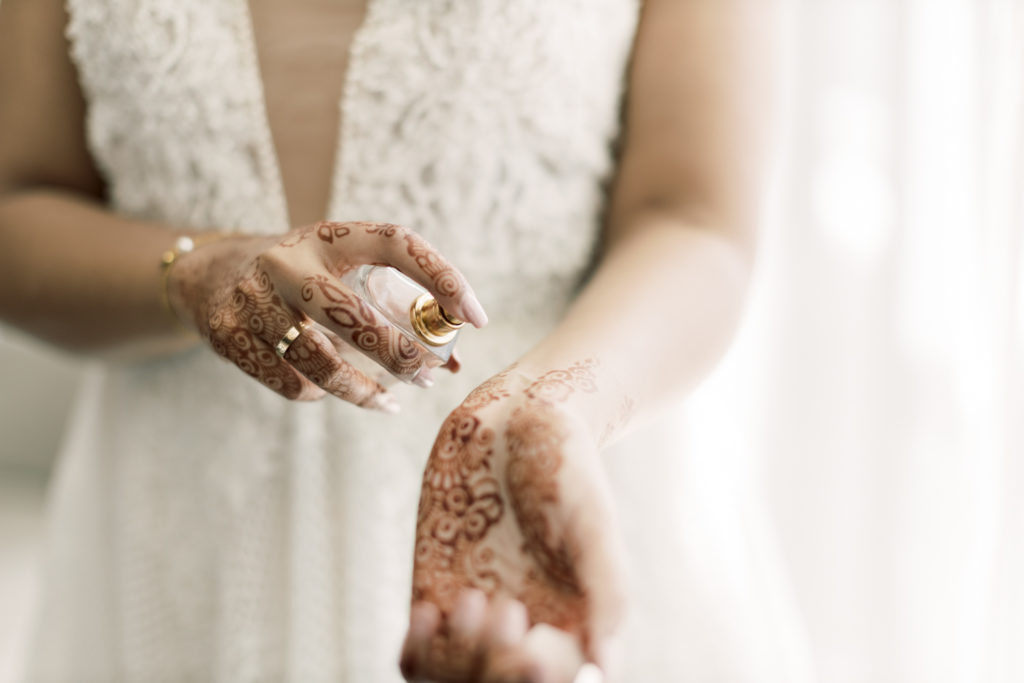
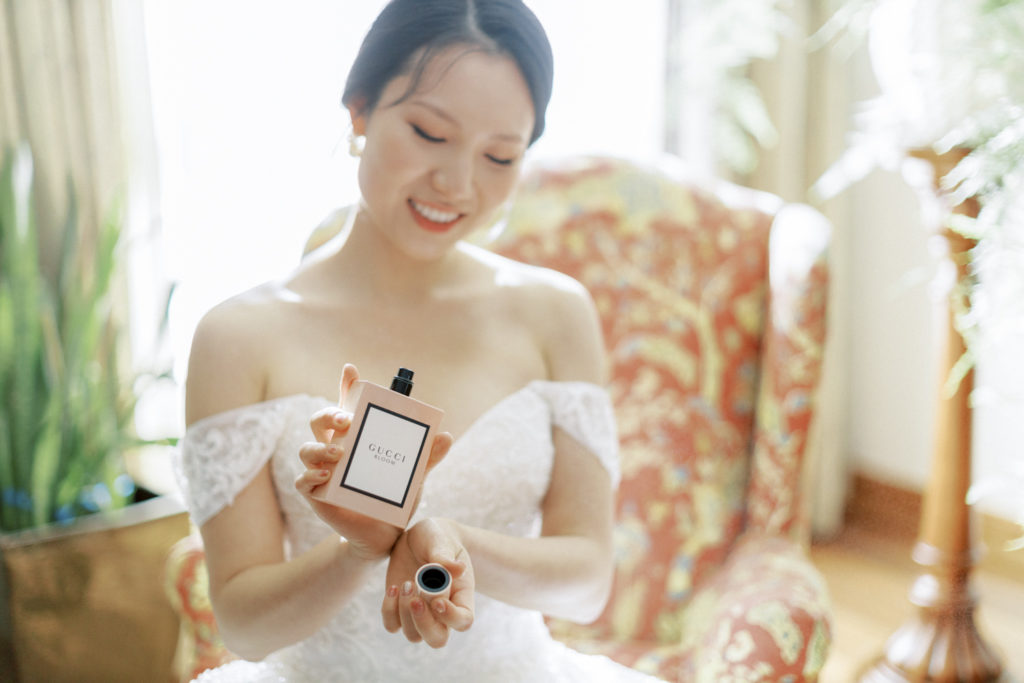
8. THE SPRAY OF PERFUME
Time for a sprits of the brides favourite fragrant, this is kind of a 1 or 2 shot at best photo/video, best get it right otherwise the bride will smell rather strong! So setup your angel and count this one down.
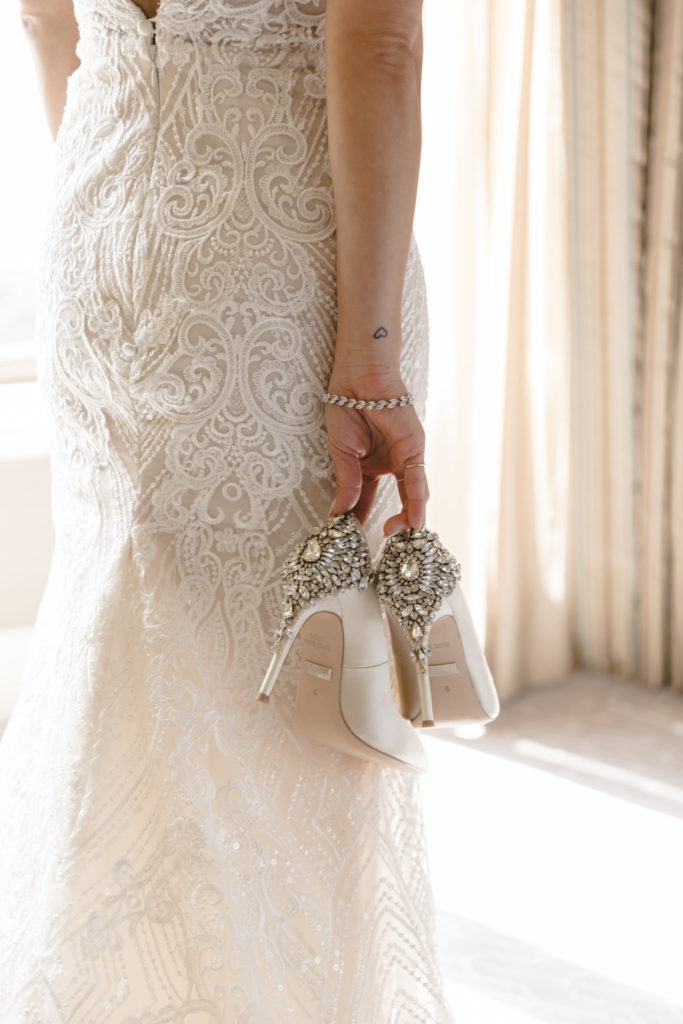
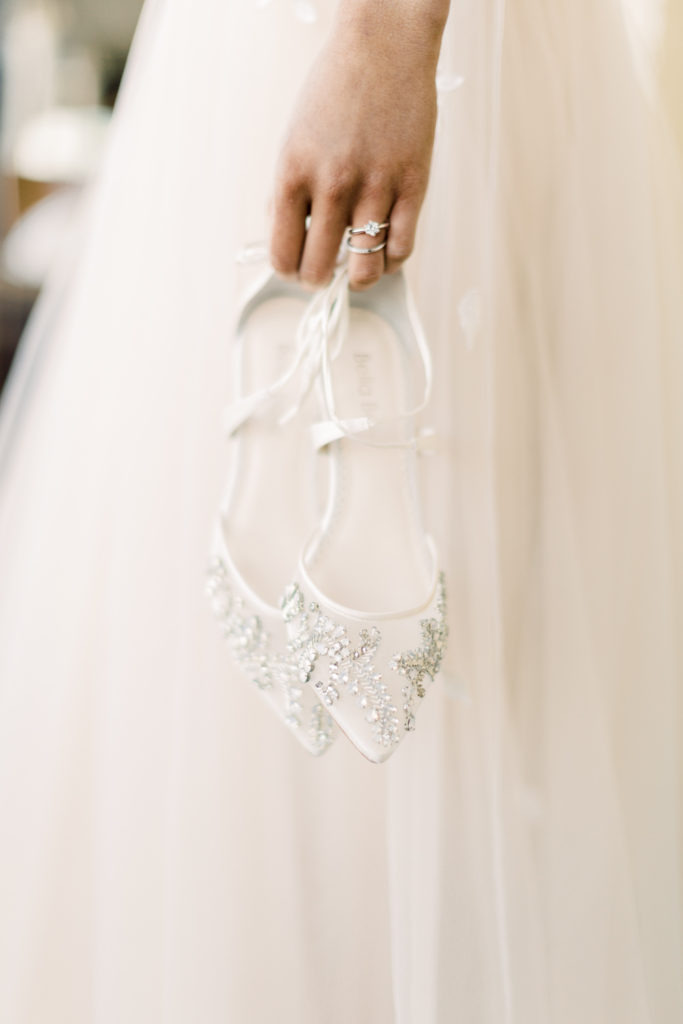
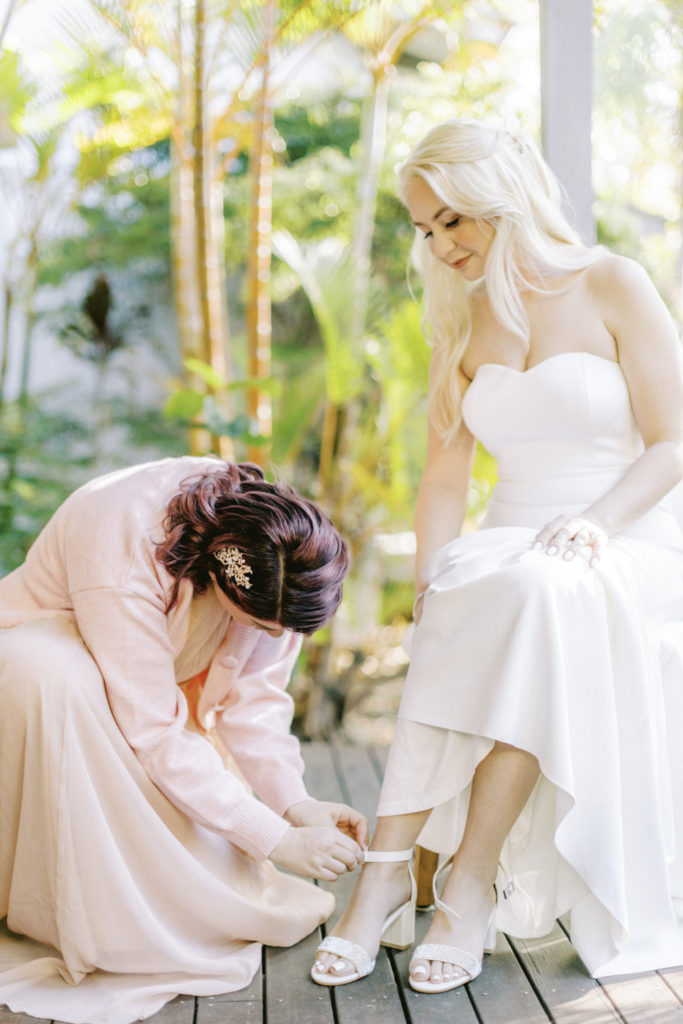
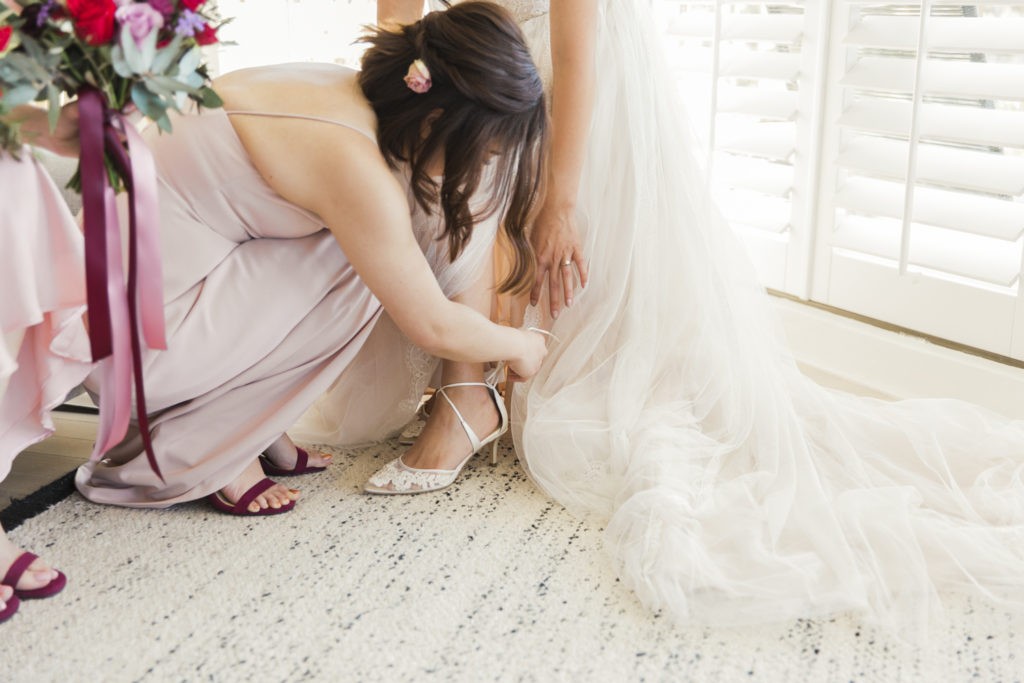
9. HEALS
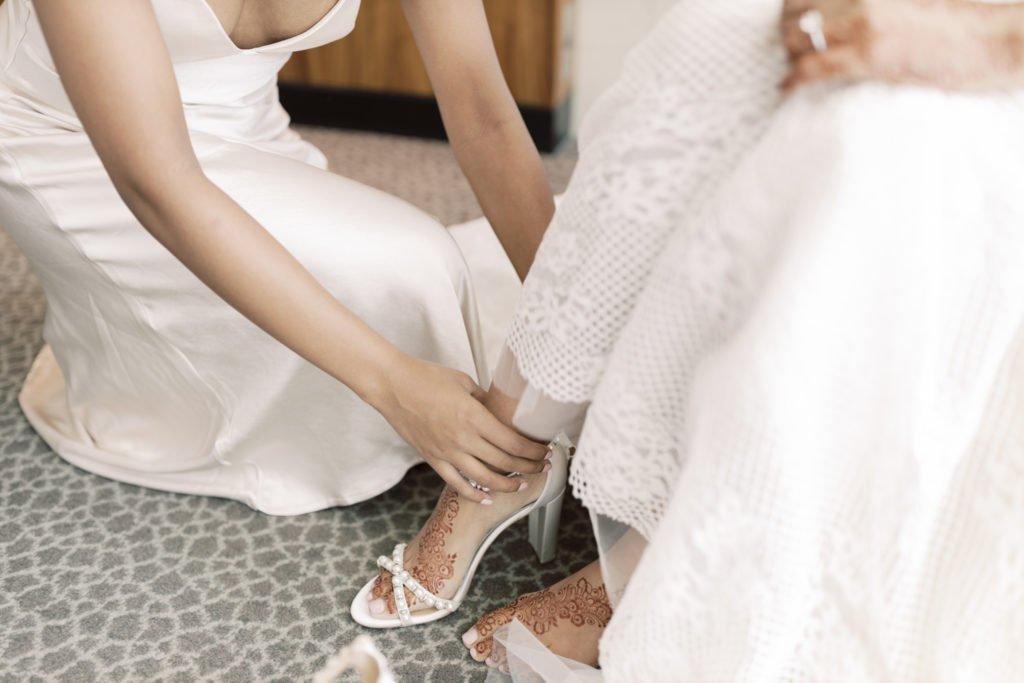
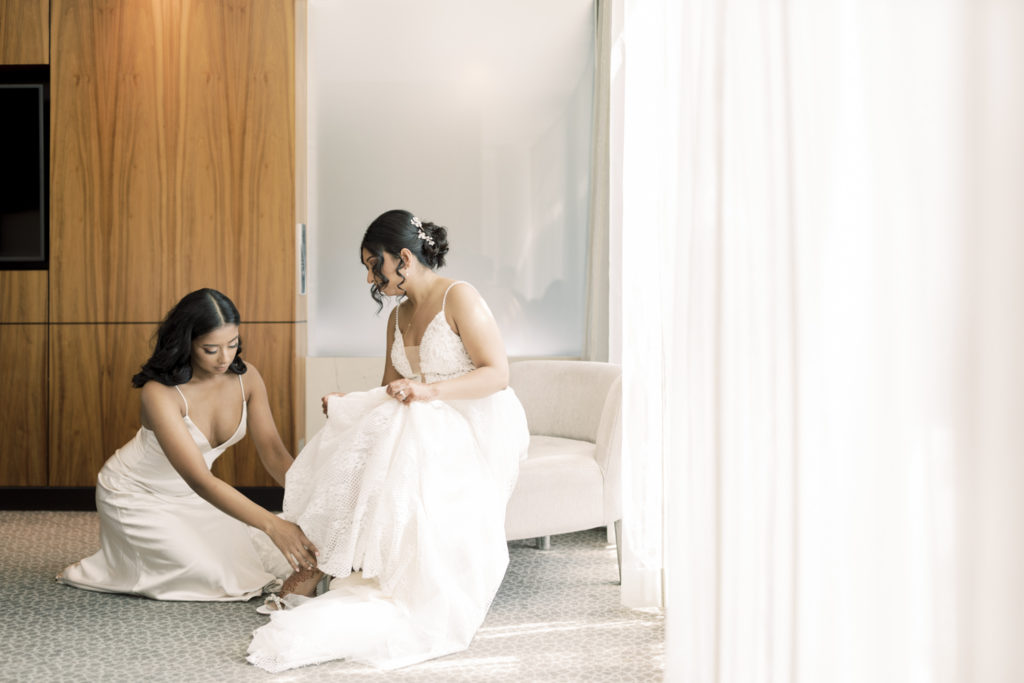
The second most important accessory to the dress is the brides heals. Have the bride sit at the tip of a chair or bed and have the head bridesmaid help put on her amazing heals. When shooting, get low and again, one wide and one close up for those details.
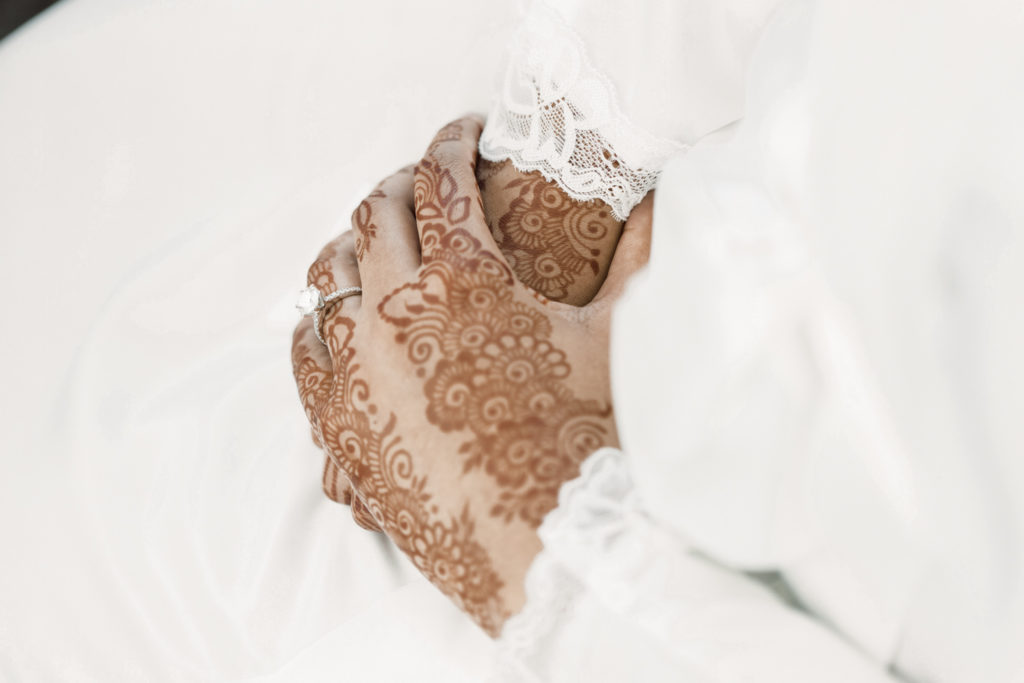
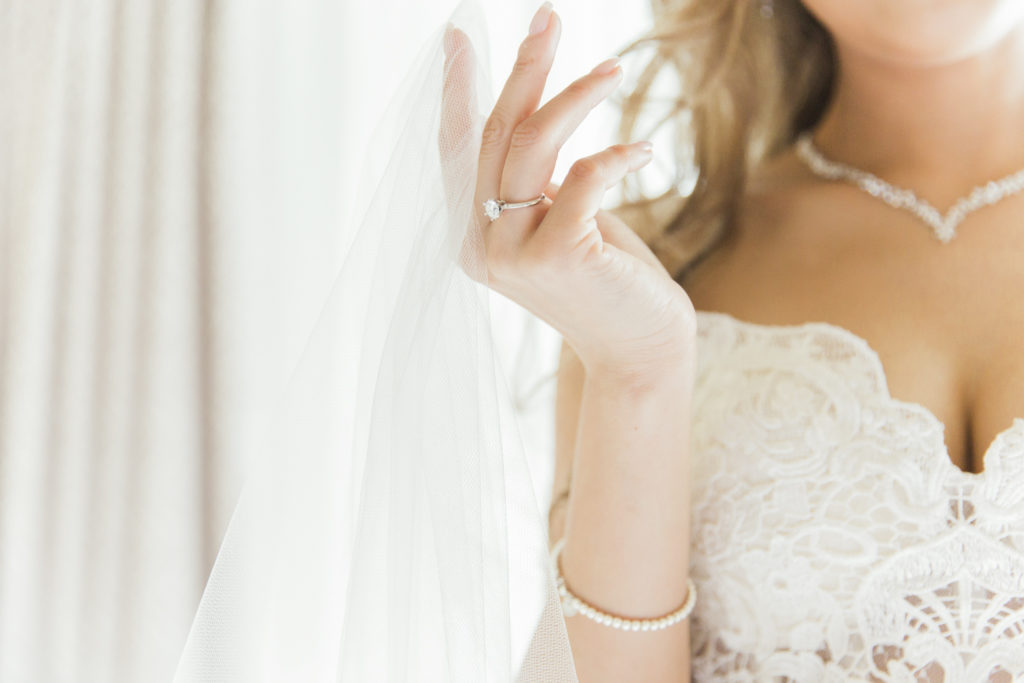
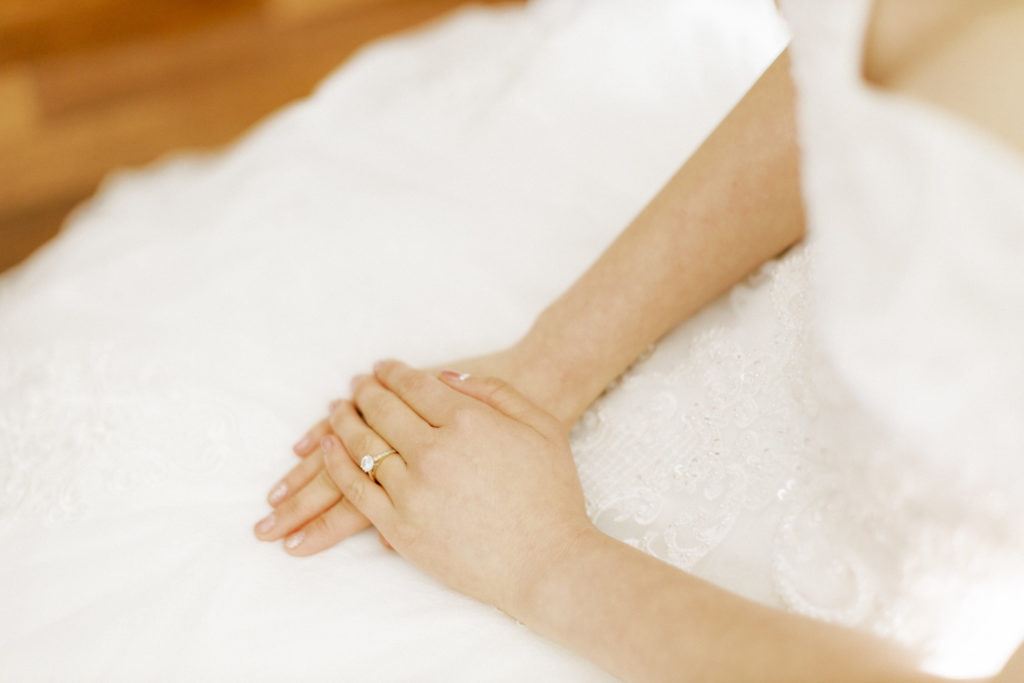
We also like to have the bride hold her heals before she wears them too, they make for great detail shots in an album. Just remember to use the ring finger hand to hold them for that added bling.
10. CLOSE UP OF THE DETAILS
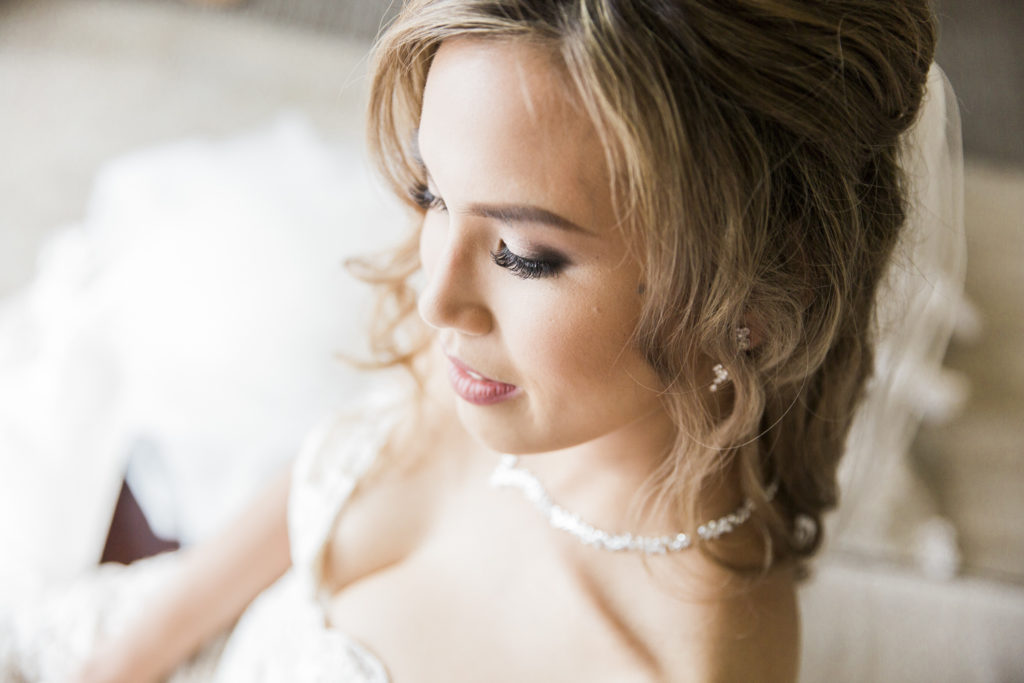
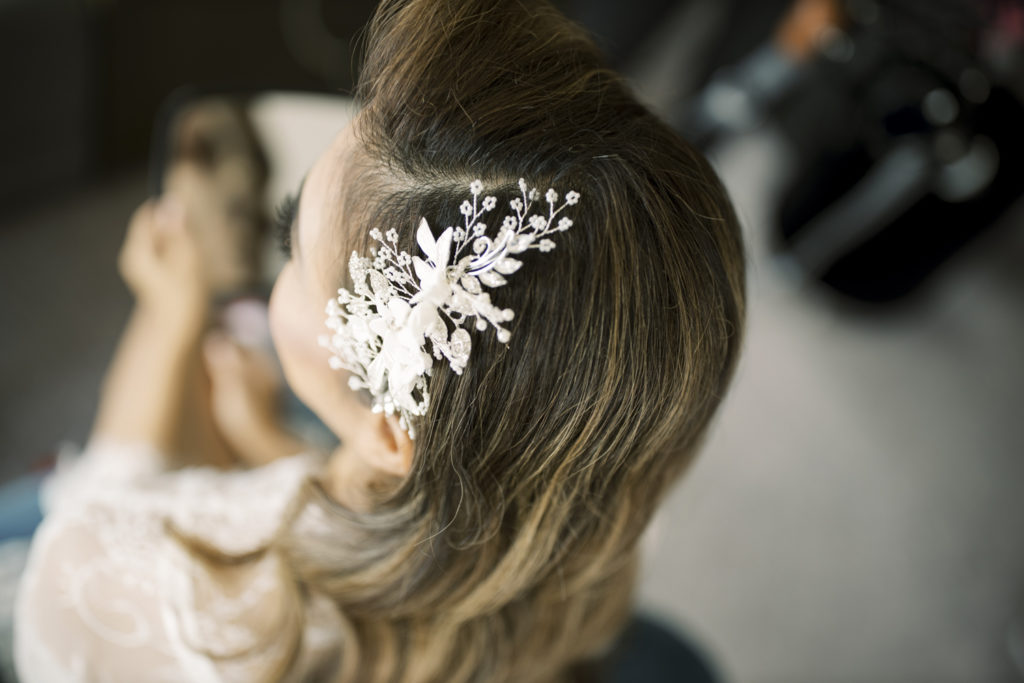
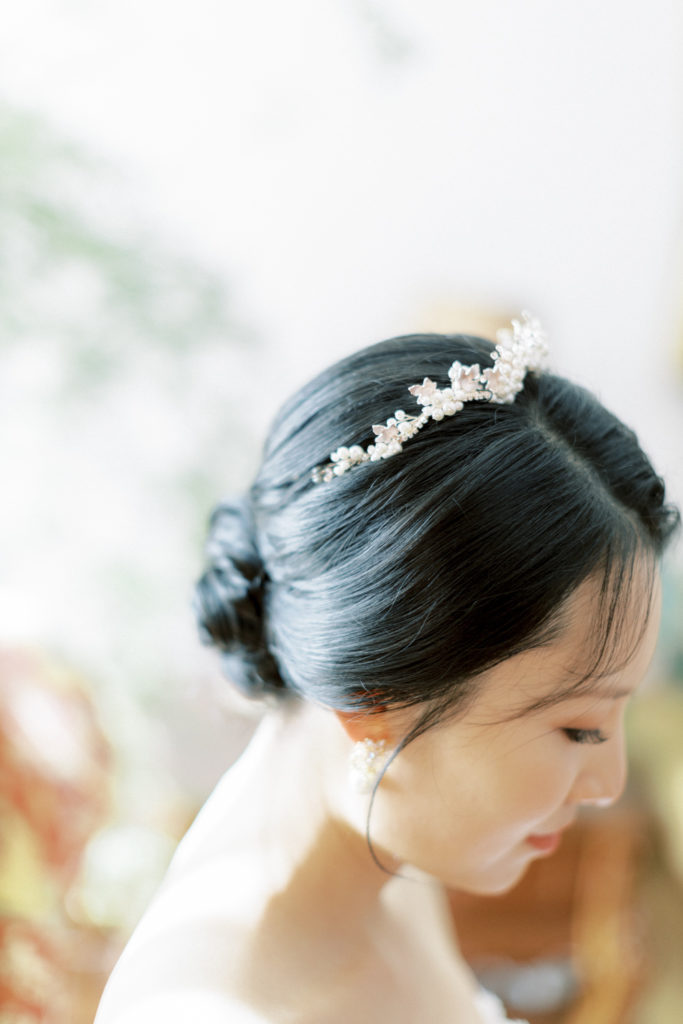
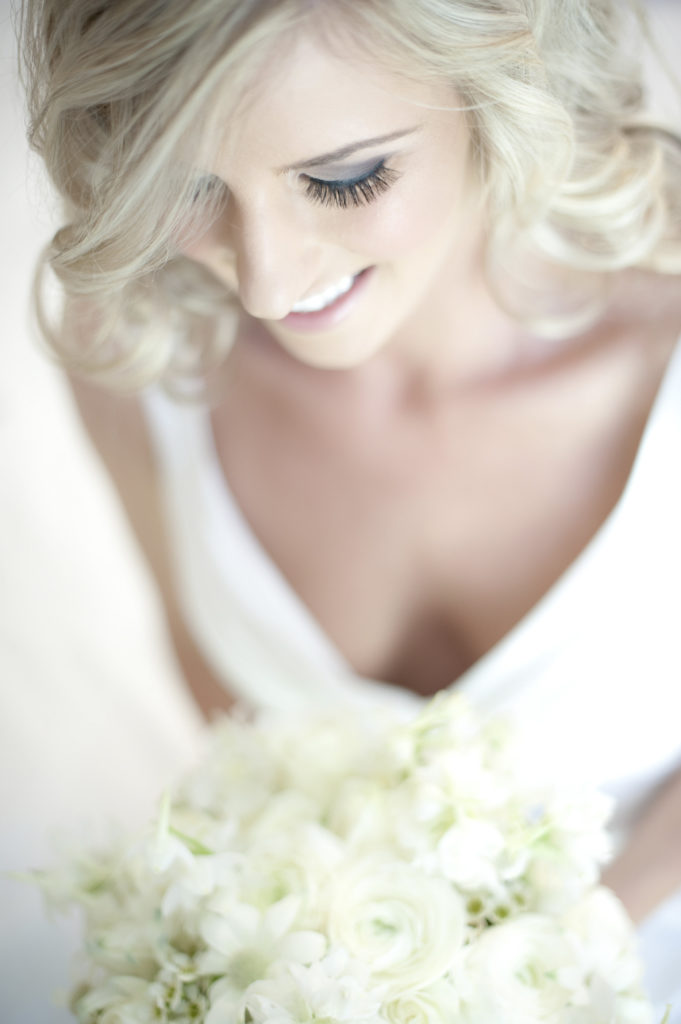
Before you get into the main portraits, use this time to get a few photos of the details, hair and makeup will be perfect at this time, your bride will look absolutely magazine ready! We prefer to shoot these with a 50mm at 1.4 / 1.6 apertures, to really zone in.
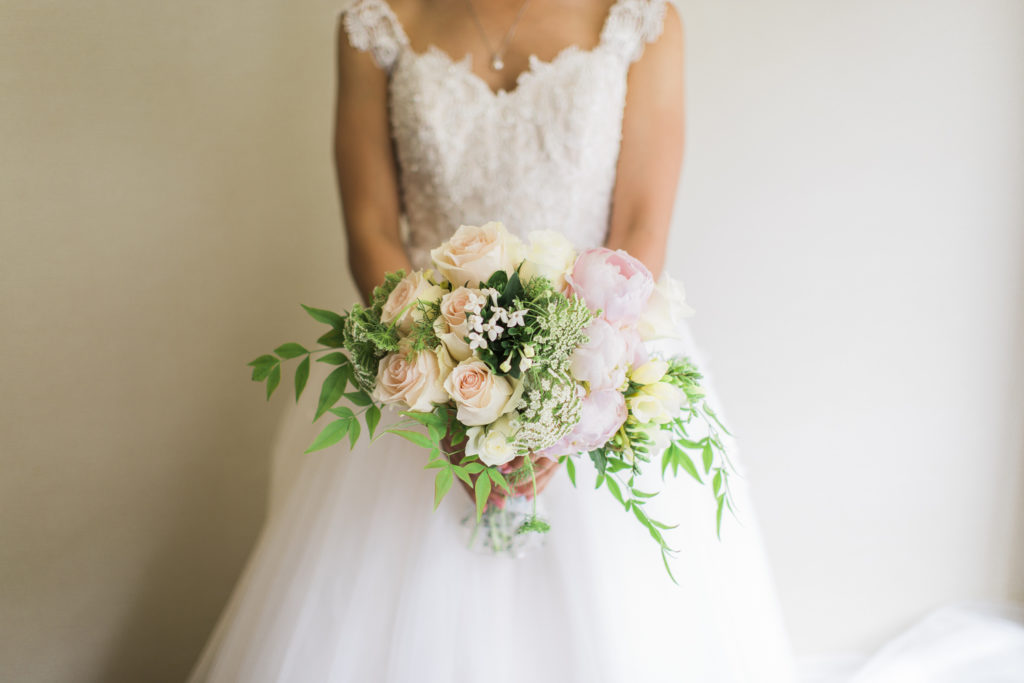
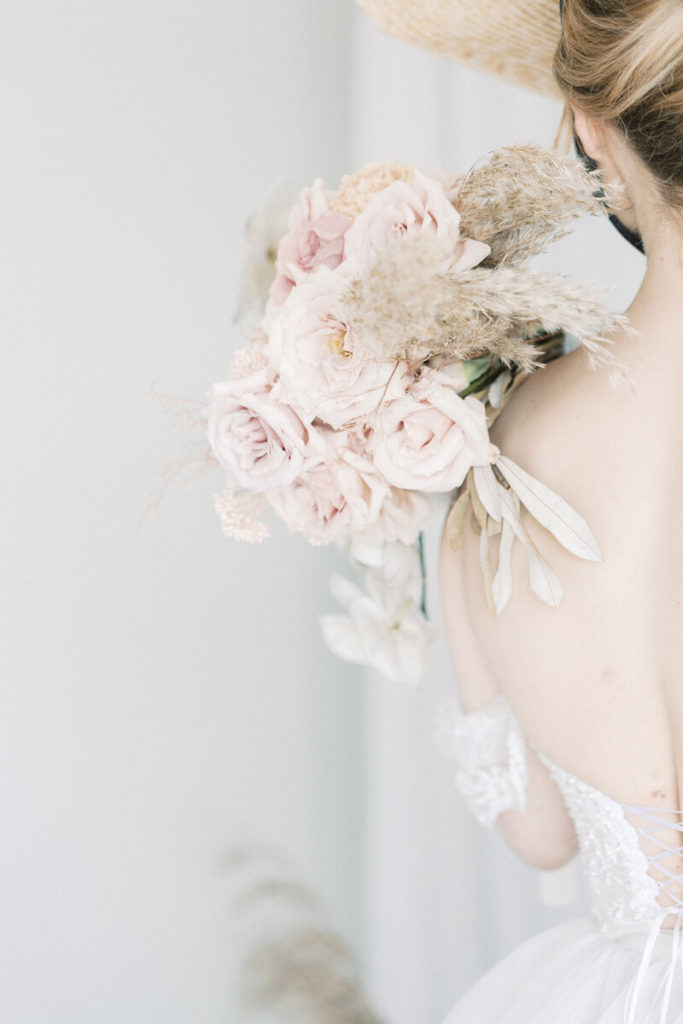
11. BOUQUET ON ITS OWN
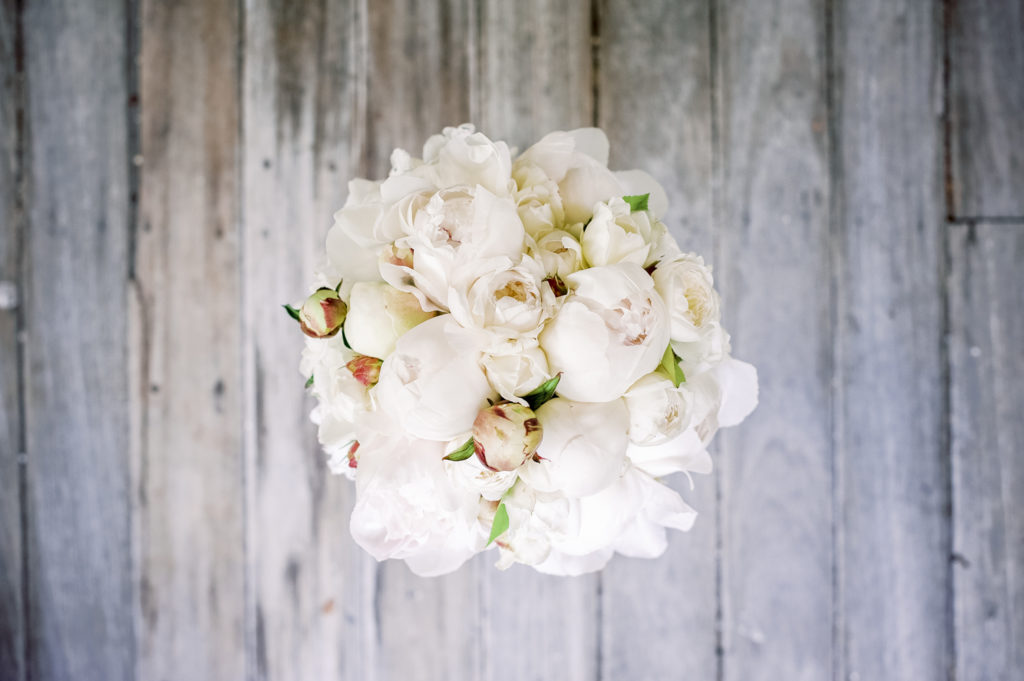
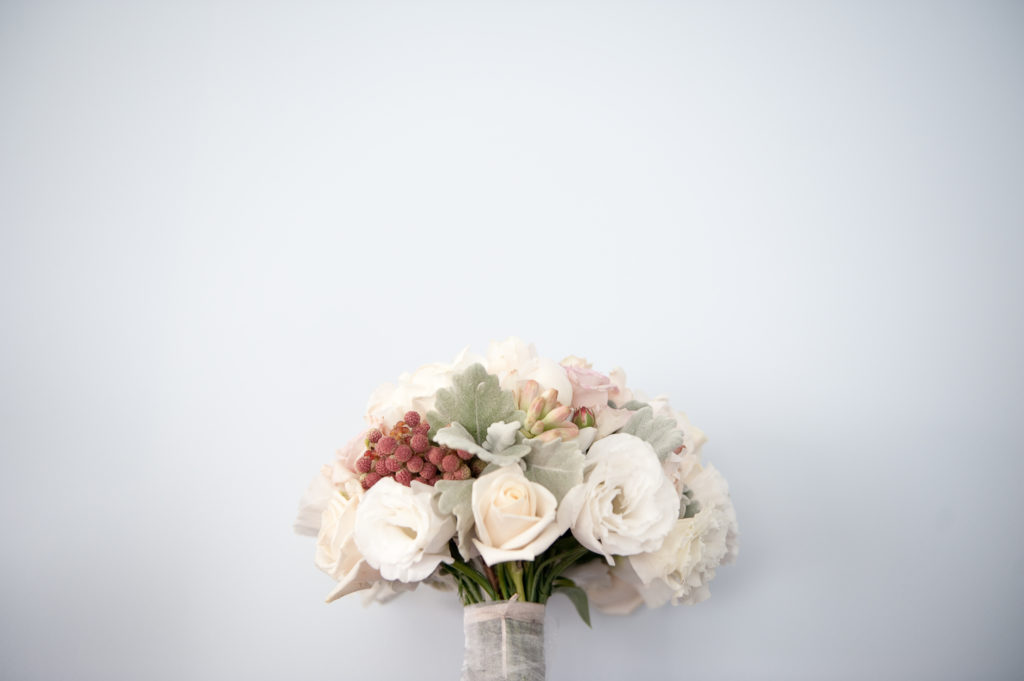
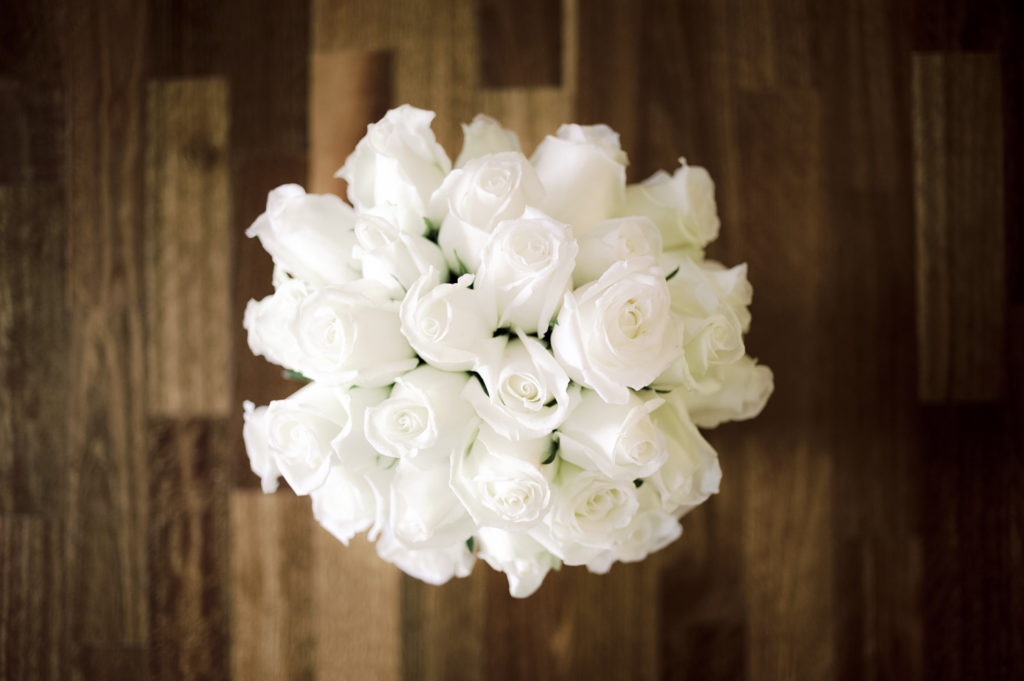
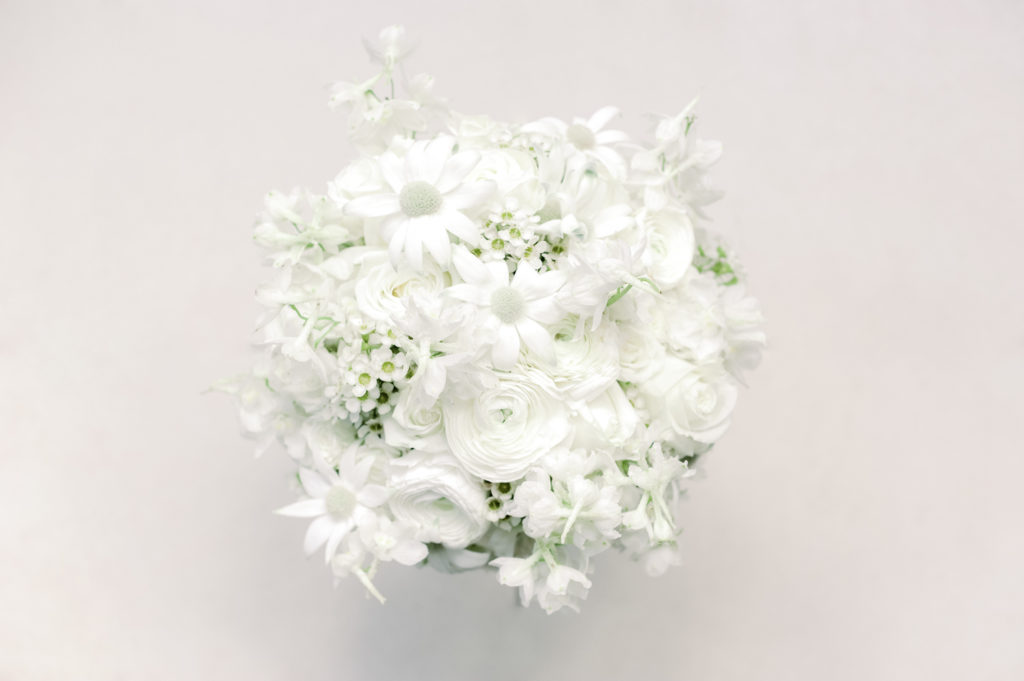
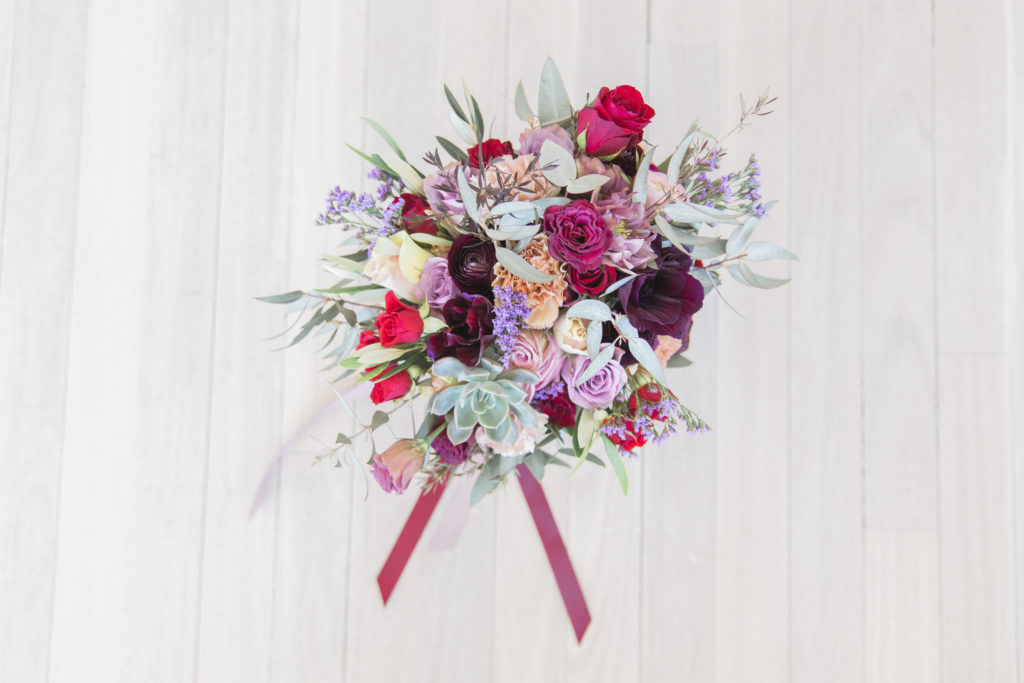
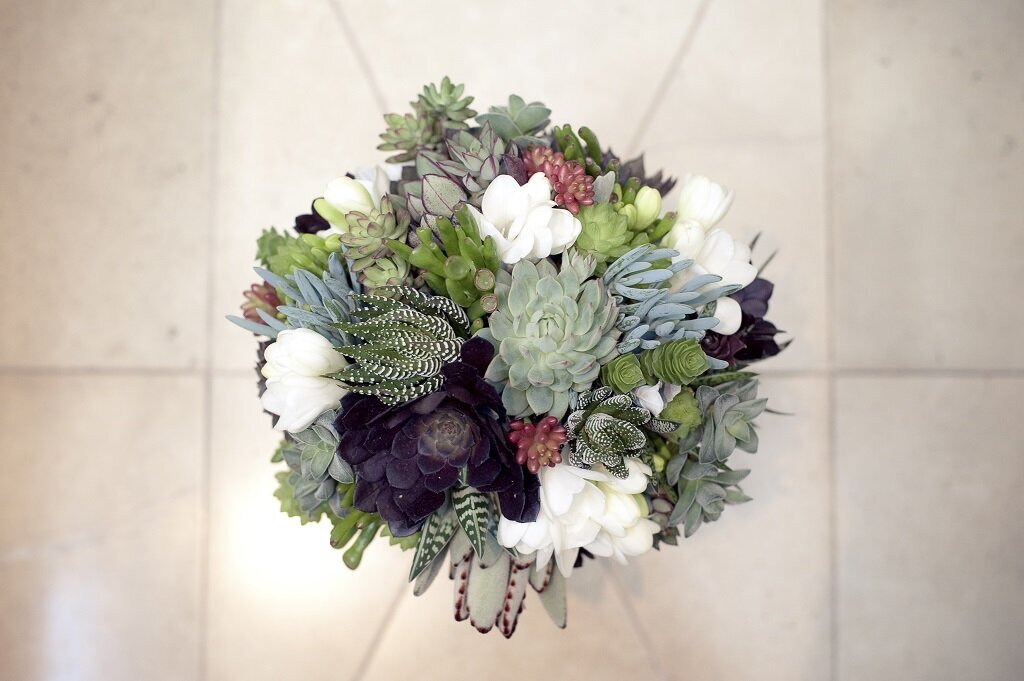
The bouquet should have arrived by now and like hair and make up, this is the best opportunity to get a photo of the flowers looking their absolute best, especially if you are like us, living in hot and sunny Sydney which can reach up to 43 degrees Celsius.
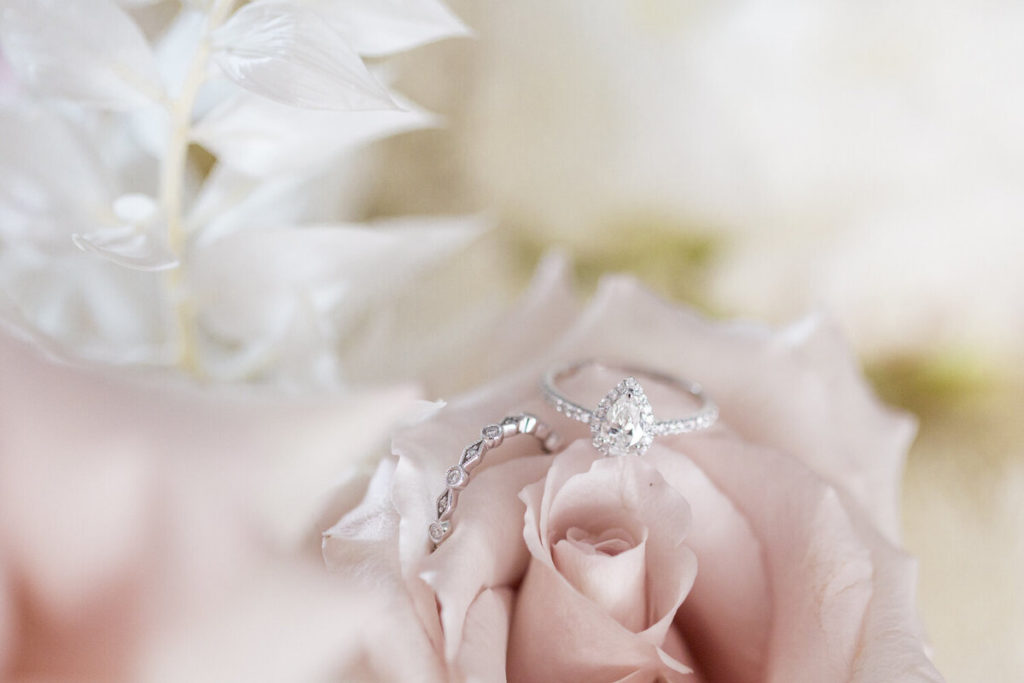
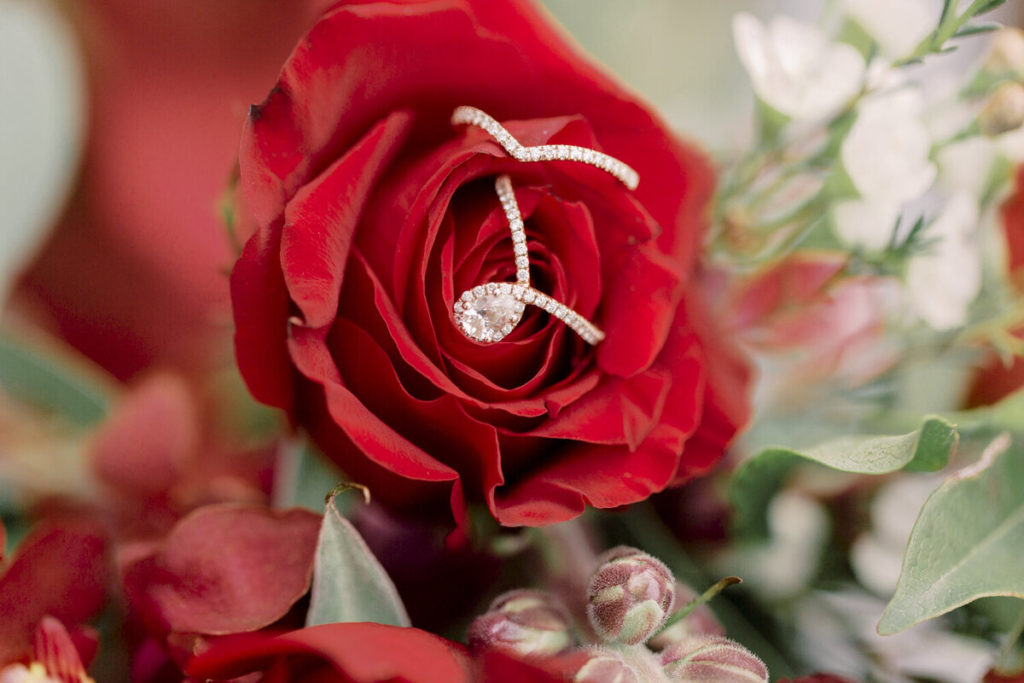
Try taking this photo from above by placing the flowers in a vase (don’t be picky, the vase will not be seen’. This is also another great opportunity to get photos of the rings within the flowers too with your macro lens.
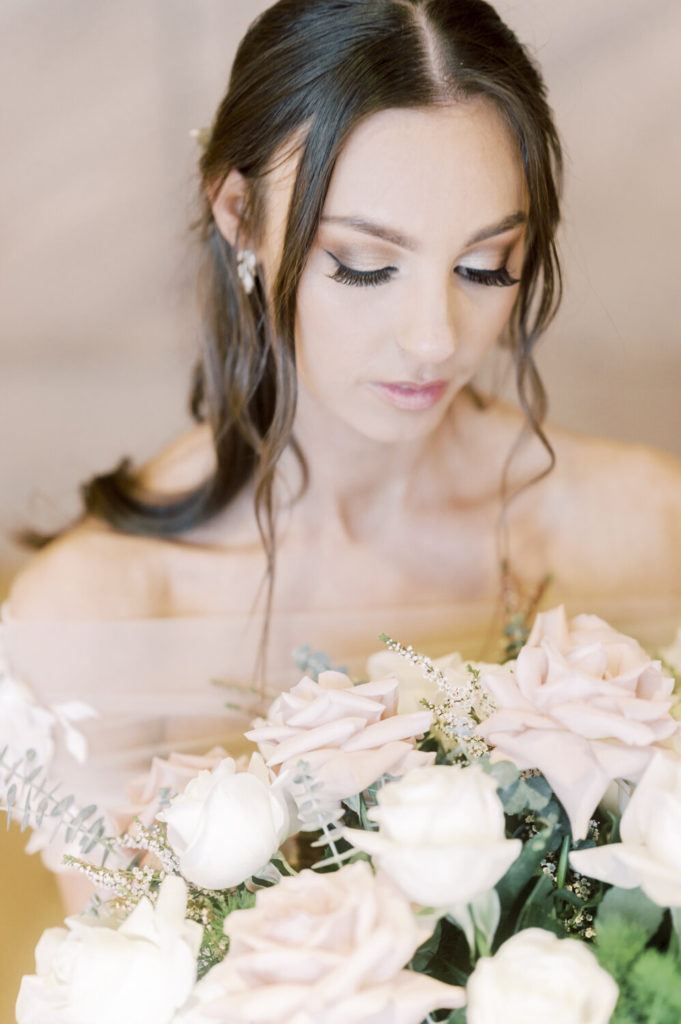
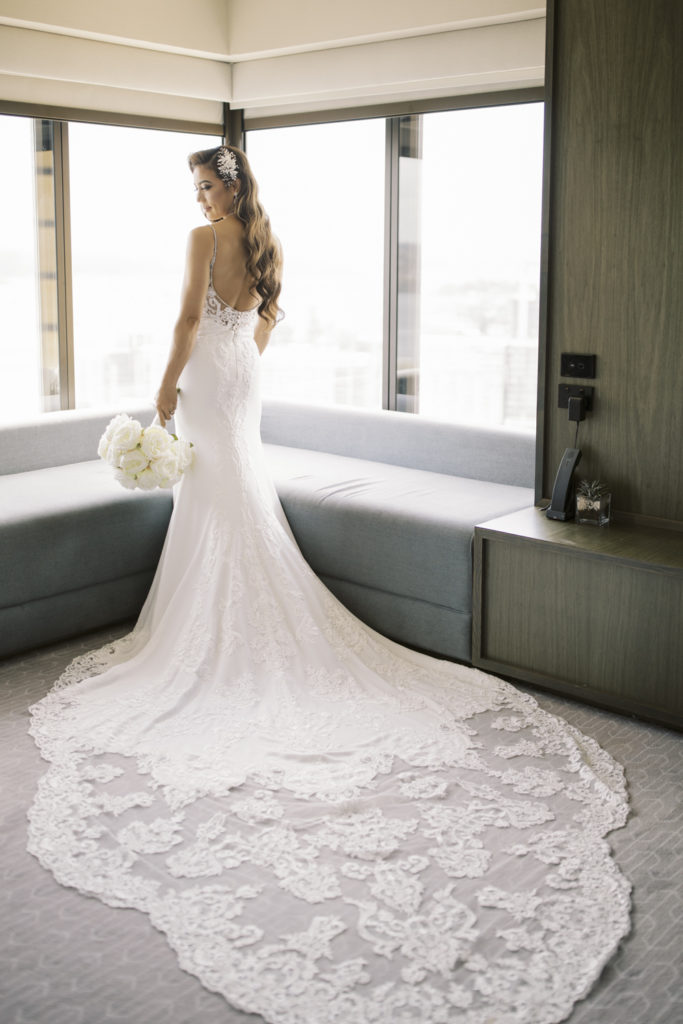
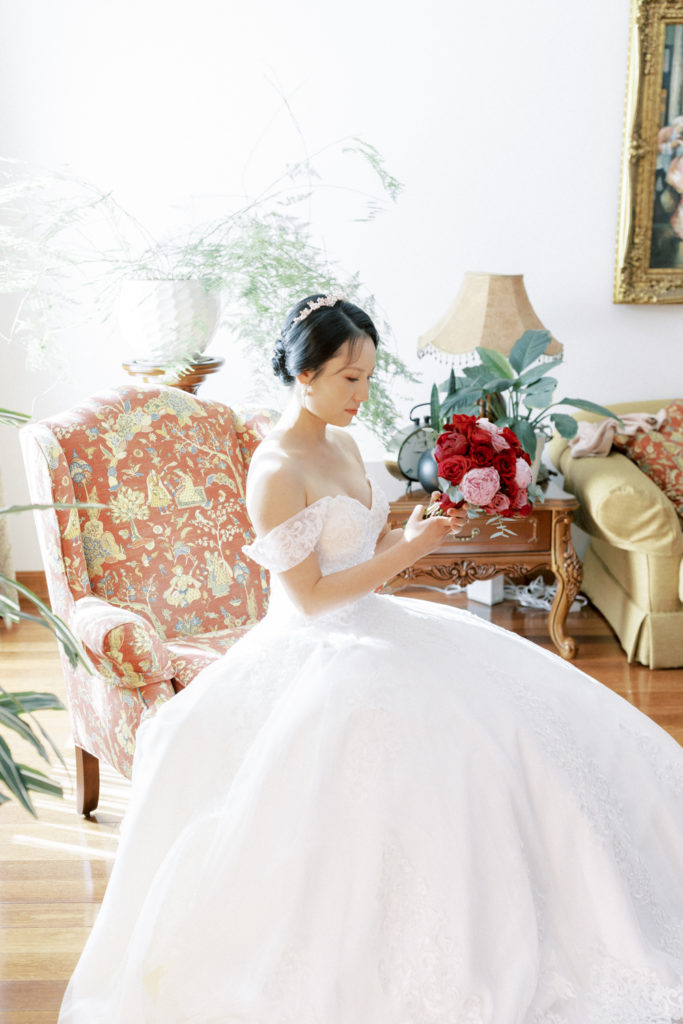
12. BOUQUET WITH THE BRIDE
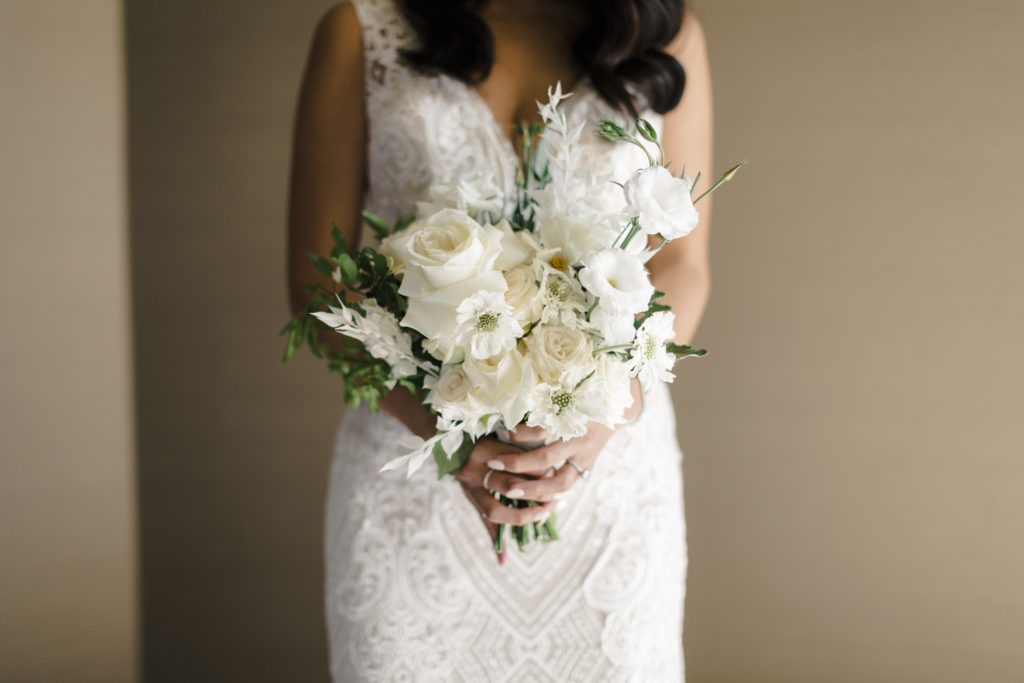
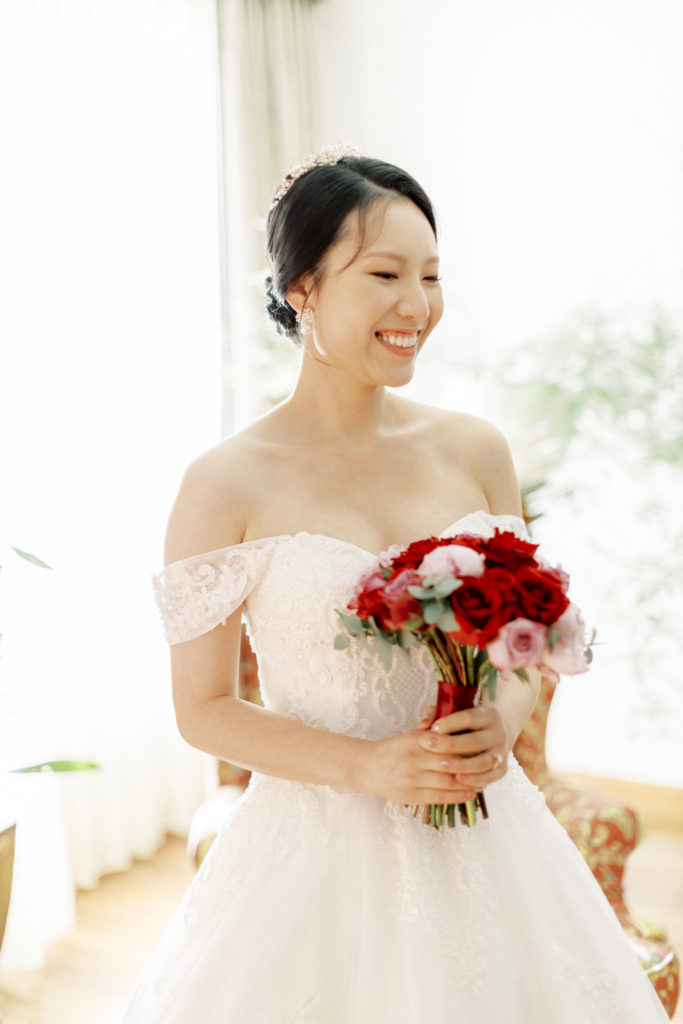
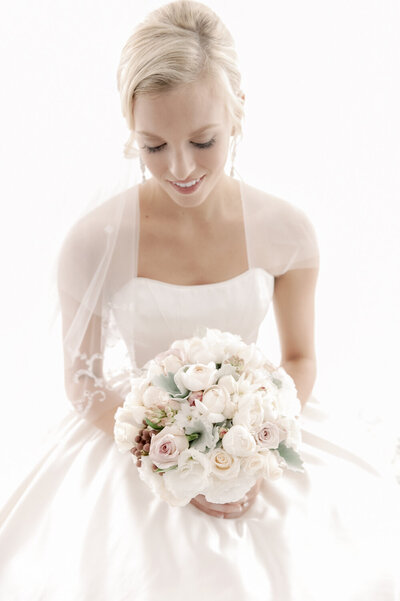
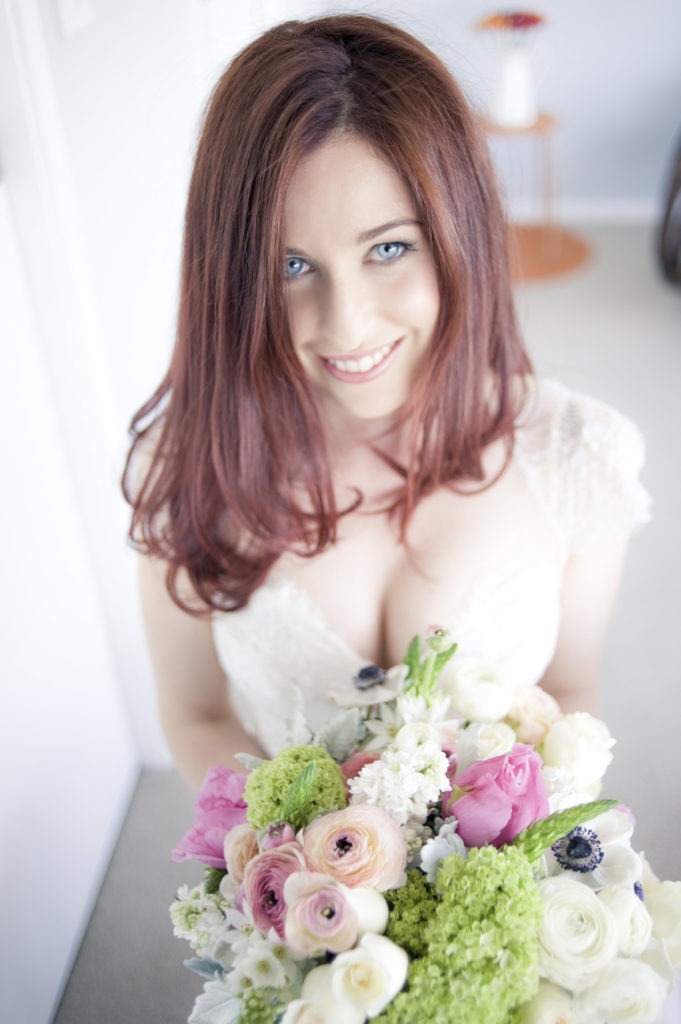
You are finally ready for the brides portraits. Have the bride stand or sit holding her bouquet, you can guide her into looking at the flowers or up at the camera. This is where she will want guidance as up to this point, you have been mostly a fly on the wall, so tell her how high or low to hold the bouquet, to tilt the flowers forward or back, arm and elbow position, etc. This really may seem like a simple pose, but remember, your bride is nervous, time to put her at ease.
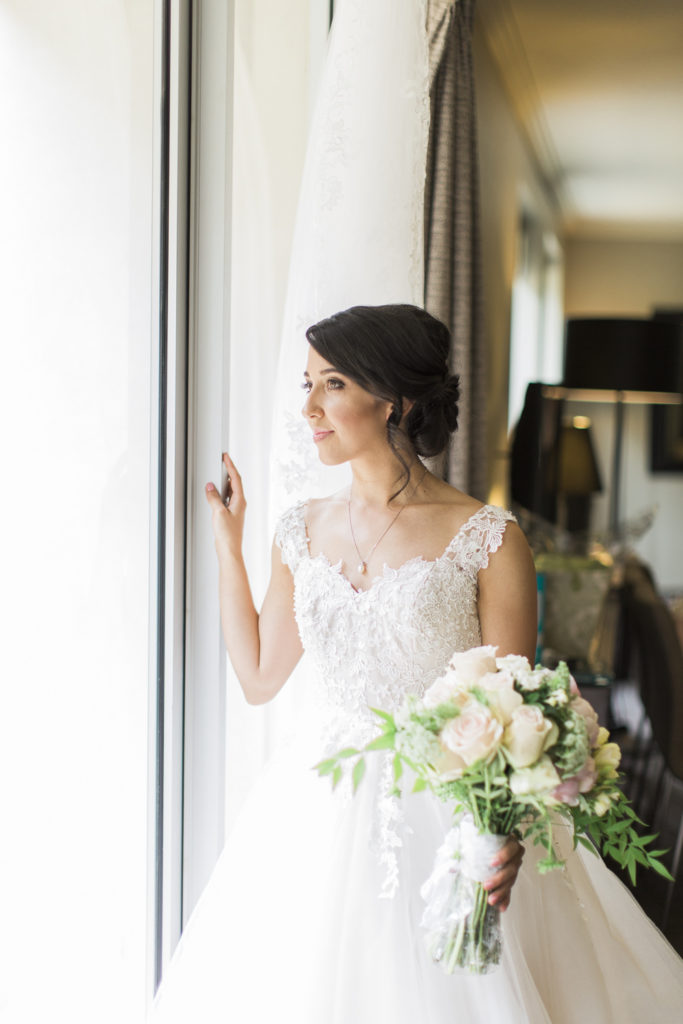
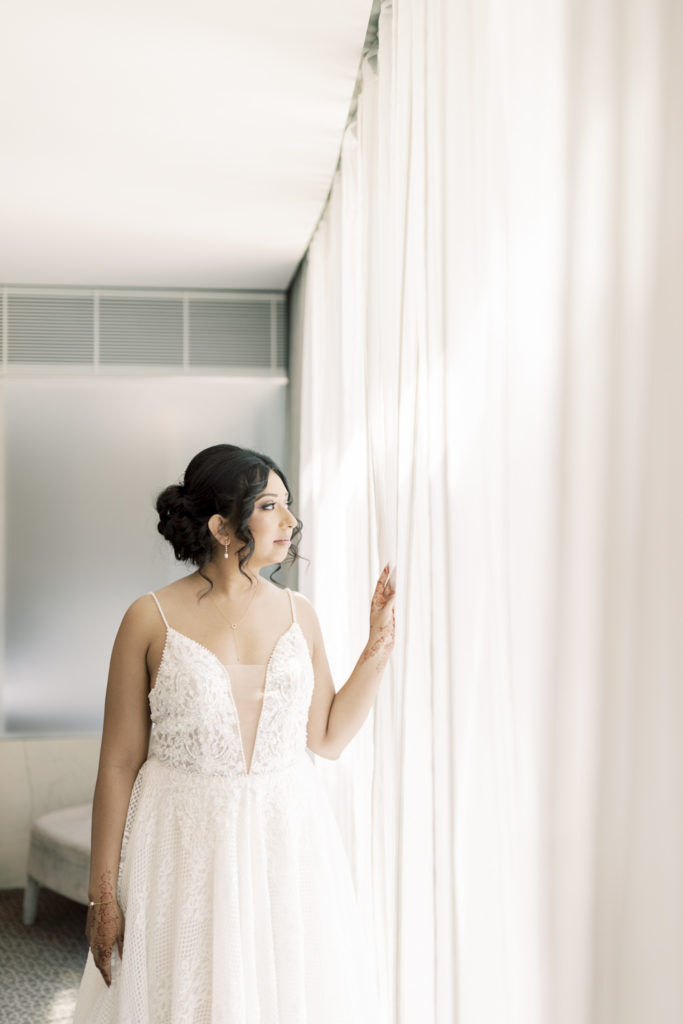
13. PORTRATS AT THE WINDOW
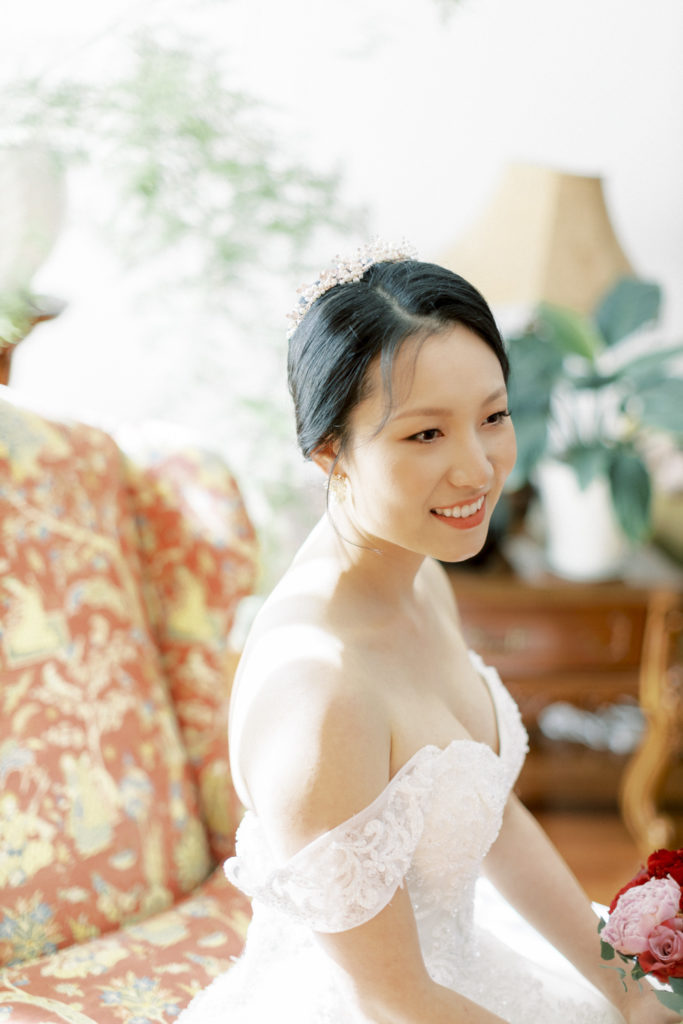
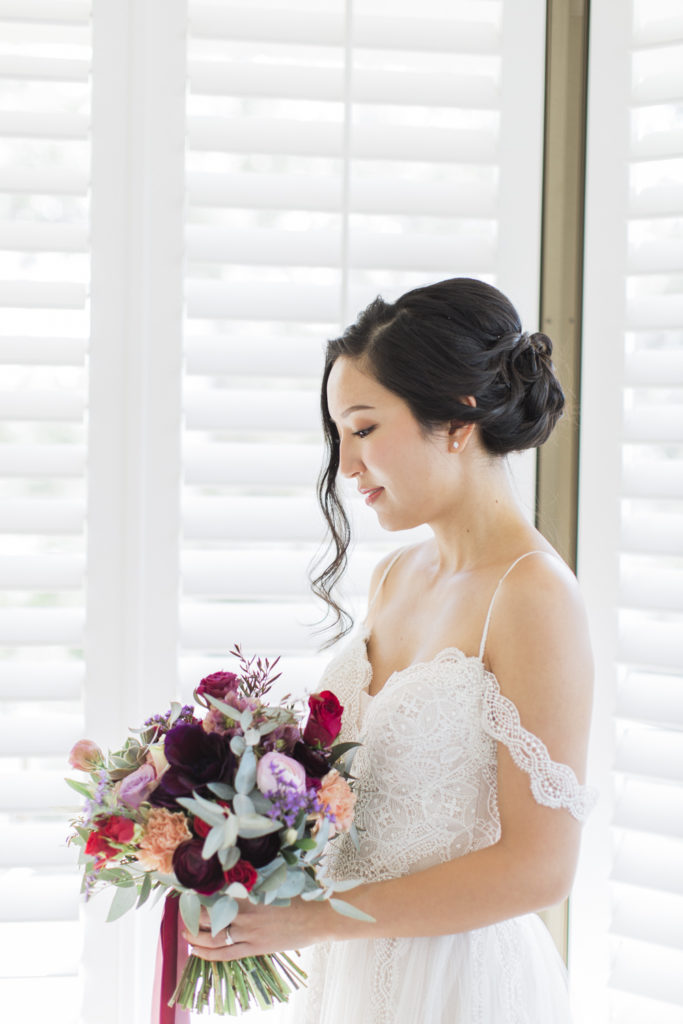
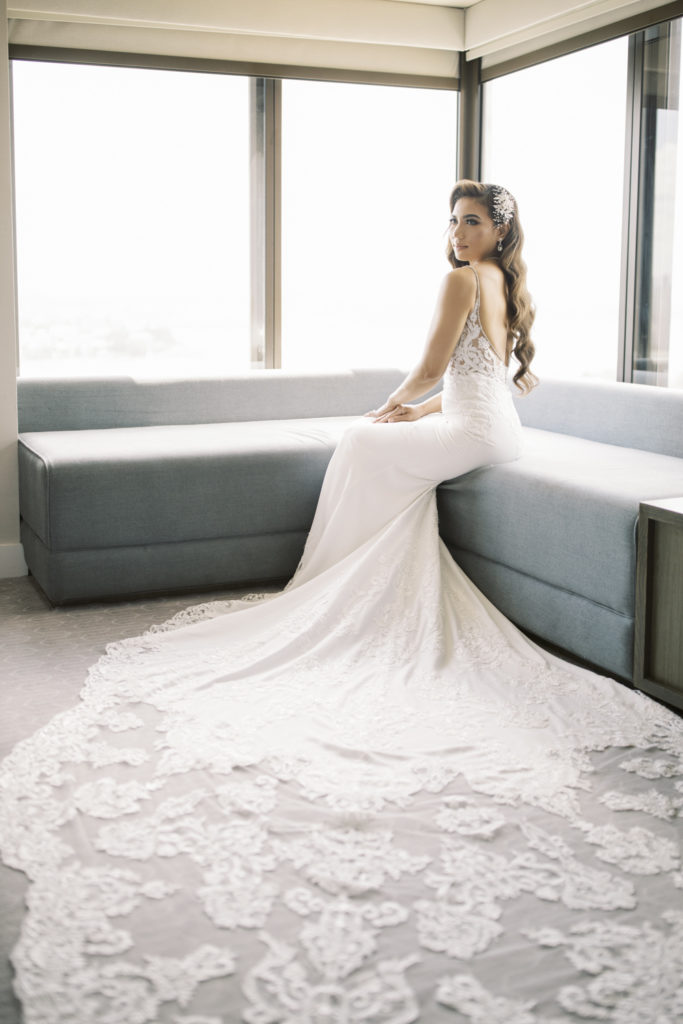
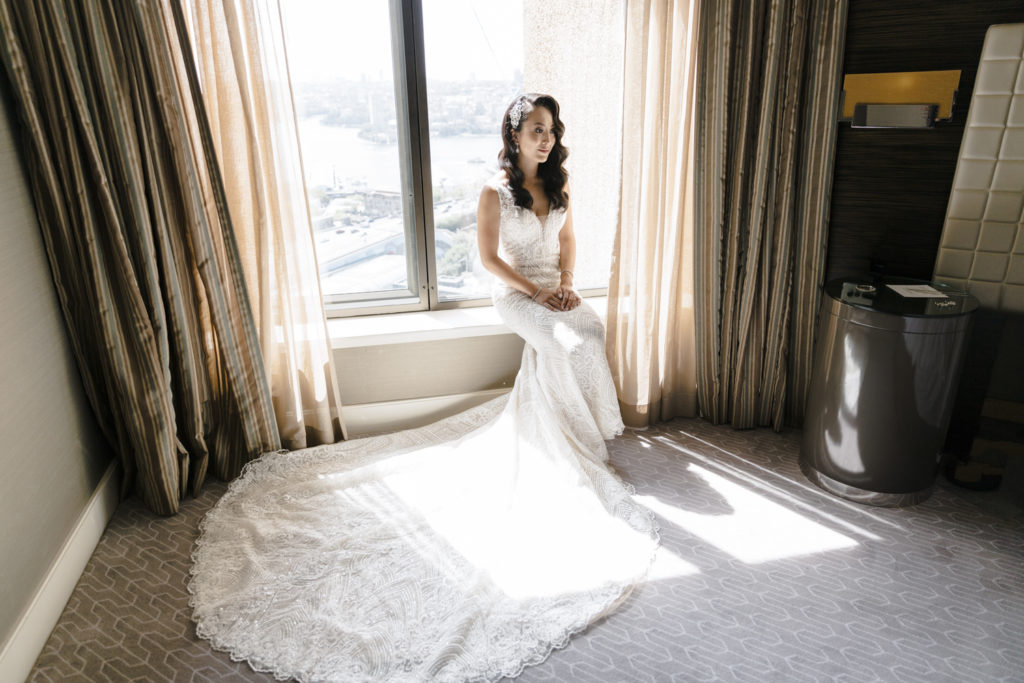
Find a window with bright but indirect light for these photos, start from further back and guide your brides eye line to where you want them. Feel free to have her standing or sitting or both. This is a time to show off all her hard work elegantly.
There you have it 13 must have photos at every getting-ready sessions with the bride, if you are ever lost on what to shoot, make sure to write these down. From here you can let your creativity flow. Just remember to give your bride and her bridesmaids time to enjoy the moment!

