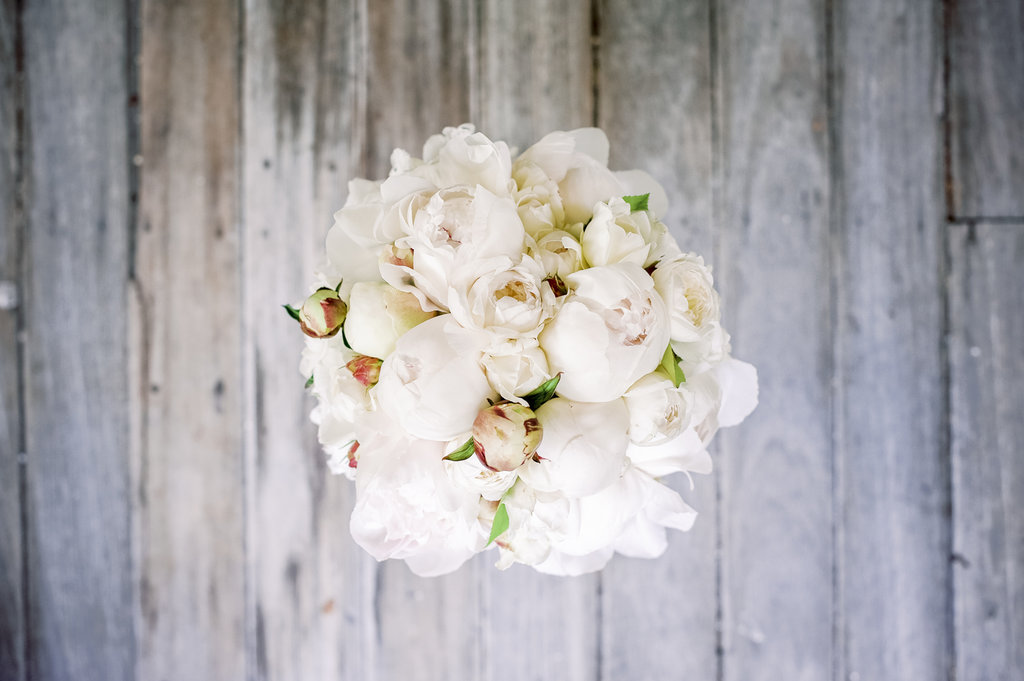
The centrepiece to any bride is her stunning bouquet of flowers. So it’s important as photographers that we capture it not only in the best light, but in all the most flattering positions.
Over the years we have come up with a few of the following examples that are an absolute must in our, and now soon to be your, wedding photography shot lists to really showcase the beauty of the bouquet!
FUN FACT; the word bouquet comes from the Old French term meaning “clump of trees” ?
The first setup shot in this list of bouquets is to take the photo from above. These shots of wedding bouquets will always cement themselves in any social media gallery or wedding album as there is no distraction from anything other than the flowers themselves, thus, giving the viewer a front row seat to see the intricacy of the arrangement the florist had created.
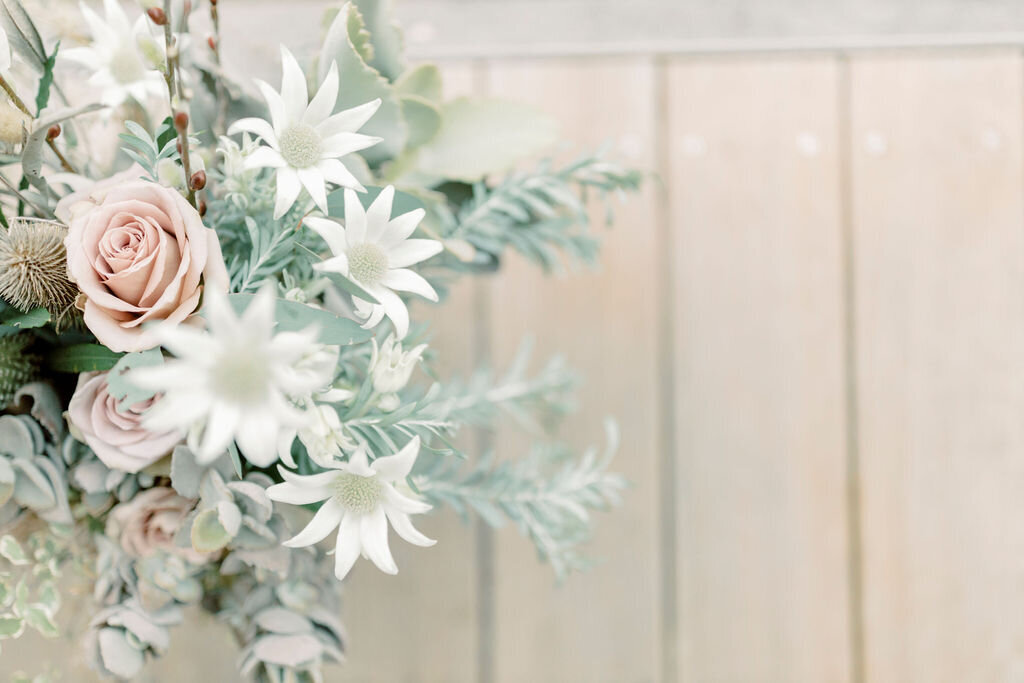
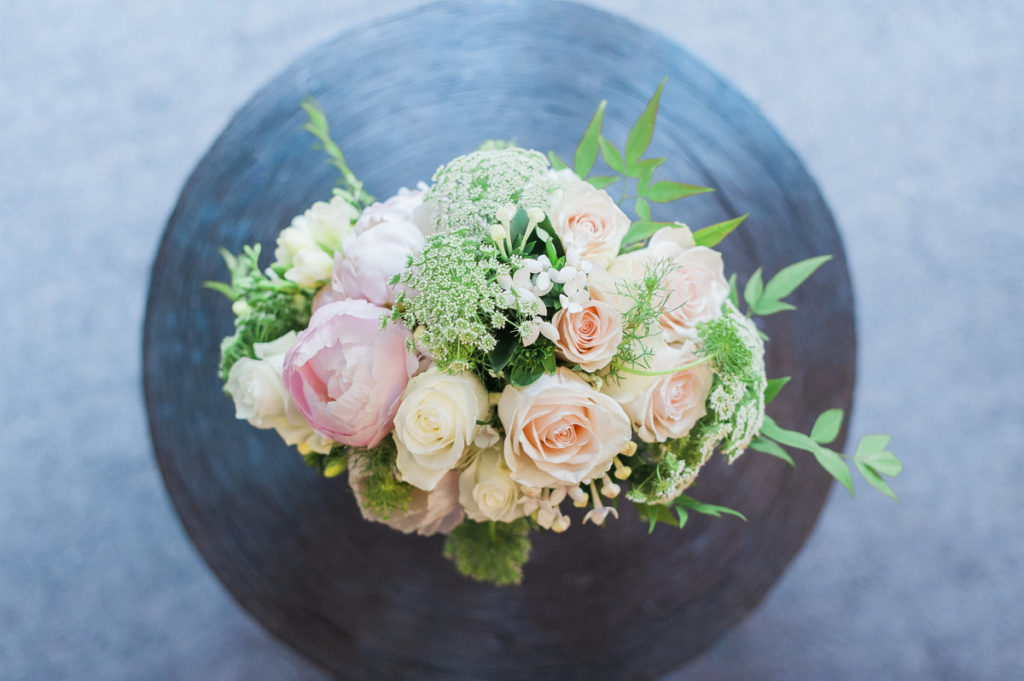
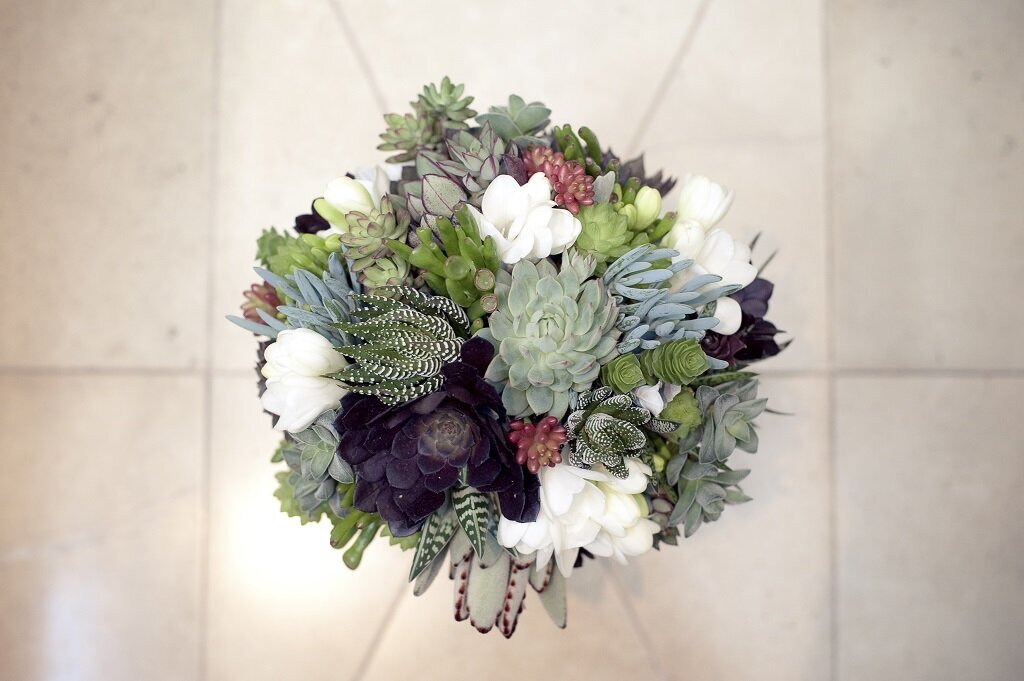
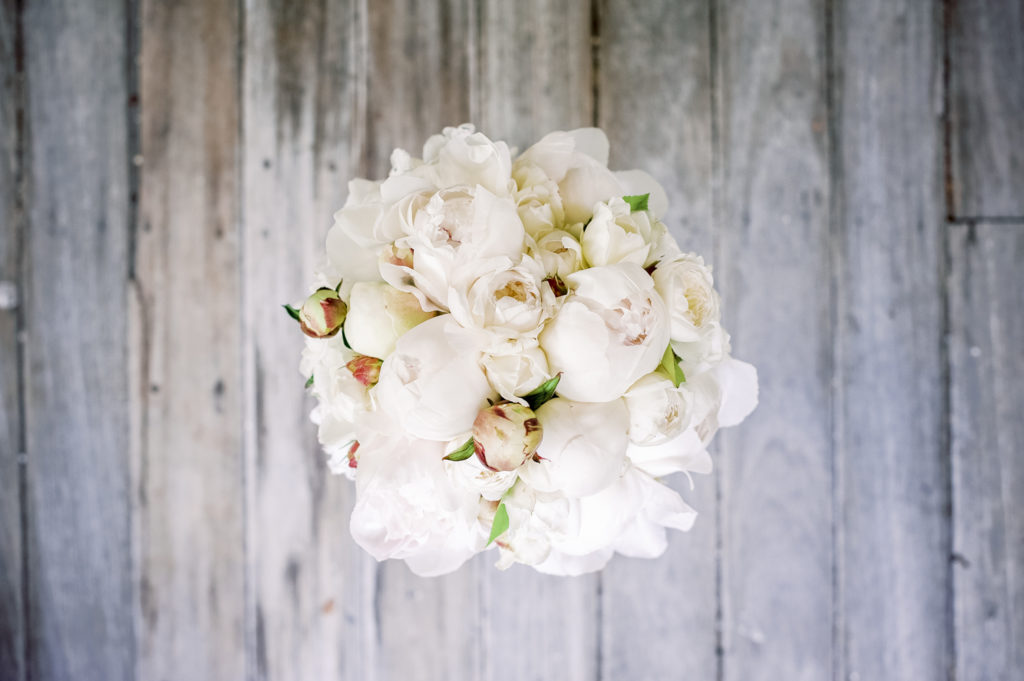
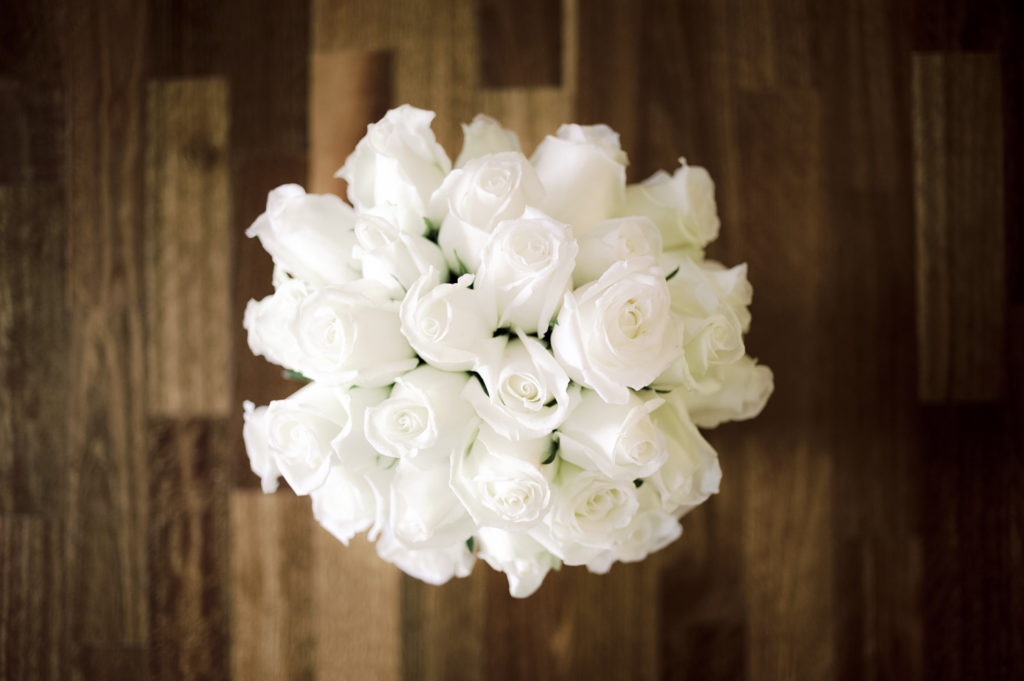
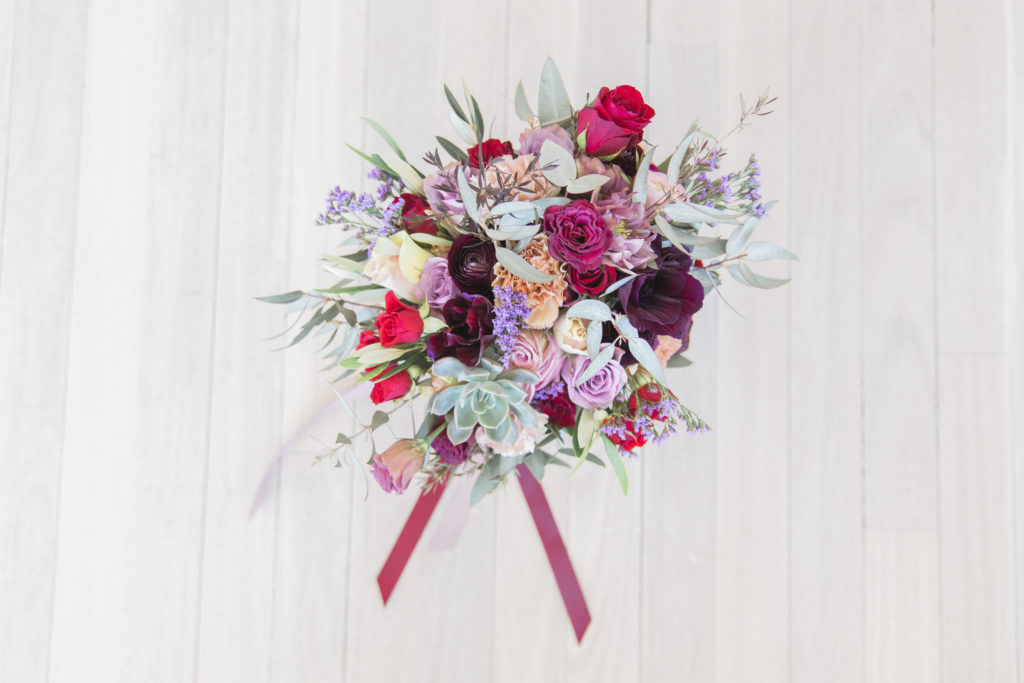
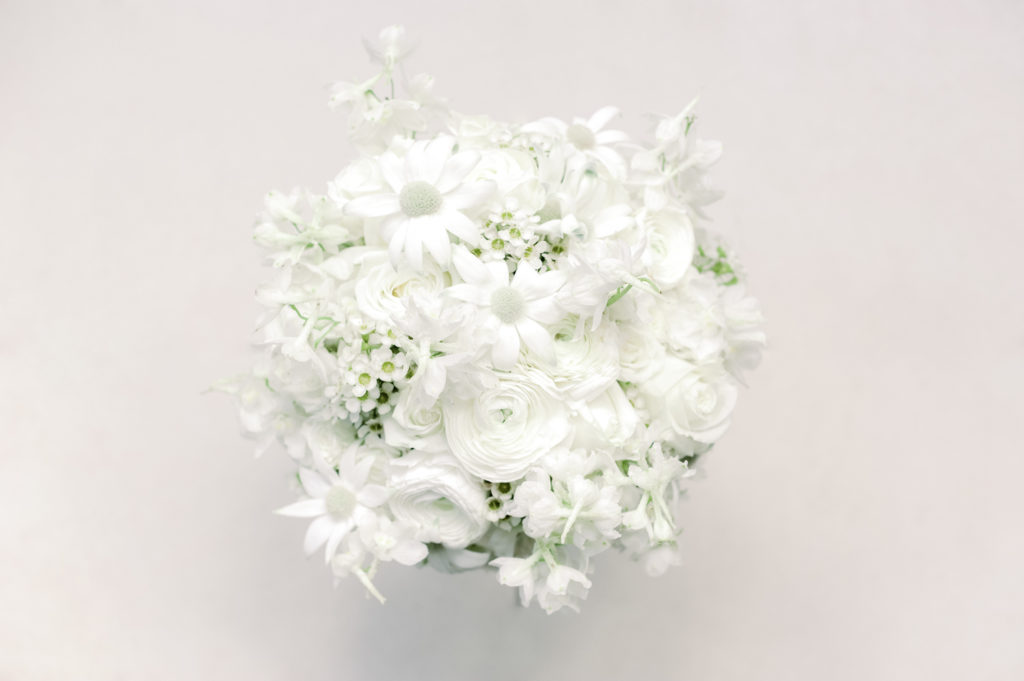
When looking for a surface it really doesn’t need much detail, you should look for hardwood floors next to brightly lit windows with soft filtered light. Alternatively, if additional flash is required, you can bounce it from the ceiling to eliminate any harsh shadowing.
The setup of your camera is also important, try to go for a wider aperture like f/ 2.8, this will allow the floor to be blurred out in creamy bokeh all while keeping the focus on the bouquet of flowers.
OUR TOP TIP:
Use any vase to stand up the bouquet when shooting above, the flowers will block even the most unsightly vase!
BONUS TIP:
Using a flip out screen on your camera (if you have one) helps a lot when shooting flat lays like these, use the grid lines to make sure you get any floor boards or tiles straight.

Another shot of the bouquet on its own can be taken while you have the flowers rested against a plain wall. Just remember to carefully balance them when shooting as they can be a little tricky to keep upright as they tend to be very top heavy and if the bouquet has a a slightly longer stem amongst them, that stem may stubbornly want to tip them over, the last thing you want is to see the florist’s hard work tumble over in front of you, and the bride.
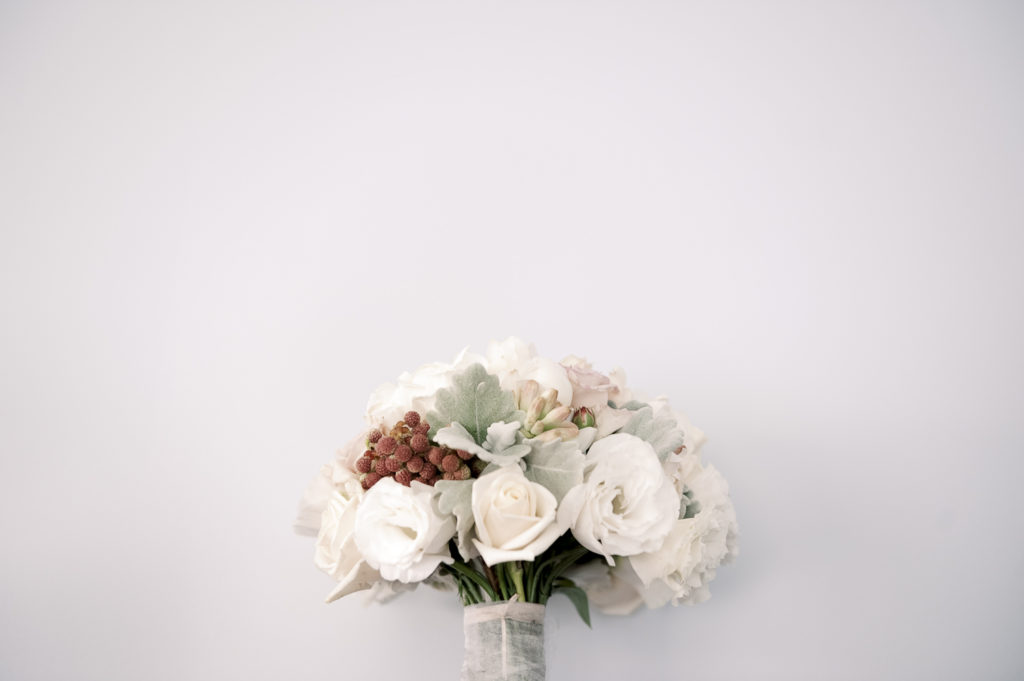
Also be sure to have the bouquet facing the correct way when you are propping up the bouquet, do a quick 360 degree spin and set it up front forwarding (yes, generally most bouquets have a front!) usually dictated by the pins holding the bow around them.
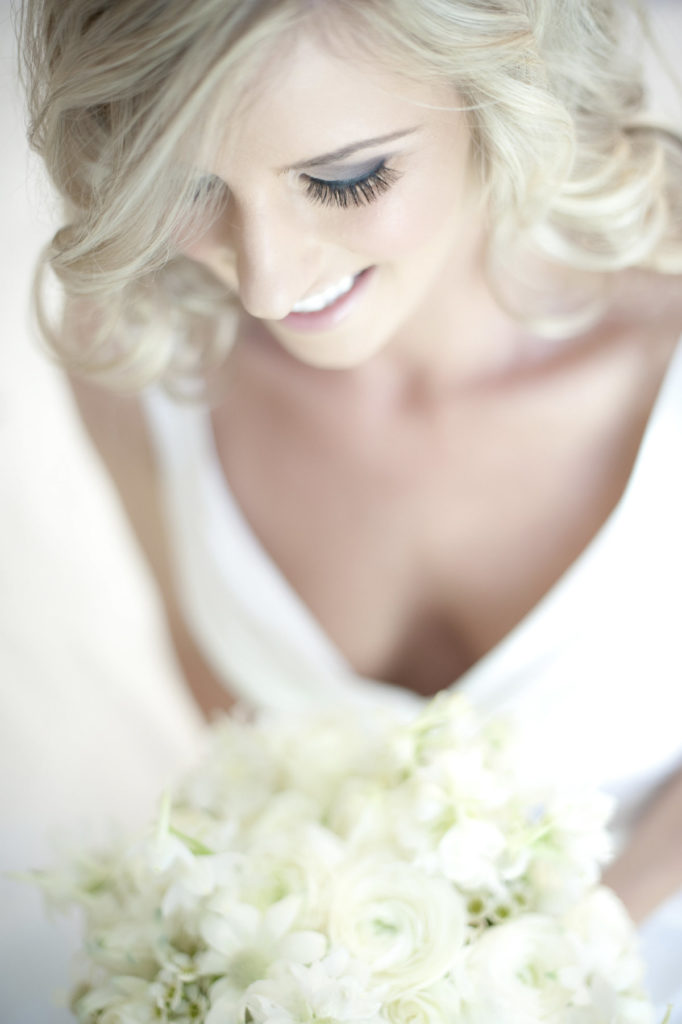
Now that the key shots of the bouquet have been captured it’s now time to pair it with the Bride. You will always find a flattering photo when you have the the bride holding the bouquet slightly in front of her when she is all made up in her wedding dress. Try to find the edge of a plain seat or bed (unless it has a doona with foxes all over it) that is near a large natural light source to soften the shot for a flattering image.
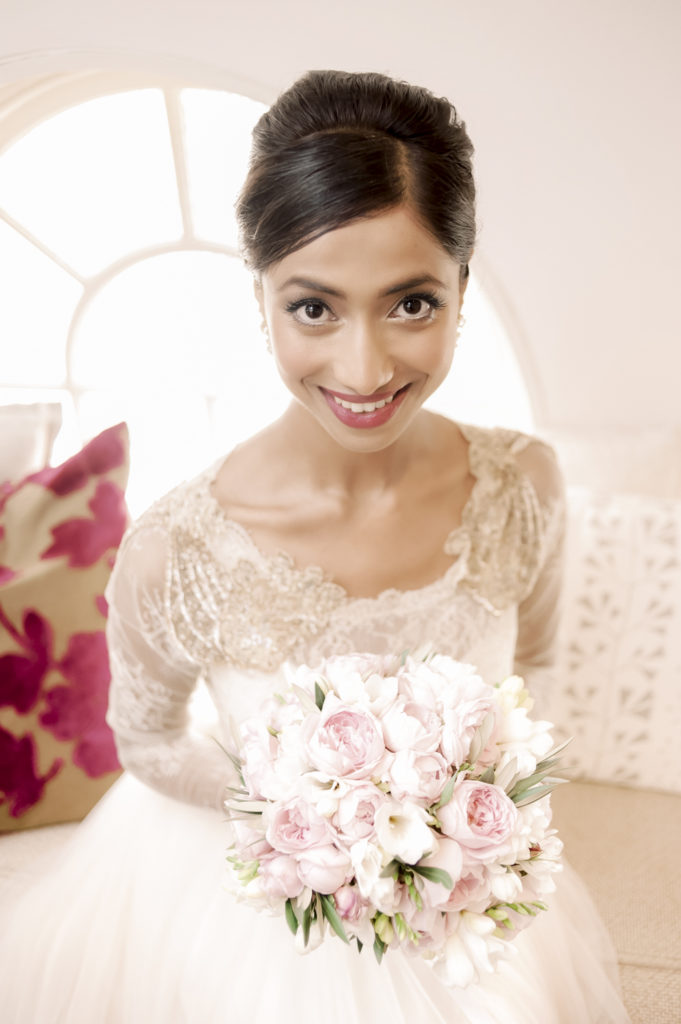
The photo above of our bride Tasmina is a prime example of having that light source coming from behind her, unfortunately however, as it wasn’t a large window, the introduction of bounced flash (angling the speed light behind and to the right) helped soften this shot and bring the bouquet and bride together amazingly.
These shots are best taken with a wider lens, like a 24mm to 50mm lens, again shooting wide open between f1.6 to f2.8 for that flattering soft look.
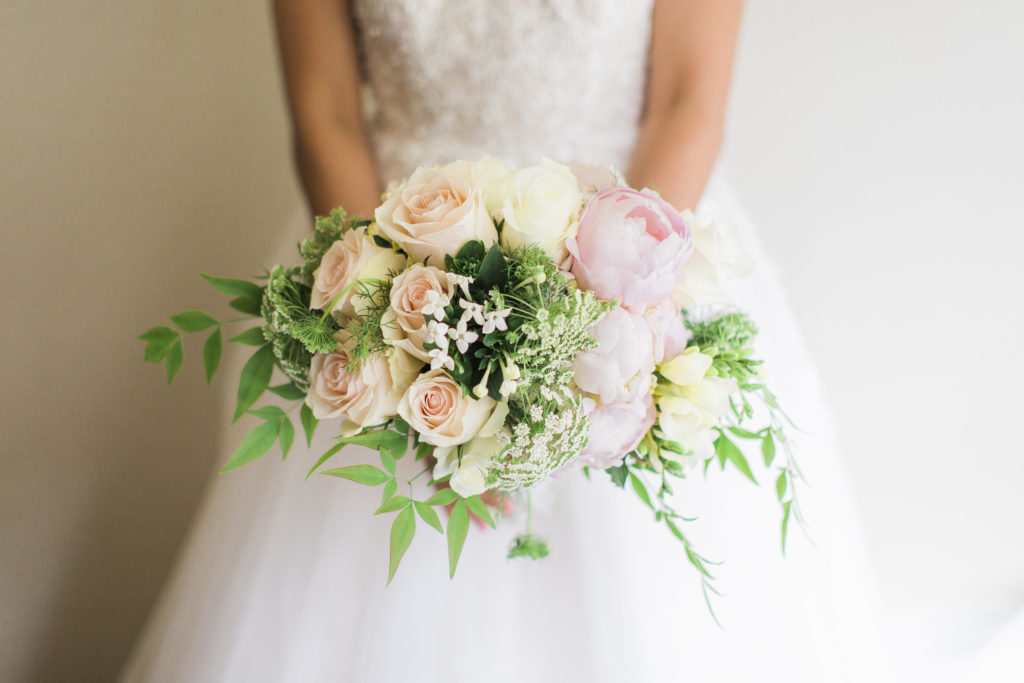
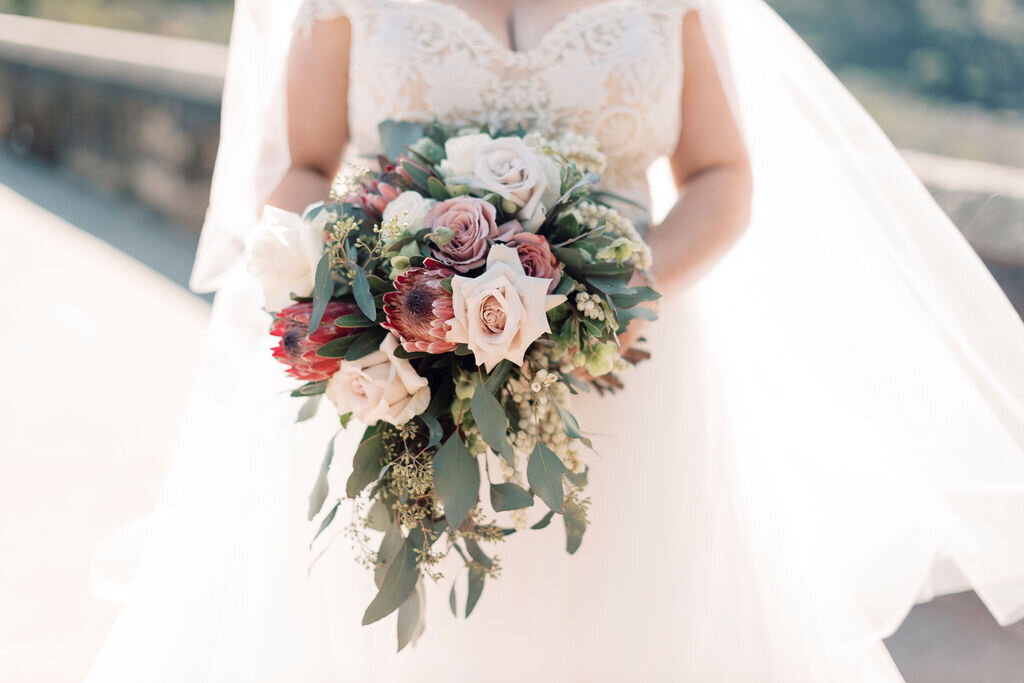
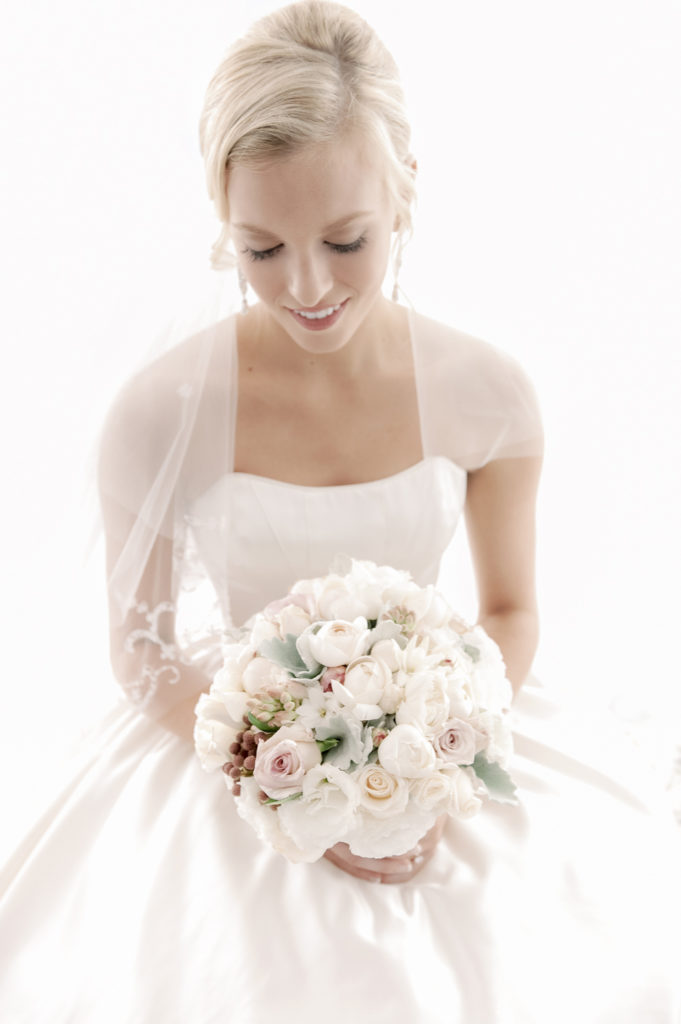
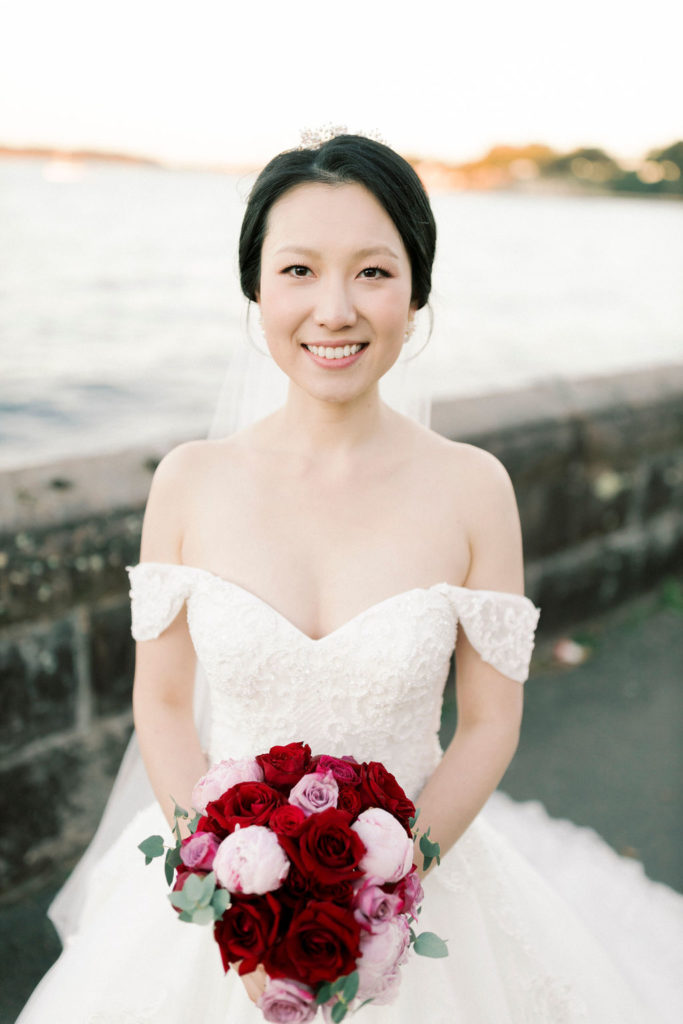
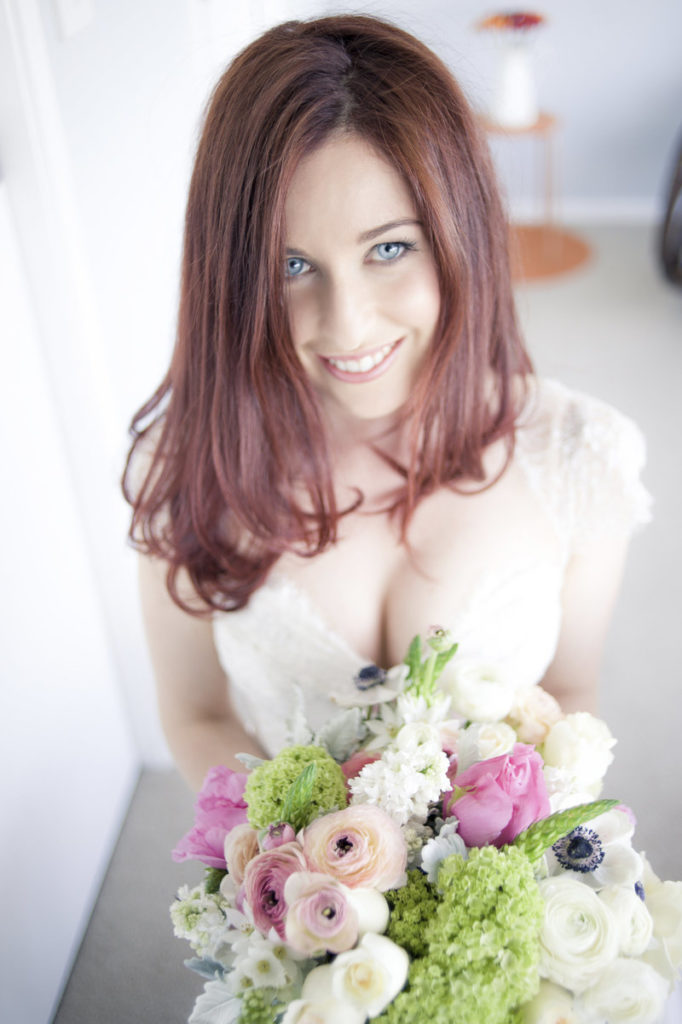
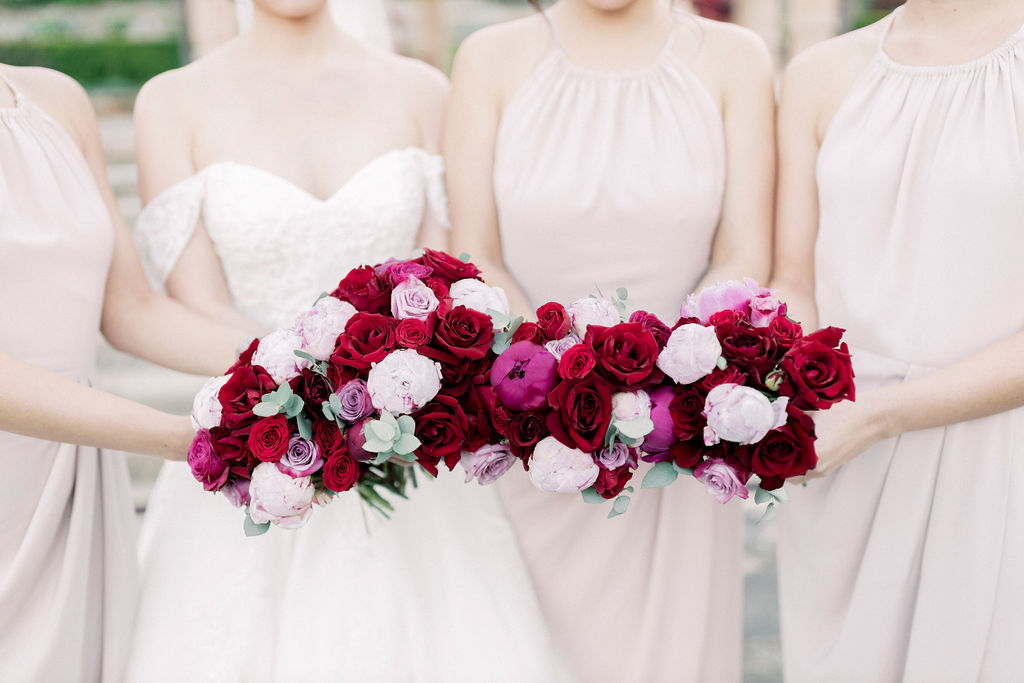
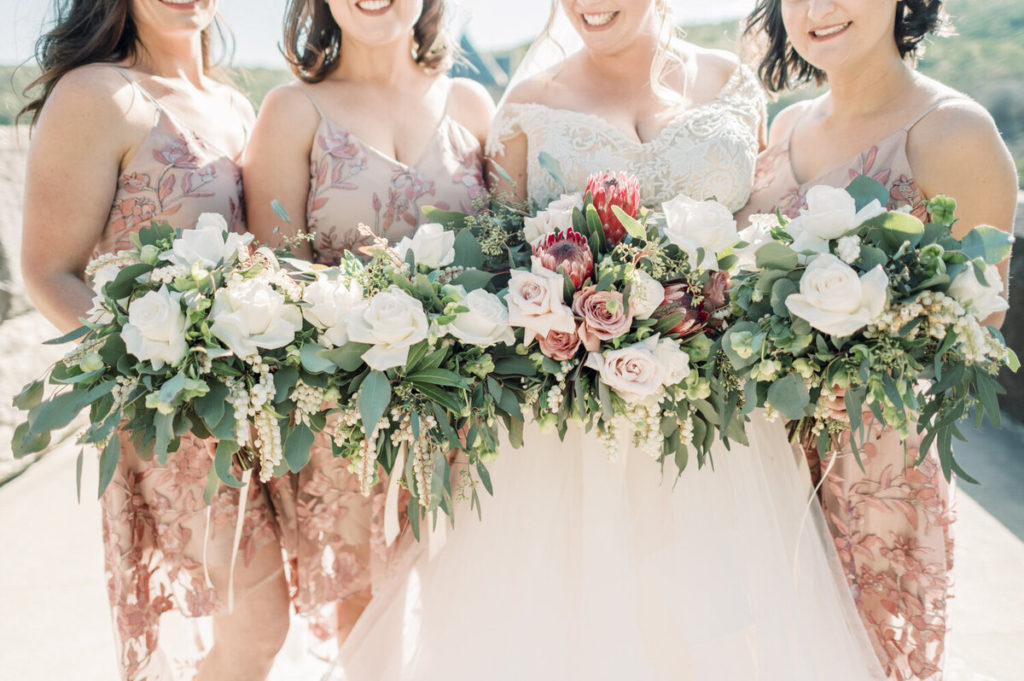
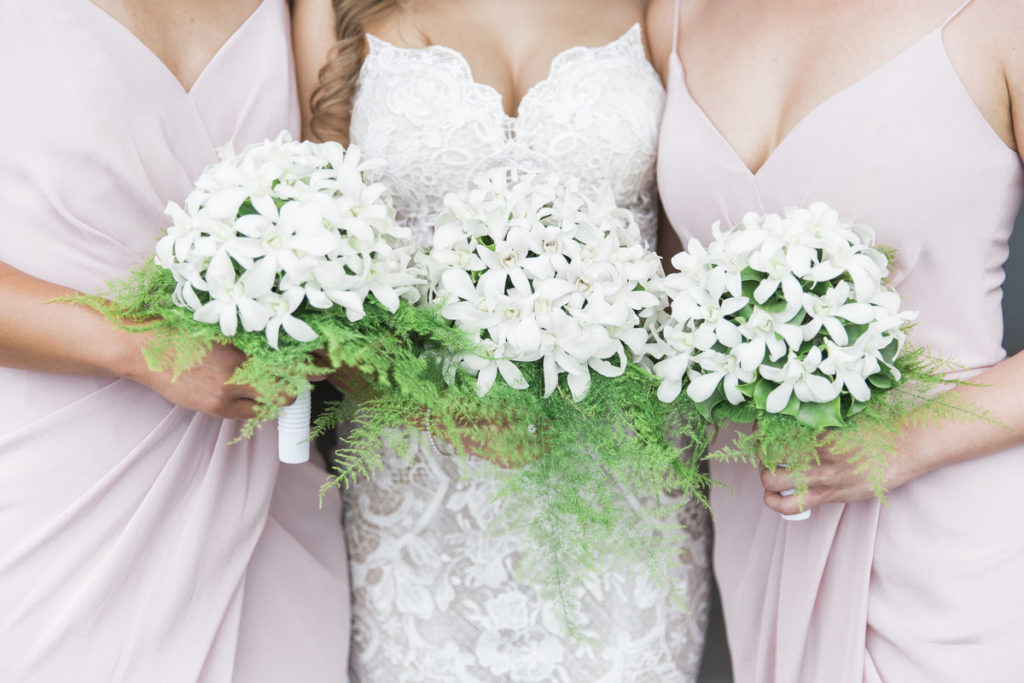
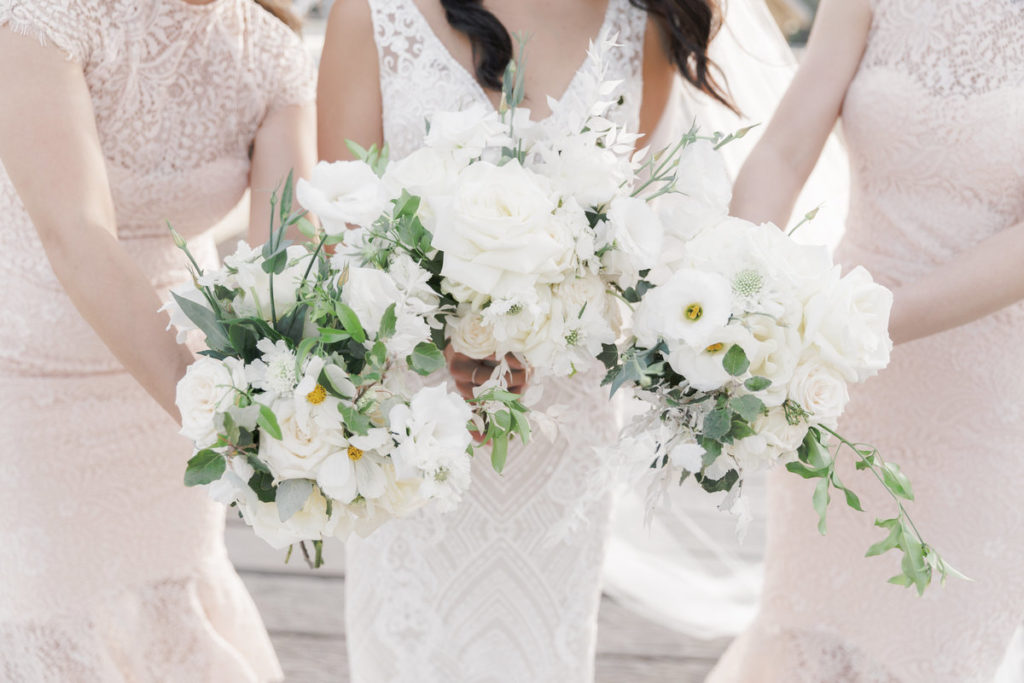
A great way to showcase all the bouquet’s together, is to bunch up the bride with her ladies. Frame the photo with the focus being on the bouquet’s while using their stunning dresses as the backdrop. A crop like this will keep your eyes focus on the flowers while not being distracted by any faces, (trust me, there will be plenty of time for those ?).
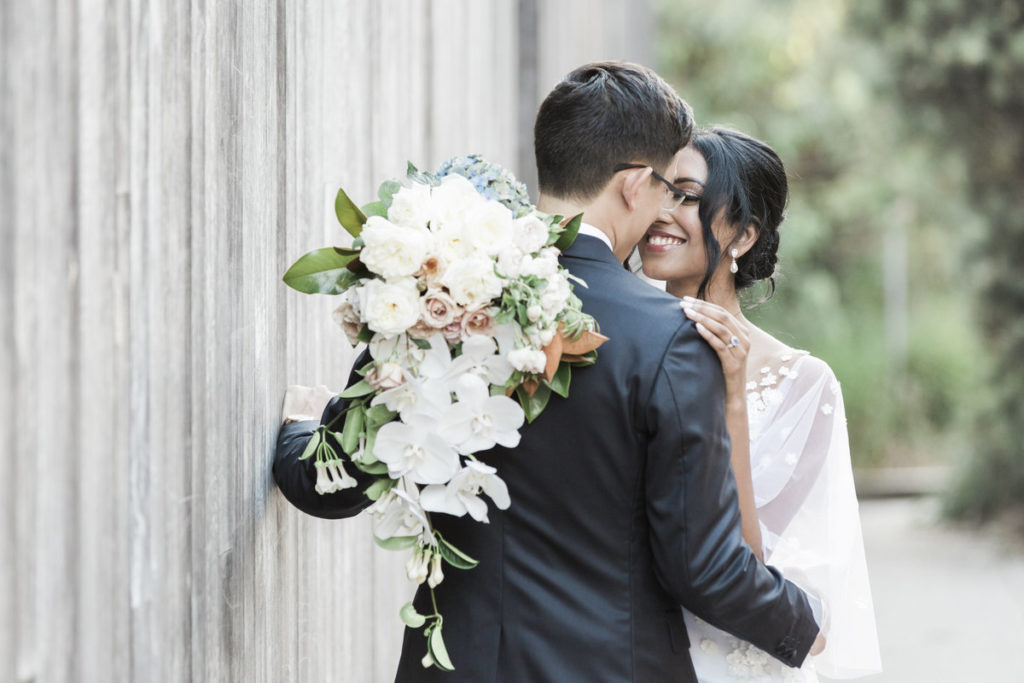
If the bride happens to have an amazing bouquet, like Tina’s below, which was put together by any amazing florist ‘Floreat Floral‘, then have the bride drape it over the groom which will perfectly frame your photo.
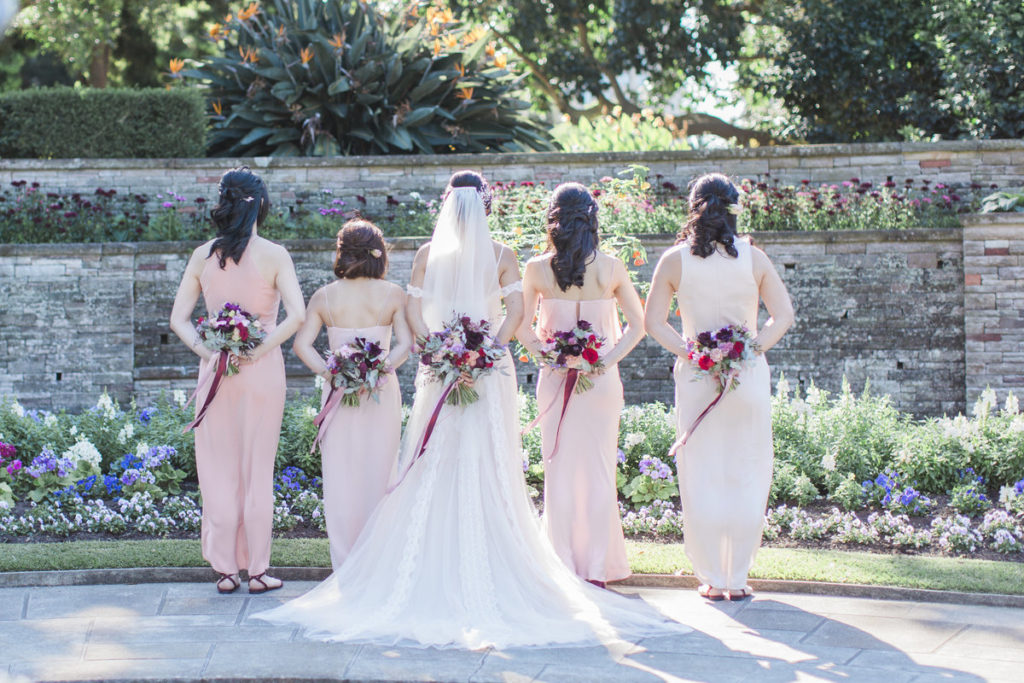
If you start exhausting all the standard photos with the bouquet, then try having the bride or bridesmaids hold their bouquet’s behind their backs, for these gorgeous shots, perfect to add to the album and easy to setup!
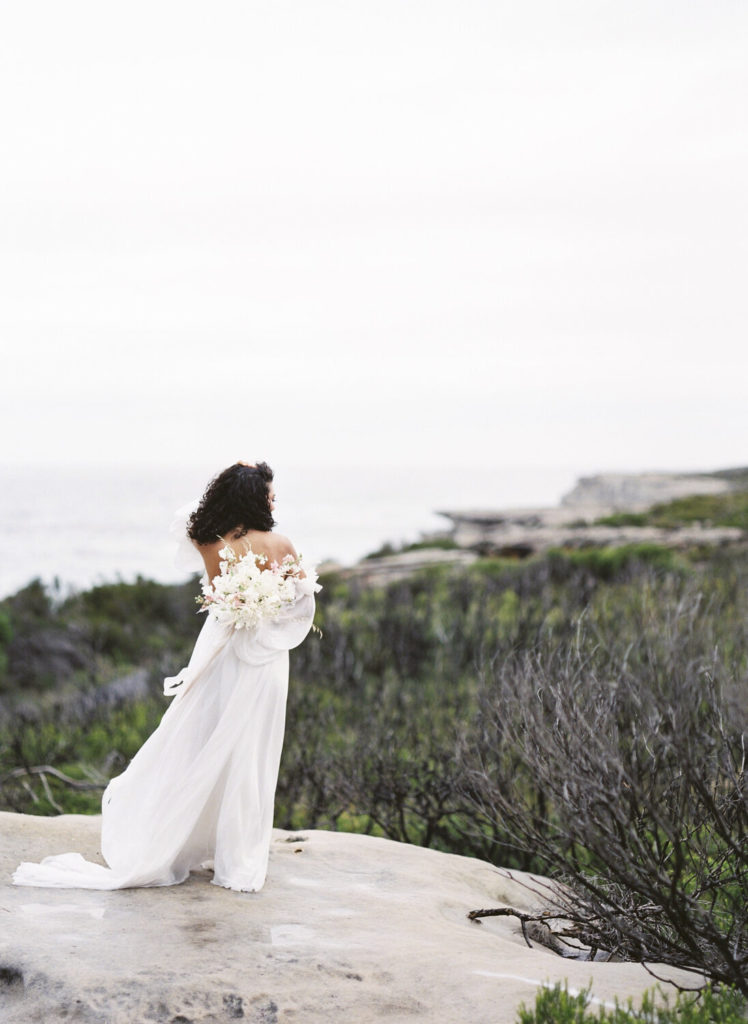
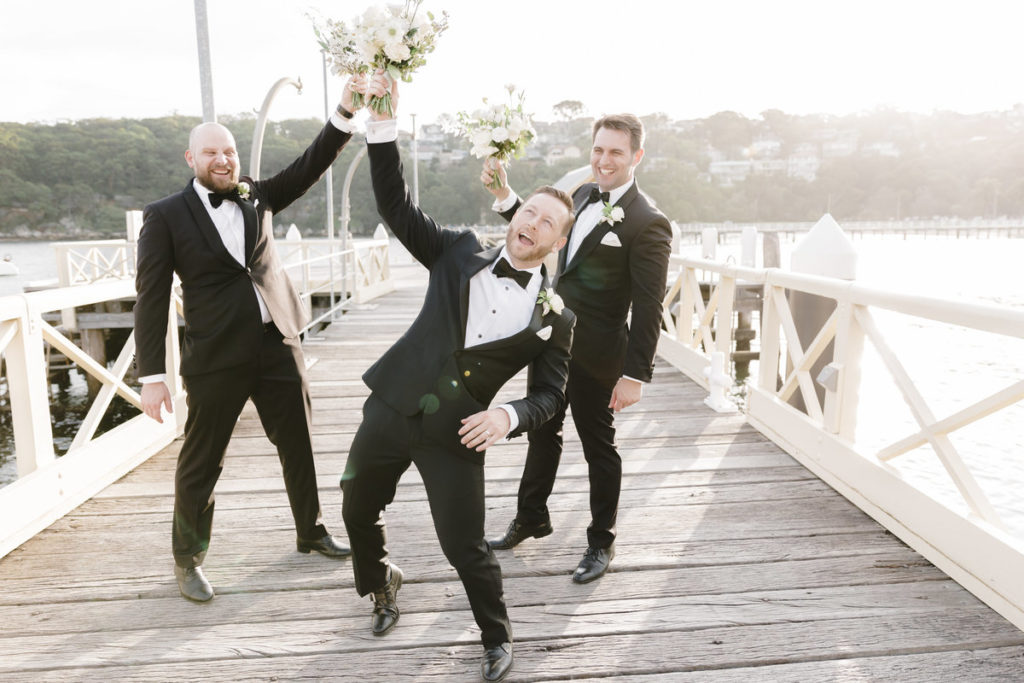
Or have the groomsmen hold those bouquets up in the air like they just don’t care!
We also highly recommend using the bouquet with the wedding and engagement rings too, especially if you are struggling to find a surface to photography them on.
We find it best to shoot during entrees while everyone is sitting down eating. On most occasions there is still some residual light outside to soften the image, plus as photographers, we generally don’t get served this meal, so its a perfect time to get creative while everyone is distracted by the food.
TOP TIP:
Use a macro lens for these photos, any macro will do, however the longer the focal length the further you can get back from the wedding ring so not to cast a shadow. This will bring out the 1 to 1 magnification that will look magical!

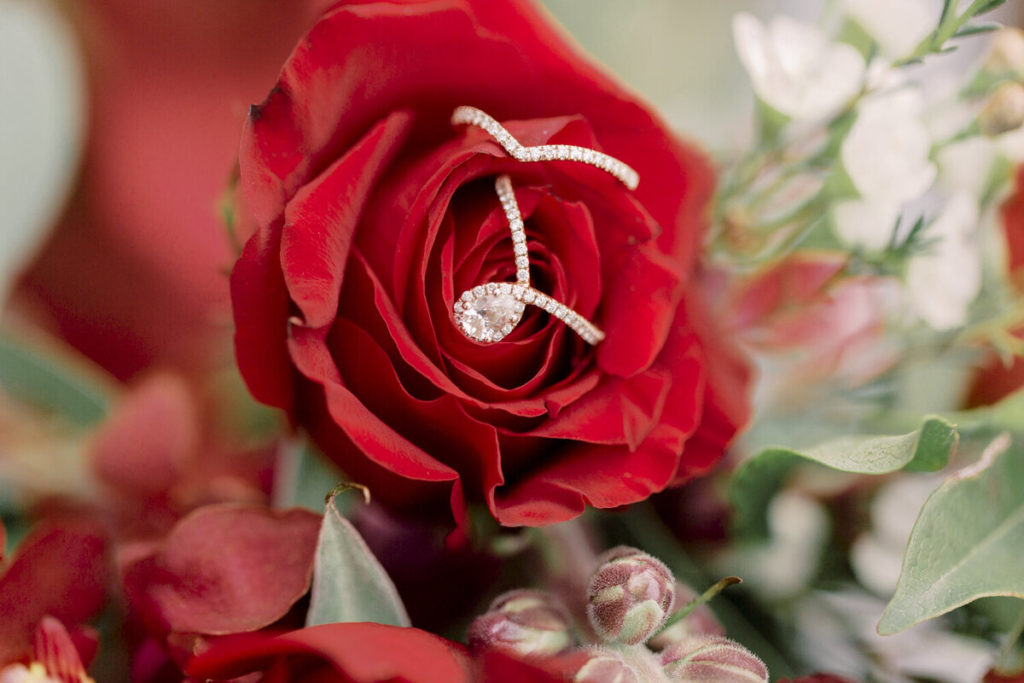
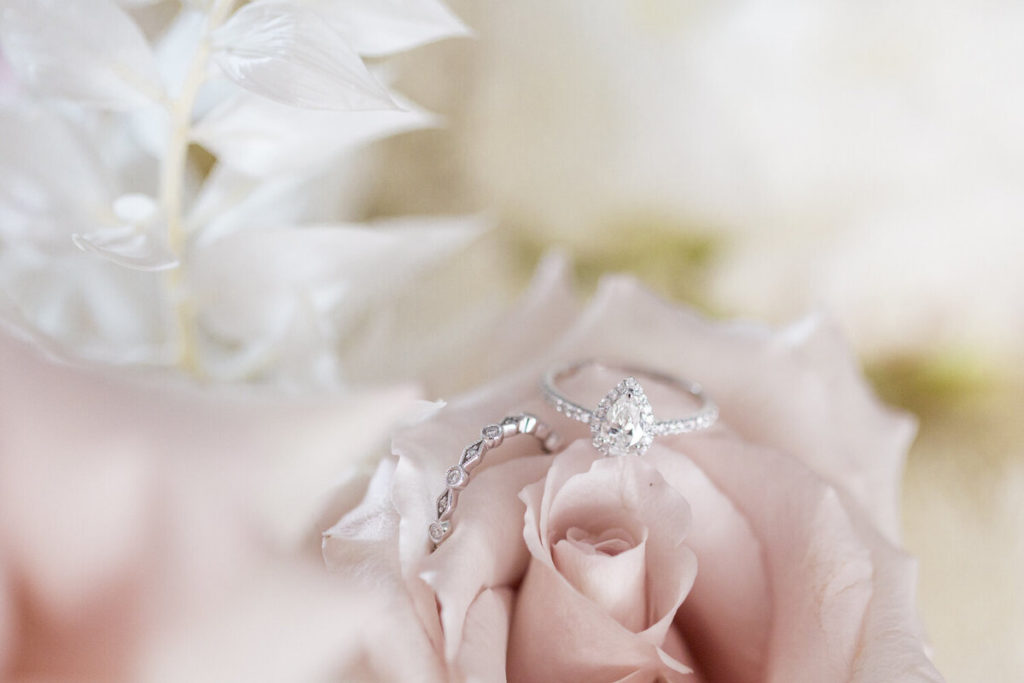
The above images of the bouquet are generally in all our wedding shoots, they are incredibly invaluable, especially if you want to have your wedding published, as detail shots of the bouquet are vital for any publication.
Always look for ways to use what the couple have brought to the wedding first, they have put a lot of thought into these, so get creative!
